

If you are buying custom spout caps for stand-up pouches or doypacks, the line on the quotation that will confuse you most is the tooling fee. It is a four- or five-figure number, it is paid before a single production part exists, and nobody on the SERP for "spout cap tooling cost" actually explains it — the top results are a marketplace listing, a bottle-cap retailer, and a Facebook post. Three questions matter here, and they rarely get answered together: what drives the price of a spout cap mold, how many sampling rounds you should budget for, and how long the whole process takes. This guide answers all three, so you can check a supplier's quote against a real cost framework instead of accepting a number on faith.
What "tooling" covers in a custom spout cap project
Tooling is the collective term for everything that must exist before your spout cap can be injection molded in volume. For a stand-up pouch spout cap — a small, thin-walled part with a threaded or snap closure — a dedicated tool usually includes five elements:
- Mold design — the 3D engineering of cavities, cores and ejection, checked against your pouch, contents and filling line.
- Mold base — the standard frame (often LKM or HASCO pattern) that holds the working parts.
- Mold steel — the cavity and core inserts, typically hardened grades such as P20, 718 or NAK80, selected for wear life.
- Runner and cooling system — how melted resin reaches each cavity (cold or hot runner) and how fast parts cool.
- Trials — the test shots that verify the mold, which is where sampling rounds come in.
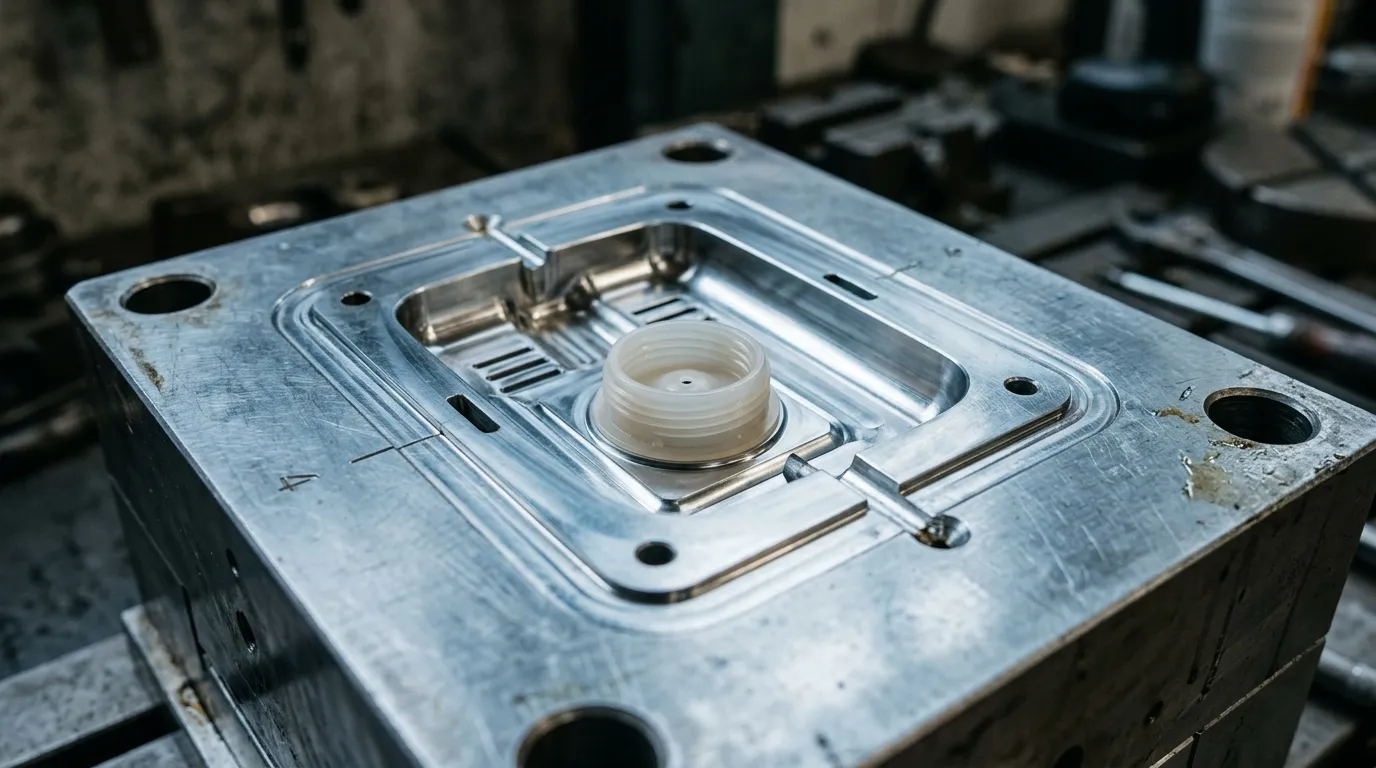
None of this is commodity work. A spout cap mold is a precision tool: cavity dimensions hold tolerances of a few hundredths of a millimeter so the cap seals against the spout without leaking and threads onto the neck without binding. Injection moulding is a mature process, but the economics of the tool are specific to your part — which is why the same mold-making service can quote one project at three thousand dollars and another at thirty.
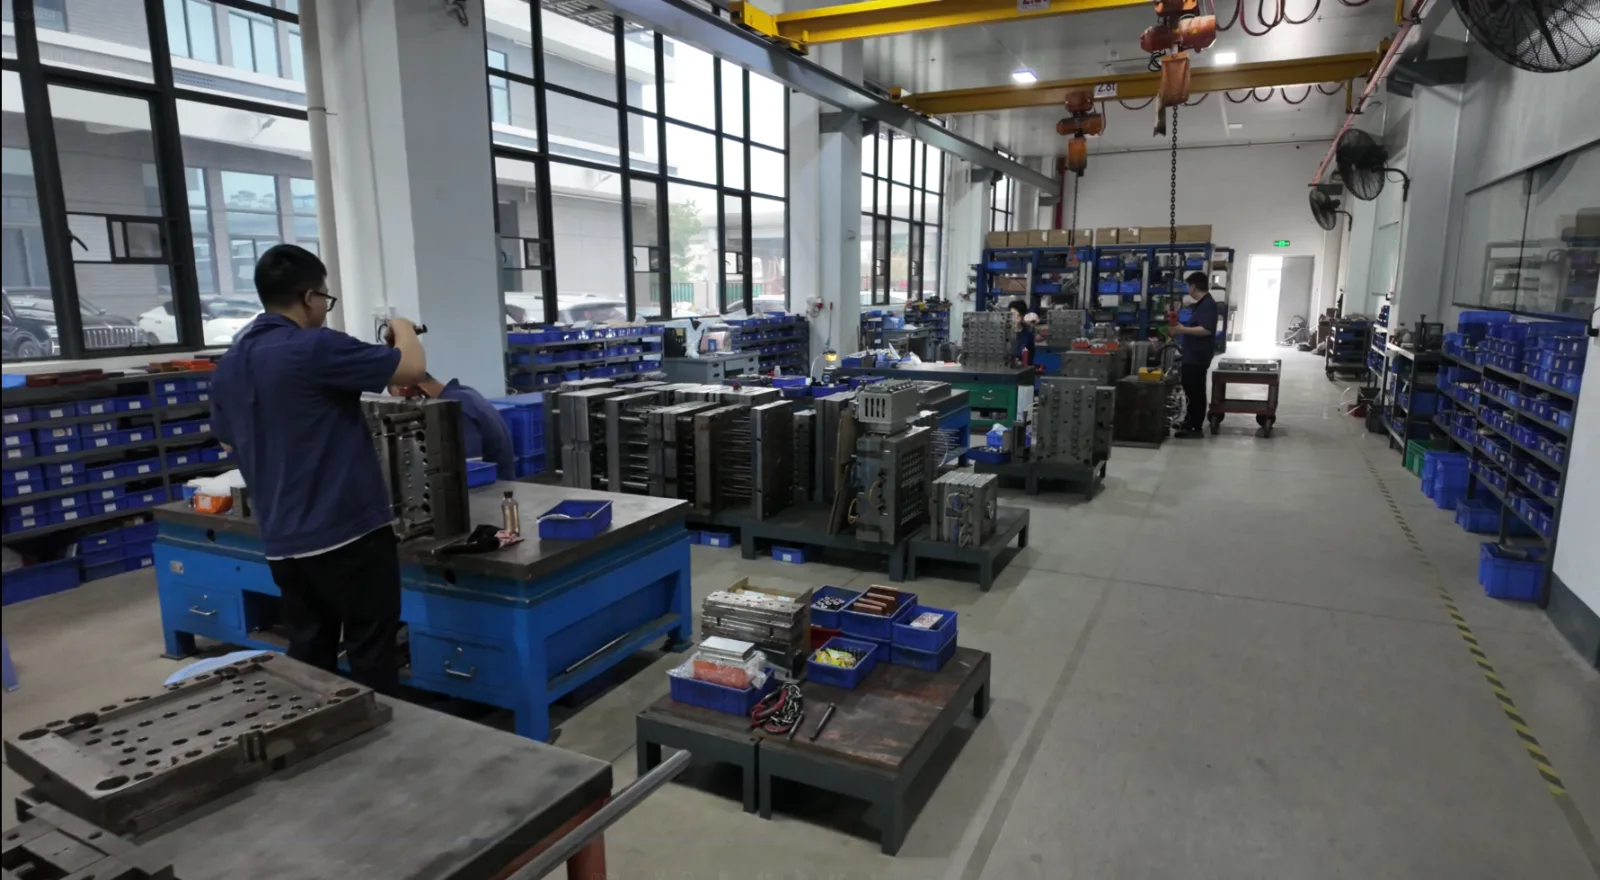
There are two ways to buy tooling, and the choice drives everything downstream. A standard mold already exists for common spout sizes (8.6 mm, 10 mm, 22 mm and similar) — you customize color and logo only, the mold is reused, and tooling cost is minimal or zero. A custom mold is cut for your specific spout: new diameter, longer nozzle, anti-choking lip, tamper-evident ring, or a closure style no catalog part offers. That is the situation this guide covers. If you are not sure whether you need a custom mold at all, start from the spout cap product family and the diameter ranges available off the shelf — many projects should never reach the custom-tooling stage. When they do, the rest of the custom tooling hub explains how in-house mold capability changes what a supplier can promise.
Four cost drivers behind a spout cap mold
The price of a spout cap mold is not arbitrary, and it is not "whatever the market will bear." It tracks four variables, and once you understand them you can predict why one quote is higher than another.
1. Cavity count. A mold is priced largely by the number of cavities — the copies of your cap produced in each shot. A single-cavity tool is cheap to build but slow to run; a 16-cavity tool costs several times more but can push out thousands of parts per hour. The right number is a function of your annual volume, not a preference. Mold makers commonly price a 4- to 8-cavity tool for spout caps in the middle range, and the cost per part is what ultimately matters — more on that in the next section.
2. Mold steel and mold base. Cavity inserts are machined from hardened tool steel; the harder and more wear-resistant the grade, the longer the mold life and the higher the material and machining cost. Mold life is quoted in shots — a spout cap tool in P20-class steel typically lasts hundreds of thousands of shots, while premium grades push into the low millions. If you plan to run the same cap for years, the premium steel pays for itself; for a short product life, it does not.
3. Runner system and cooling. A cold-runner mold is simpler and cheaper; a hot-runner mold keeps material molten inside the tool, eliminates runner waste and shortens cycle time, but adds significant engineering and cost. Cooling-channel design affects cycle time directly — better cooling means faster solidification, which means more parts per hour for the life of the mold. Injection molding cost guides from production service providers consistently rank tooling complexity and cycle time among the top price factors, and Xometry's cost breakdown makes the same point: the mold is a one-time investment whose design quality determines the per-part cost for the entire production life.
4. Part features. This is where spout caps are different from a plain bottle closure. A spout cap for a pouch must often combine a thin sealing lip, a thread or snap bead, an anti-choking / anti-swallowing guard, a tamper-evident ring, and sometimes low-temperature sealing compatibility for recyclable mono-material PE pouches (welding at 110–130 °C). Every added feature means more complex cavity geometry, more ejection design, and more trial rounds. Features that are safety-critical — like the anti-choking structures Ruihua developed as patented mold technology — are precisely the ones where a cheap mold will fail trial after trial.
The practical takeaway: when two suppliers quote very different tooling prices, the gap is almost never "one of them is greedy." It is cavity count, steel grade, runner choice, and feature complexity. Ask for the breakdown — a supplier who cannot decompose their tooling price into these four lines is quoting you a black box.
Spout cap tooling cost: honest ranges and the amortization math
This is the question buyers actually type into Google — "how much does injection molding tooling cost" — so let us give it a straight answer, with the honesty the topic deserves.
For a custom spout cap mold for stand-up pouches, marketplace listings for spout-cap-class injection molds cluster in the low thousands to roughly ten thousand dollars — as a reference point, a made-in-china listing for a spout cap injection mold quotes US$3,000–10,000 per set depending on cavities and steel. That is a market reference, not a price list: the same engineering can legitimately exceed it when you add hot runners, premium steel, or complex anti-choking geometry, and it can sit far below it when the design is close to an existing mold. Any supplier who quotes a firm number before seeing your pouch, contents and annual volume is guessing.
What matters more than the sticker price is the amortization math, and this is the number buyers forget to run:
Example. A US$8,000 spout cap mold, amortized over 500,000 parts, adds US$0.016 per cap. If the finished cap costs US$0.05, the tooling is roughly a third of your per-part cost in year one — and by the second production year it is effectively free.
That single calculation reframes every tooling negotiation. A mold that costs $2,000 more but cuts cycle time by a few seconds can save more than its own price in the first production run. Conversely, the cheapest mold often fails on trial rounds, adds downtime, and wears out early — the classic "cheap tooling is expensive" trap. Volume also gates the math: below a supplier's minimum order quantity, the mold cost has too few parts to amortize against, which is why very low annual volumes rarely justify a dedicated custom mold at all. Your guide to spout cap diameters matters here too: the closer your requested diameter is to an existing mold family, the less new tooling you actually need.
Sampling rounds: how many sample iterations before sign-off
Now the part of custom tooling that surprises buyers most: the mold itself is not finished when it is cut. It is finished when it passes trial — and trials are counted in rounds.
For a typical spout cap project, budget for one to three sampling rounds before tooling sign-off, and structure the process so round one answers as much as possible:
- Round 0 — 3D-printed samples (before steel is cut). The supplier prints the cap design so you can confirm shape, feel and fit against your pouch. This is the cheapest round in the project and the one buyers skip most often — skipping it moves every mistake into the expensive steel trials.
- Round 1 (T1) — first mold trial. The first test shots come off the steel mold. What gets checked: dimensional accuracy against the drawing, fit and sealing against your actual pouch, thread or snap torque, wall thickness distribution, and any visual defects (flash, sink, short shot). A well-prepared T1 answers most open questions.
- Round 2 (T2) — refinement. The mold shop corrects what T1 exposed — adjusting a sealing lip, reworking ejection, tuning cooling — and re-shoots. For most spout caps, T2 is the approval round.
- Sign-off. You approve the sample, the mold is qualified, and mass production can begin.
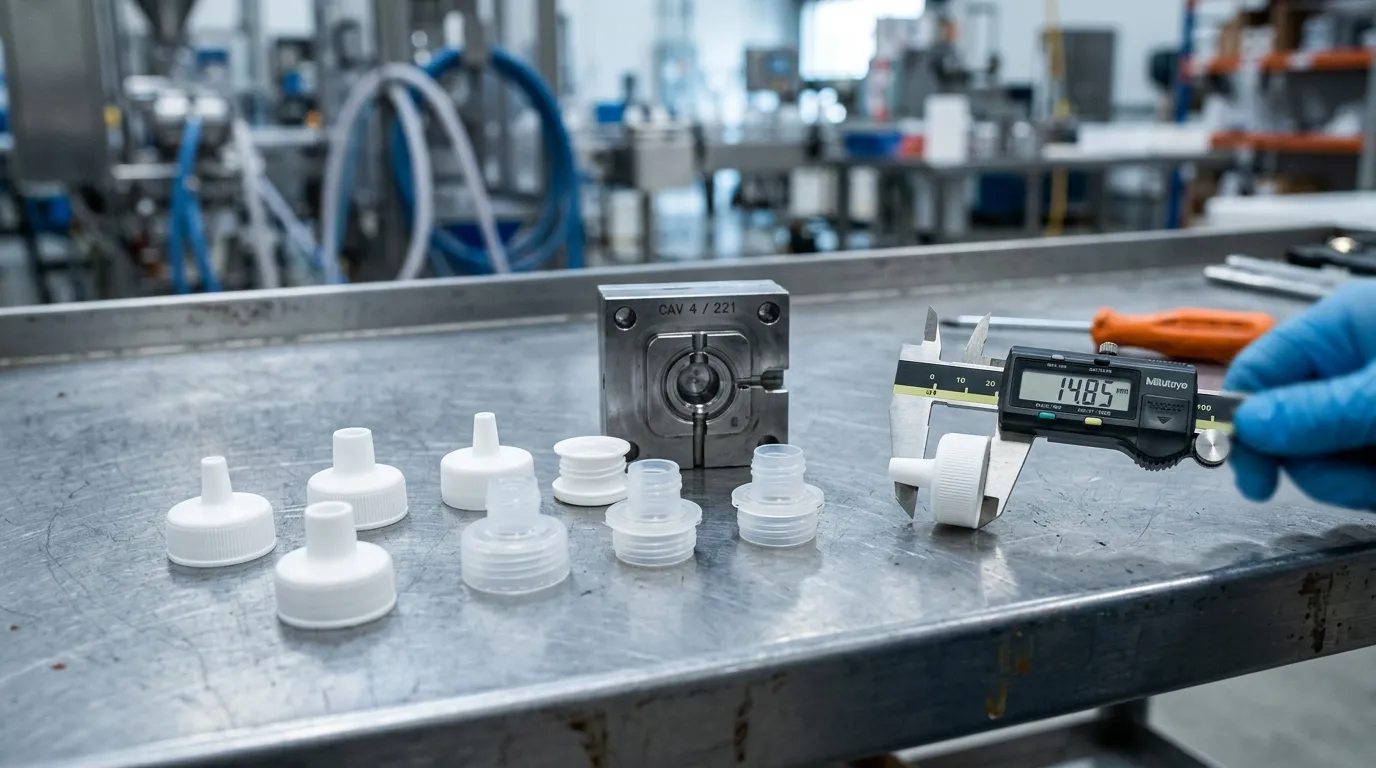
Complex features add rounds. An anti-choking lip or tamper-evident ring that must flex correctly over thousands of cycles is exactly the kind of geometry that needs a second or third trial. A supplier who promises "samples in ten days, approved first try" on a complex cap is either over-optimistic or under-engineering.
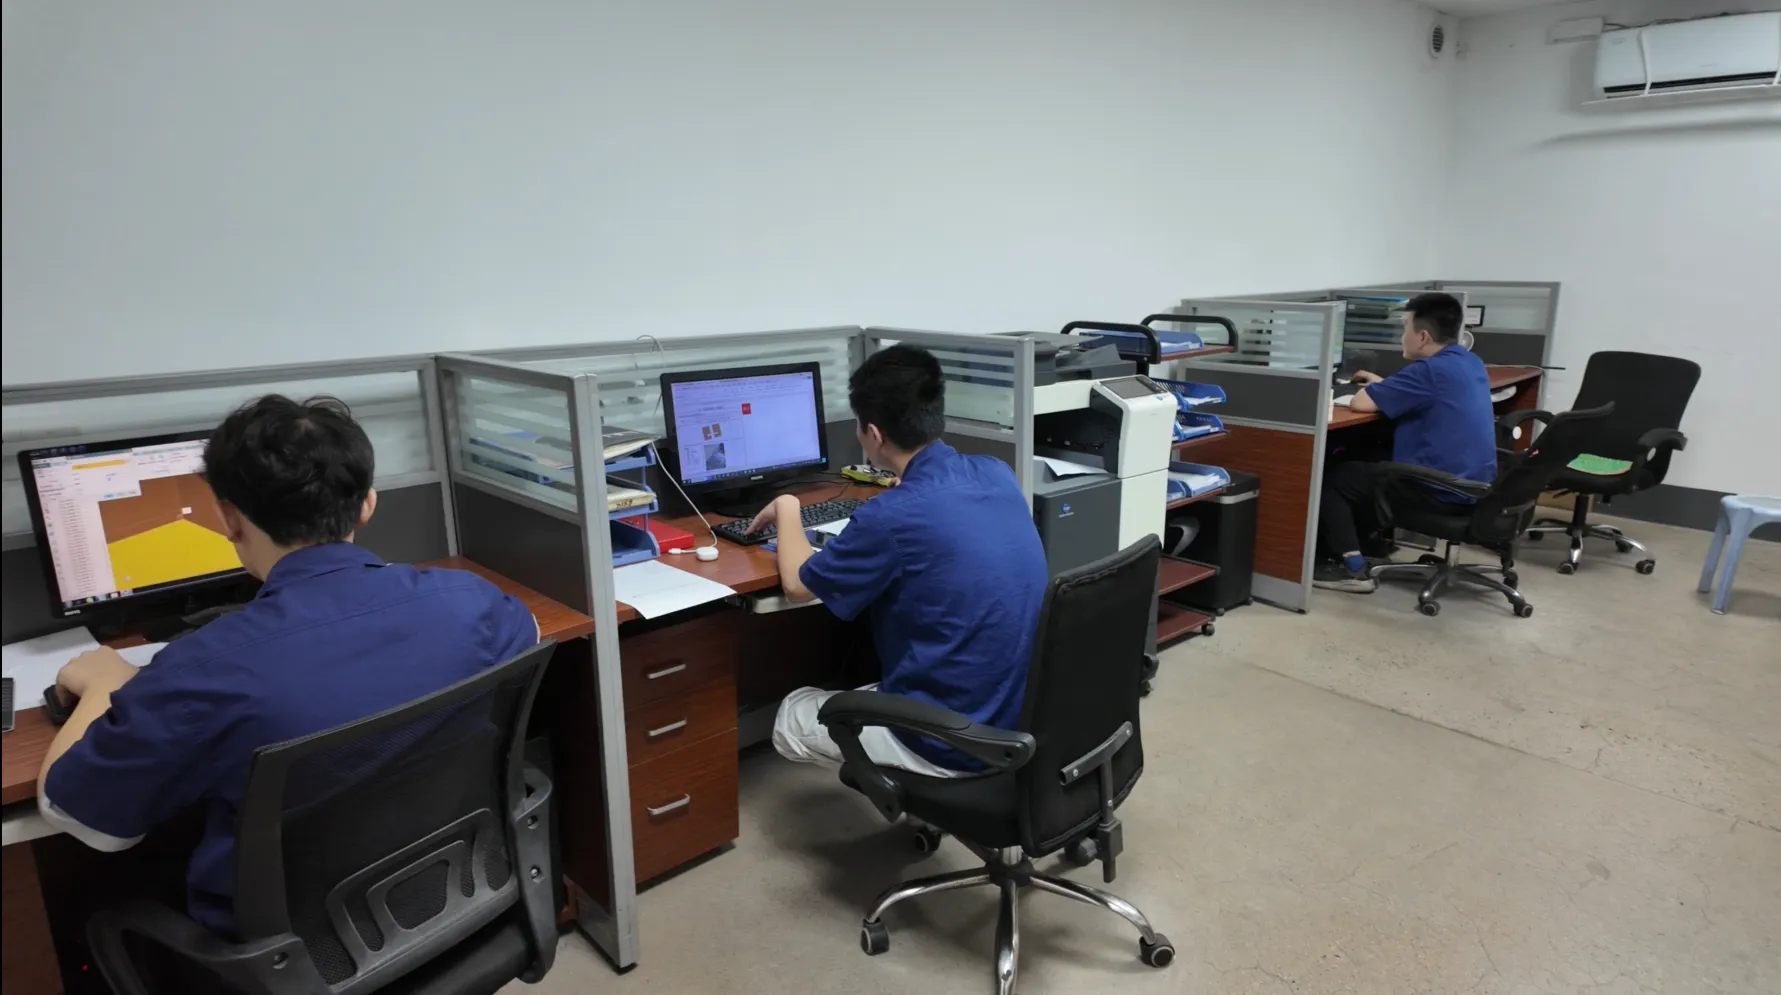
You can compress the loop from the buyer side. Send your actual pouch and contents, not a description; confirm the 3D-printed samples within a few days instead of letting them sit; agree on acceptance criteria (fit, seal, torque, color) before T1, not after; and batch all change requests into one revision instead of drip-feeding them. The supplier's process matters too — a maker with in-house mold and tooling capability, 3D mold printing and its own mold shop can iterate a revision in days, where a trader who subcontracts the mold has to queue behind someone else's schedule.
Timeline: from design to mass production
The typical end-to-end path for a custom spout cap runs four to eight weeks, split roughly like this:
Stage | Typical duration | What happens |
|---|---|---|
Design & feasibility (DFM) | 1–2 weeks | Cap drawn against your pouch, contents and filling line; 3D-printed samples for confirmation |
Mold cutting | 3–6 weeks | Steel machining, cavity and core making, cooling and ejection build — the long pole of the project |
Mold trial & sampling | 1–2 weeks | T1/T2 rounds, dimensional and sealing verification, sample approval |
Production preparation | 0–1 week | Mold sign-off, color masterbatch confirmation, QC plan, first production order |
The 3–6 week mold-cutting figure is consistent across the industry — the same marketplace mold listing quoted earlier states 3–6 weeks for plastic molds after design confirmation, with design itself at 1–3 working days. These are typical ranges, not guarantees: a complex multi-cavity tool with hot runners sits at the long end, and a simple single-cavity tool close to an existing design can move faster.
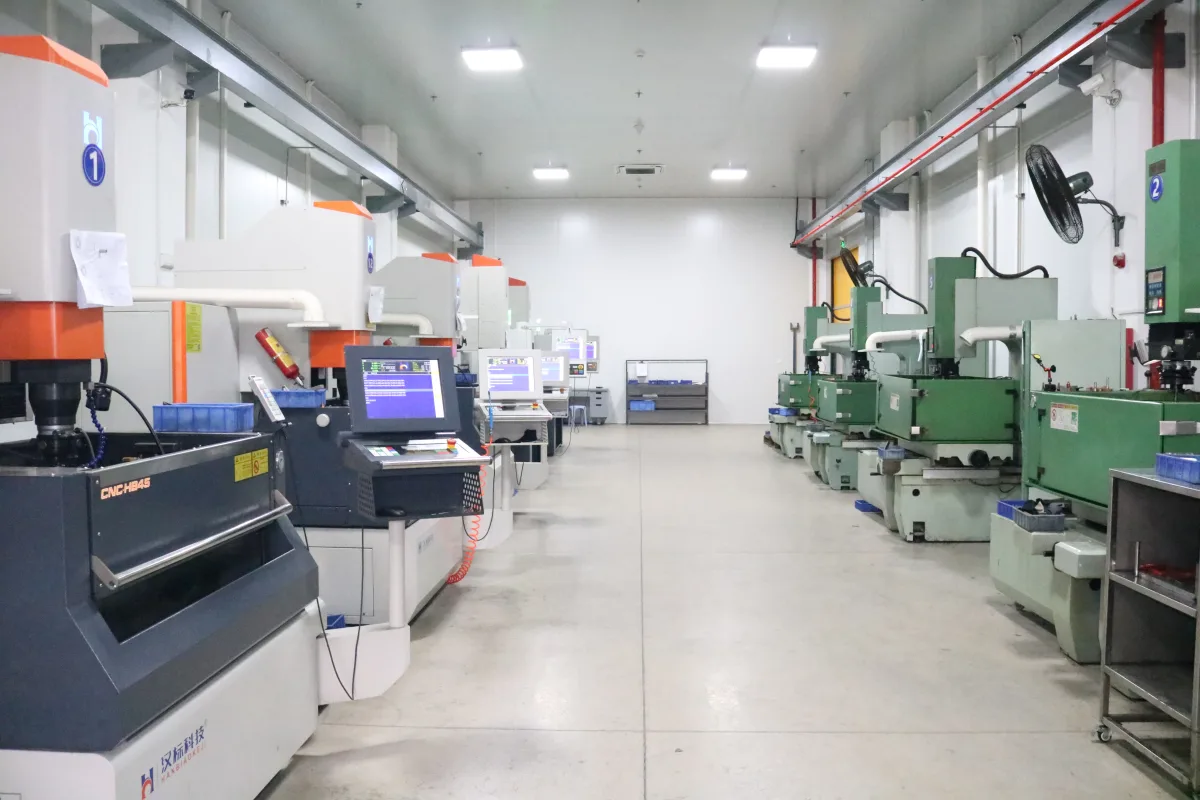
Where the timeline gets compressed or blown is rarely the machining. It is the design phase (if your requirements are incomplete) and the sampling phase (if approval is slow or changes arrive one at a time). Two moves save the most calendar time: approve the 3D-printed samples early, because every day of hesitation there is added to the front of the steel schedule, and finalize your target market's compliance requirements before the mold is cut — if your cap must meet food-contact rules in the EU, for example, the material and additive choices are locked before steel, not after. For the sealing side of the equation, the spout sealing temperature guide explains why low-temperature welding requirements (110–130 °C, for recyclable mono-material PE pouches) are a mold-design input you should declare on day one.
Hidden costs and the questions buyers forget to ask
The tooling price is not the total cost of tooling. Four items sit outside the headline number, and they are where buyers get surprised:
- Mold ownership. Who owns the mold after you pay for it? Some suppliers treat the tooling fee as a deposit against future orders (refundable at volume); others sell you the mold outright; others keep it and will not release it if you switch suppliers. Get the ownership and deposit structure in writing — it is the single most expensive question nobody asks.
- Mold transfer documents. If the mold is yours, what do you receive? Full 2D/3D part drawings, mold drawings, steel and cavity records, and trial reports. A mold without its documentation is a liability you cannot insure, repair or move.
- Revision charges. Sampling rounds and small tweaks are usually included up to a point. Major changes — a different spout diameter, a new closure style, a re-cut cavity — are charged as new tooling work. Clarify what "changes included" means before you approve the quote.
- Color and compliance extras. Developing a custom Pantone-matched masterbatch, and re-testing food-contact compliance for your specific material and color combination, are separate line items. The sourcing and supply hub covers how these costs behave across suppliers and regions.
A short checklist to send any supplier before you pay for tooling:
- What is the cavity count, steel grade and expected mold life in shots?
- What is included in the tooling price — design, trial shots, sample sets, mold drawings?
- How many sampling rounds are included before sign-off, and what does an extra round cost?
- Who owns the mold, and what documentation transfers to me at the end?
- What is the lead-time breakdown per stage, and what are the revision costs?
- Is the tooling fee a deposit against future production, or a purchase?
A supplier who answers all six in writing is running a process. One who hedges on ownership or documentation is a reason to keep shopping.
How to get an accurate tooling quote
The quality of your quote is decided before you send it. Suppliers price custom tooling from the information you provide, and the gaps in your brief become contingencies in their price. Prepare these before requesting a quote:
- The pouch — type (stand-up, flat-bottom), size, and film structure if relevant; the cap seals against this, not against a drawing.
- The contents — liquid or powder, viscosity, filling temperature; high-viscosity or hot-fill products change spout design and sealing requirements.
- Target spout inner diameter and cap type — screw, flip-top, push-pull, anti-choking, tamper-evident; and the neck or closure style you need.
- Annual volume and ramp — this decides cavity count, and therefore the tooling price and the amortization math above.
- Colors and logo — Pantone references and whether branding is molded, embossed or laser-marked.
- Target markets — because food-contact compliance (FDA, EU 1935/2004) and recyclability requirements constrain material and additive choices before steel is cut.
- Your current pouch samples — the single highest-value item; a physical pouch lets the mold maker verify fit instead of assuming it.
With that brief, you will get comparable quotes instead of three different black boxes. Compare the four cost drivers, the sampling-round terms, the ownership clause and the per-part amortized cost — not the headline tooling number alone. When you are ready to move, request samples or a quote with the brief above, and expect a supplier who knows spout caps to come back with the four-line tooling breakdown this guide has walked you through.