

Every pouch closure you see on a shelf — the juice spout you tear open, the shampoo pouch you flip up, the baby-food cap you twist — started as a drawing that had to survive contact with steel, molten resin and a filling line. The custom spout cap production process for stand-up pouches and doypacks is not one operation but a chain of five stages, and each stage is a place where a project can quietly go wrong: a design that cannot be molded, a mold that costs twice the estimate, samples that never quite seal.
Most of what gets written about this process skips the middle. Supplier pages show you the finished cap; generic guides describe "molding and QC" in one breath. This article walks the whole chain from sketch to mass production the way a spout cap factory actually runs it, so you know what to expect, what to ask for, and what to prepare before you request a quote.
From sketch to mass production: the five stages of a custom spout cap production process
A custom spout cap project moves through five stages in a fixed order, because each stage consumes the output of the one before it:
- Design and DFM — turning your sketch and requirements into a moldable 3D design.
- Mold tooling — building the steel tool that shapes every cap.
- Trial shots and sample approval — proving the tool, the material and the part together.
- Mass production — injection molding at scale, with QC and traceability.
- Sealing — the interface where the cap meets your pouch film and becomes a package.
Stage | What happens | Your decision point |
|---|---|---|
| Design review, material and geometry locked | Approve the 3D design |
| Steel tool built around the approved design | Approve the tooling plan and investment |
| Tool runs, parts measured, mold tuned | Sign off samples and measurement data |
| Injection molding at scale with QC | Release production batches |
| Spout welded into your pouch film | Validate seals on the filling line |
The first three stages decide the cost and the timeline; the last two decide whether the cap survives real production and real pouches. Understanding the whole chain matters because decisions made in stage 1 (a wall thickness here, a draft angle there) echo through every stage after it. If you are comparing suppliers, the questions in this article are also the questions that separate a real manufacturer from a reseller.
Stage 1 — From sketch to a moldable design
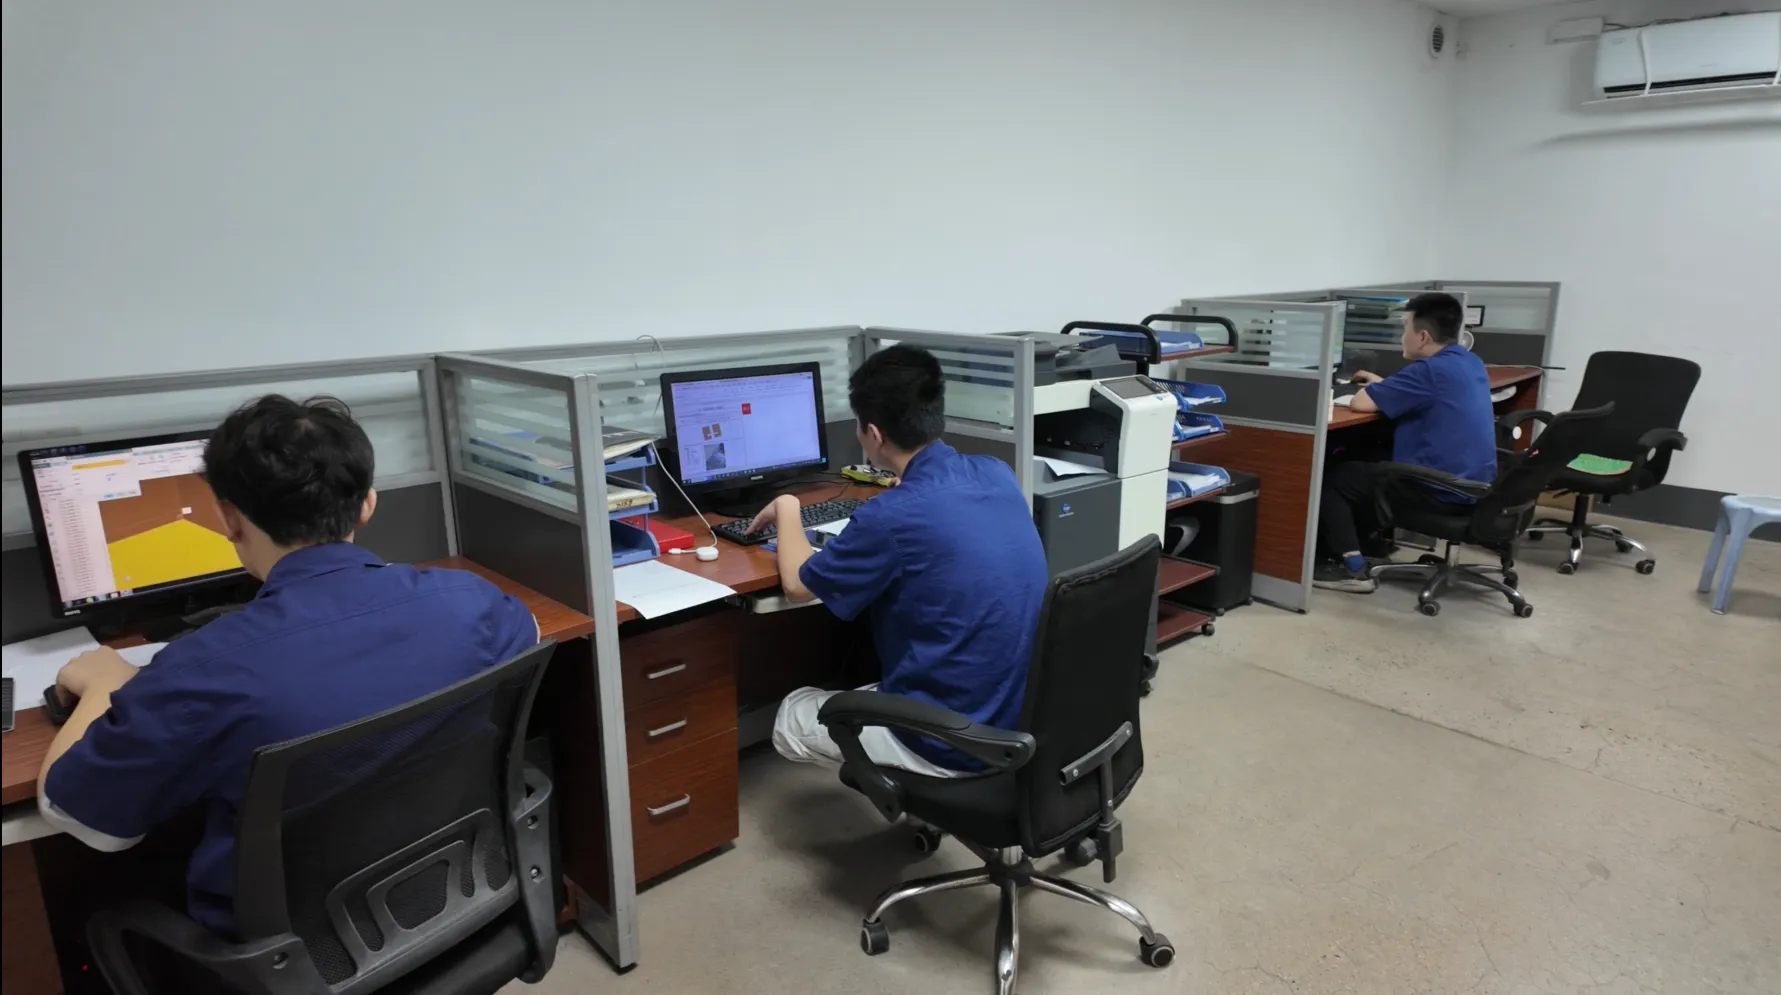
The process starts with your sketch, but it does not start with cutting steel. It starts with a design review, often called design for manufacturability (DFM): the supplier's engineers take your drawing, your pouch, and your contents, and test the design against the rules of injection molding before anything is built.
What the design review actually checks:
- Spout inner diameter vs. your contents. Inner diameter controls flow rate, and flow rate must match what is inside the pouch. Small bores (1.2–7 mm) suit low-dose cosmetic and pharmaceutical pouches; mid bores (8.6–10 mm) cover juice, milk tea, jelly and condiments; large bores (22–40 mm) handle high-viscosity and bulk refill products such as laundry detergent, honey or edible oil. If your sketch specifies a bore that cannot be molded with the wall thickness you drew, the review catches it now.
- Cap style and closure geometry. Screw caps, flip tops, long nozzles, push-pull sport caps and anti-choking mushroom shapes each carry their own mold-design rules. An anti-choking geometry, for example, is a safety-critical shape with specific requirements on opening size and edge radius — it is not a cosmetic variation.
- Tamper evidence. If your market requires proof of first opening, the tamper-evident ring (single or double) has to be designed into the mold from the start. The same is true for any functional feature: it cannot be added later without a new tool.
- Material. Food-grade PP and PE from virgin resin are the defaults for direct food and beverage contact, with no optical brighteners or fluorescers. If you plan a recyclable mono-material PE pouch, the spout must be engineered to seal at low temperature (more in stage 5). Material choice locks in everything after it, so it is decided here, not at the factory.
- Color and branding. A custom Pantone-matched color goes into the resin as masterbatch; a logo can be embossed into the mold steel. Both are cheap on paper and expensive to change later, because they are baked into the tool.
The output of stage 1 is a confirmed 3D design and a mold-feasibility verdict — before a single yuan of tooling spend. A supplier with an in-house design office (not a broker who forwards drawings to a factory) is a material advantage here, because the people reviewing your sketch are the people who will build the tool. For a full menu of what can be customized on a pouch spout cap — dimensions, closures, materials, colors, branding and more — see our custom spout cap customization service guide.
Stage 2 — The mold decides your cost per cap
Once the design is frozen, the mold (tooling) is built. The mold is the single biggest capital decision in the whole project, because every cap you ever order will be shaped by it — and the mold's design, not just its steel, determines your per-cap cost.
Three tooling decisions matter most:
- Cavity count. A mold can hold one cavity or many. More cavities mean more caps per injection cycle, which means a lower cost per cap at high volume — but a more expensive mold and more demanding processing. A supplier who asks about your annual volume before quoting the mold is doing this math with you; a supplier who quotes one mold for everything is not.
- Runner system. How molten resin travels from the machine nozzle to the cavities affects material waste, cycle time and part quality. Hot-runner systems keep the resin molten and eliminate the solid sprue that cold-runner molds eject with every shot. For food-grade caps, the choice also interacts with material traceability.
- Rapid mold iteration. Modern toolrooms prototype and refine mold features with 3D printing before cutting production steel. This collapses the iteration loop that used to take weeks into days, and it is one of the reasons an experienced toolroom can fix a design flaw in the mold before you ever see a bad sample.
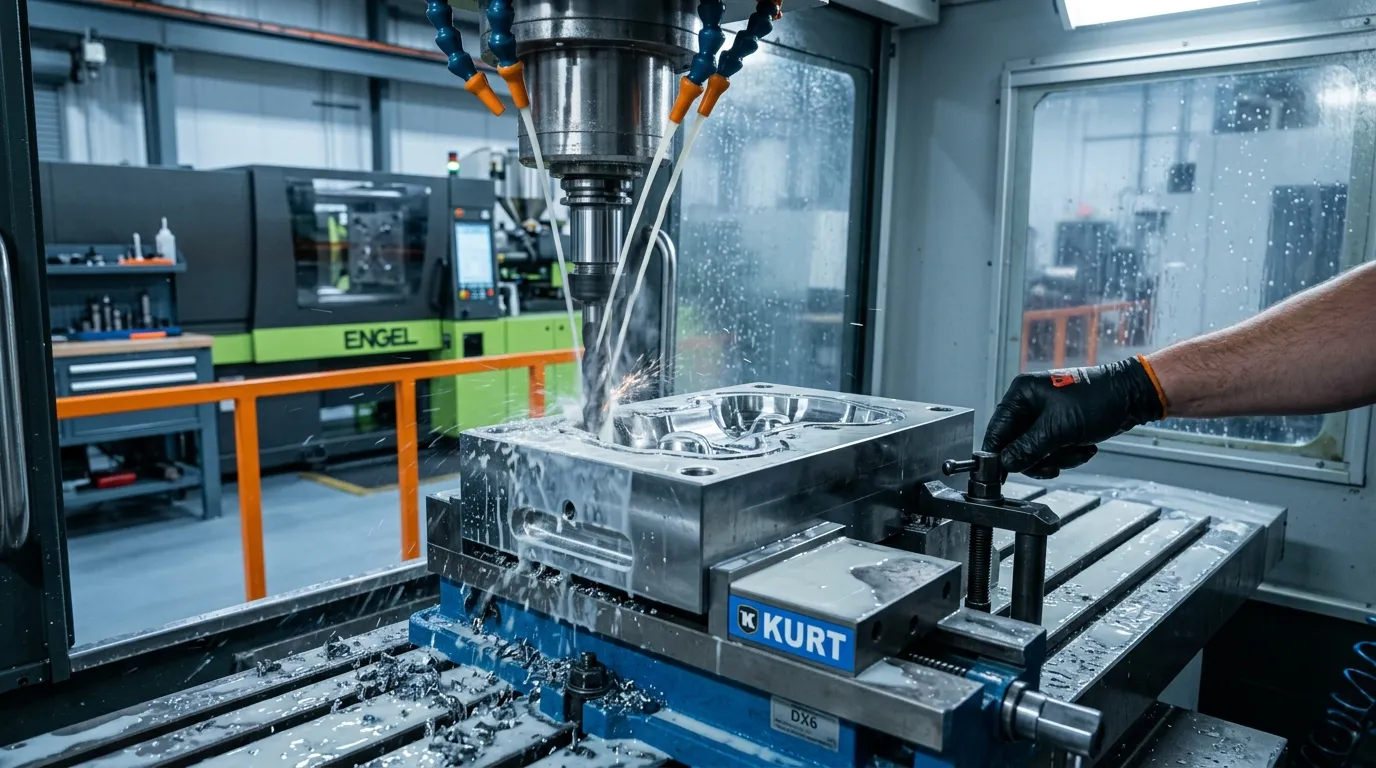
The mold cavity finish determines cap precision — and multi-cavity layouts determine cost per cap.
Mold making is also where a supplier's history shows. The mold design itself is where proprietary know-how lives — for example, dual anti-theft ring structures and anti-choking geometries are patented mold technologies, not off-the-shelf features. A manufacturer that designs and cuts its own tools controls this stage end to end: no middleman, no "the factory says" back-and-forth. That heritage is also where the real cost trade-offs get made — if you want the full breakdown of what drives mold pricing, our custom spout cap tooling cost guide goes through it line by line. For a broader look at what custom tooling means on a spout cap line, the custom tooling hub ties this cluster together.
Stage 3 — Trial shots and the sample approval loop
Steel alone never produces a saleable cap on the first shot. The new mold goes into an injection machine for trial shots, and the first parts come out — then the real work begins. This is the stage most first-time buyers underestimate, and it is exactly why "samples in two weeks" from a broker is a red flag: a serious trial-shot program takes rounds, not one pass.
What happens in a typical trial-shot loop:
- First trial (often called T1): the mold is run, and parts are pulled for inspection. Wall thickness, dimensions, filling balance across cavities, weld lines, sink marks — every part is measured against the design.
- Adjustments: the toolmaker tunes processing parameters (temperature, pressure, cooling time) and, if needed, modifies the mold — polishing a surface, opening a gate, adjusting a vent. This is normal, and it is where a toolroom's skill pays for itself.
- Second trial (T2) and beyond: the loop repeats until the parts hold dimension consistently and the surface and function are right.
A trial-shot program is not a formality — it is where the mold earns its keep. Every defect caught on the inspection table is a defect that never reaches your filling line.
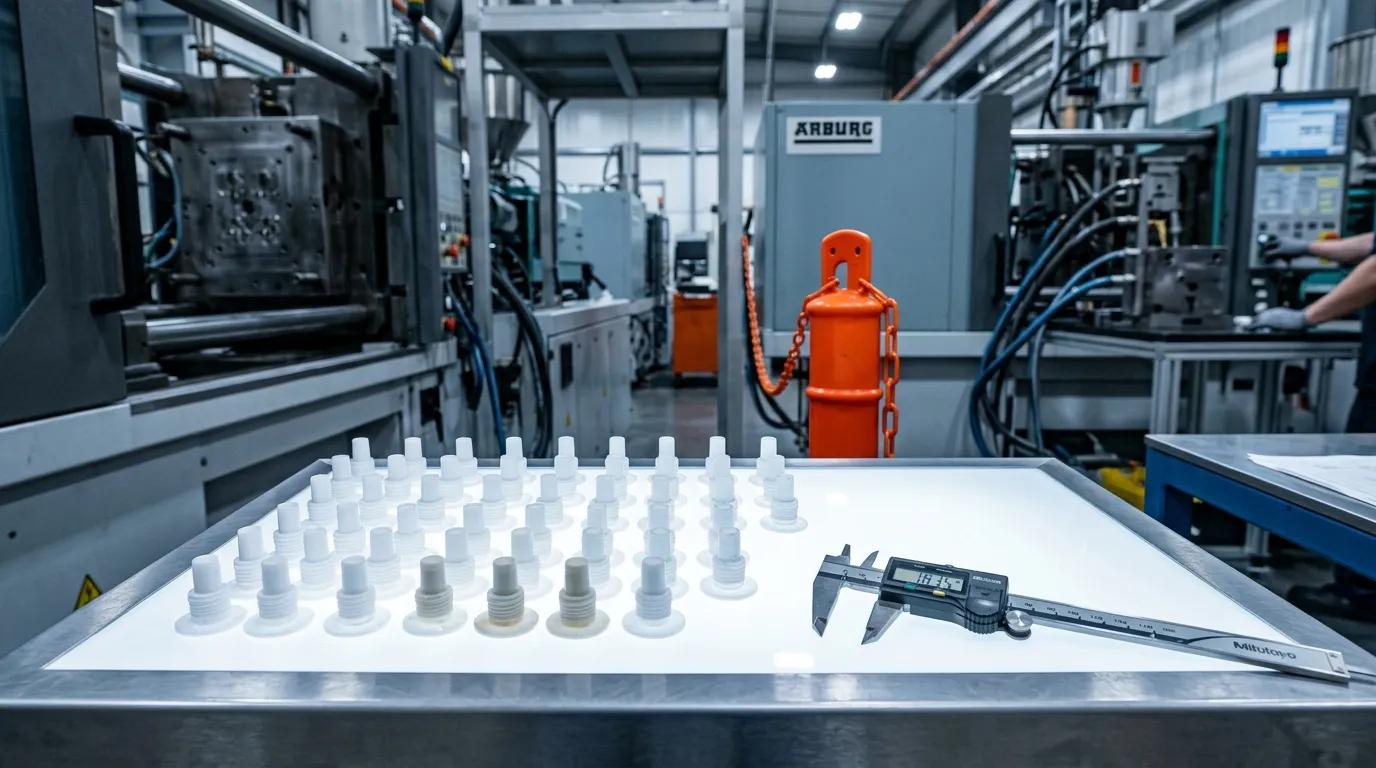
Trial-shot parts get measured, not just photographed, before sample approval.
When you approve samples, check the things that matter in production, not just the look: inner diameter against your specification, the sealing surface that will contact the pouch film, thread or snap-fit feel, tamper-evident ring behavior, color match against your Pantone reference, and how the cap pours or dispenses with your actual contents. The supplier should give you measurement data with the samples, not just photographs. Approval at this stage is the green light for the mold to go into production service — treat it as a contractual milestone, because everything after it runs at full speed.
Stage 4 — Mass production: injection molding, QC, and traceability
With an approved mold and approved samples, the project moves to production. This is the spout cap injection molding stage: food-grade resin is dried and fed (in a clean workshop, ideally through a central feeding system so no contamination enters between silo and machine), melted, injected into the mold under controlled temperature and pressure, cooled, and ejected as a finished cap — shot after shot, hundreds of thousands of times.
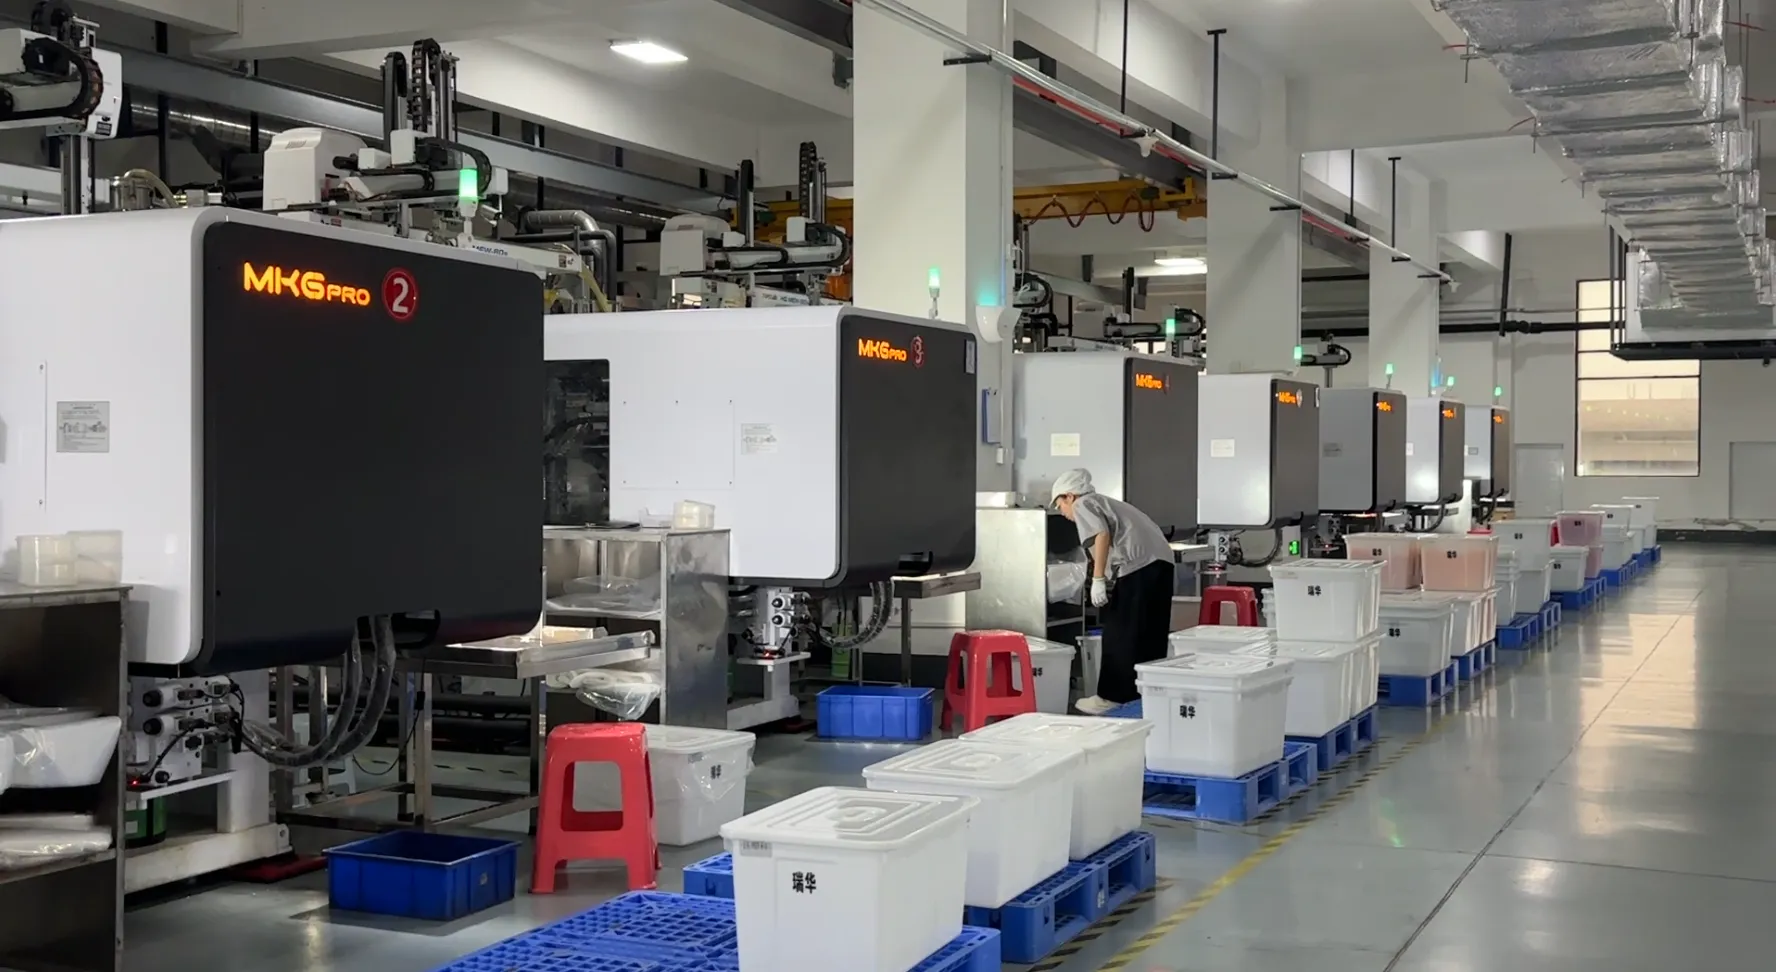
Mass production runs clean and automated; QC happens alongside, not after.
What separates production from the trial stage is control. Three things to look for in a mass-production facility:
- Dimensional discipline. On a precision spout cap, inner diameter is commonly held to within ±0.1 mm of nominal. That number is only meaningful if it is actually measured — on every production batch, not just at sampling.
- Automated inspection. A cap line runs fast enough that human eyes alone cannot catch defects. Modern factories run AI automatic inspection to detect flash, short shots, contamination and dimensional drift in real time, alongside in-house laboratories that test material and product properties.
- System and traceability. A quality-management system such as ISO 9001, food-safety systems such as HACCP, and documented food-contact compliance (US FDA, EU 1935/2004 for food-contact materials) mean each batch can be traced back to resin lot, machine, mold and shift. For food and beverage packaging, traceability is not paperwork — it is recall insurance. The EU food-contact framework regulation is Regulation (EC) No 1935/2004, and the European Commission maintains an overview of food-contact materials rules that are relevant when you qualify a closure supplier for EU markets.
Ask a candidate supplier for their QC procedure before you commit: what is measured, how often, by machine or by hand, and what happens to a batch that fails. The answer tells you more about the custom spout cap manufacturing process they actually run than any brochure.
Stage 5 — The interface you must not forget: sealing
A spout cap does not live alone; it lives welded into your pouch. The seal between the spout flange and the pouch film is the most failure-prone point in the whole package, and it is decided partly by the cap's design and partly by the sealing process on your filling line.
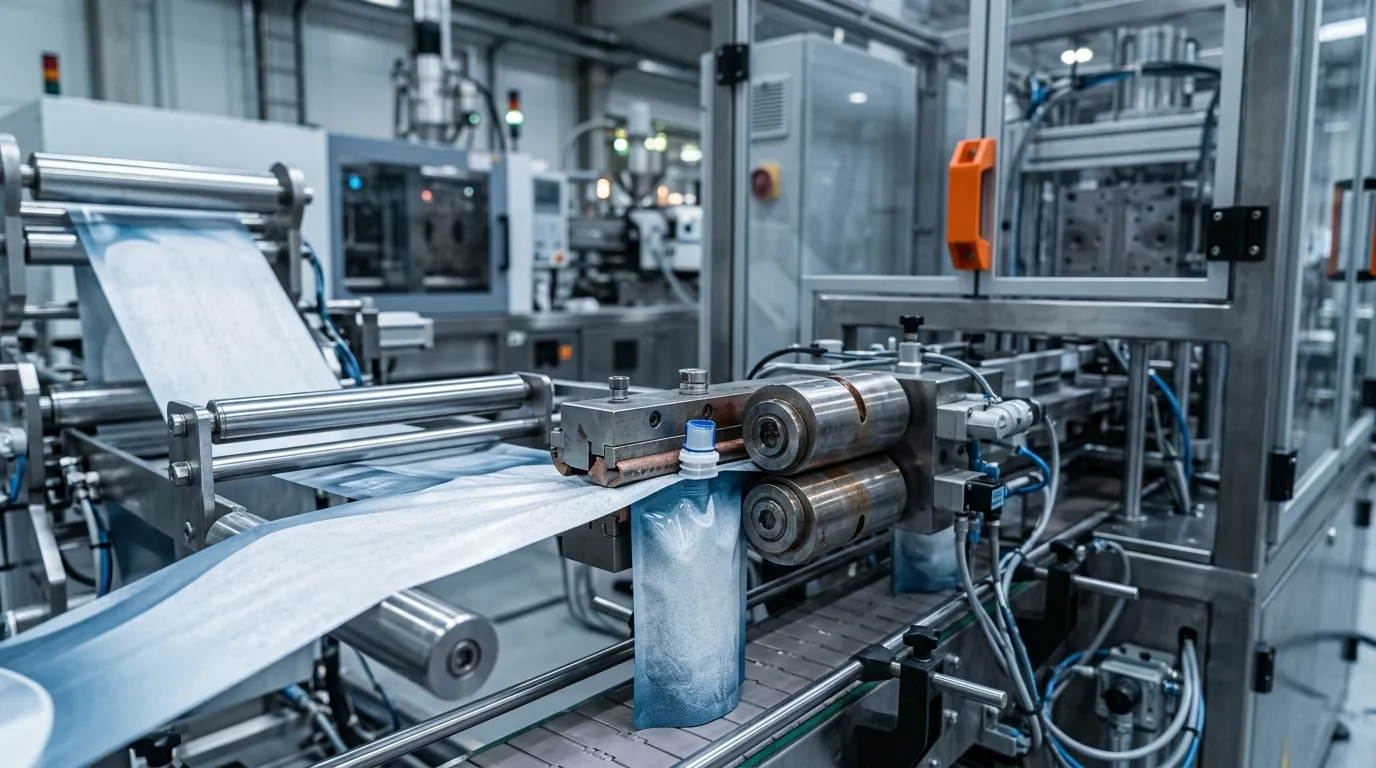
The seal between spout flange and pouch film is the most failure-prone point in the package.
Two facts shape this stage:
- Sealing temperature. Standard spouts seal at higher temperatures that can damage certain pouch films. Spouts engineered to weld at 110–130 °C keep the film intact and are the key to working with recyclable mono-material PE pouches — the low welding temperature is what keeps the pouch compatible with PE recycling streams. If your brand has recyclability goals, this number belongs in your specification from stage 1.
- Film and flange compatibility. The spout flange geometry must match your pouch film structure and your sealing equipment. A cap that seals perfectly on one film may fail on another. This is why the design review in stage 1 should see your actual pouch film, not just your drawing.
Industry design-for-circularity guidance, such as CEFLEX's design guidelines, treats the fitment as a first-class input to whether a pouch can be recycled at all — worth reading before you finalize a closure for a recyclable claim. The mechanics of the seal itself — temperature windows, film types and what can go wrong — are covered in our spout cap sealing temperature guide.
What to prepare before starting a custom spout cap project
The faster you hand the supplier the right information, the fewer design-review rounds you pay for. Assemble this before the first call:
- Your sketch or reference — even a hand drawing plus a photo of an existing cap is enough to start.
- Pouch and film details — pouch size, film structure, and whether you have a sealed sample pouch.
- Contents and viscosity — what the pouch holds, and roughly how thick it pours.
- Annual volume forecast — this drives cavity count, mold design and cost per cap.
- Target markets — EU, US, or elsewhere determines food-contact and packaging regulations the design must meet.
- Color and branding requirements — Pantone references, logo placement, surface finish.
- Timeline — when you need samples, and when you need production.
One more check before you commit to tooling: confirm that no existing model already does the job. The standard spout cap product family covers inner diameters from 1.2 mm to 40 mm across more than a hundred models — if a stock part meets your flow, seal and look, it skips the tooling investment entirely. Custom tooling earns its keep when no catalog part fits, when branding is a hard requirement, or when a regulation shapes the design.
How long does a custom spout cap production process take?
Every supplier quotes differently, so treat any number as indicative and get the schedule in writing. What you should expect, in relative terms:
Stage | Typical duration | What eats time |
|---|---|---|
Design and DFM review | Shortest | Missing specs, multiple revision rounds |
Mold tooling | Longest | Cavity count, mold complexity, toolroom workload |
Trial shots and sample approval | One to several rounds | Dimensional or sealing issues found late |
Mass production ramp | Starts after sample sign-off | Machine scheduling, first-article inspection |
Sealing validation | Runs alongside sampling | Film changes, line tuning |
The pattern is consistent across suppliers: the front half of the project — design, tooling, trials — takes the bulk of the calendar, and the back half (production itself) is fast once it starts. Budget for at least one design revision and at least two trial-shot rounds in your plan; projects that finish in a single pass are the exception, not the rule. And if a supplier promises tooling and approved samples in days, ask how — a real trial-shot program cannot be compressed into a photo of a CAD model.
The shortest path from sketch to your pouch
A custom spout cap project is a chain of five stages, and the suppliers who control the whole chain — design office, mold making, injection molding, QC and sealing know-how under one roof — are the ones who can move your sketch to mass production without losing information between handoffs. Shantou Ruihua Plastic has run spout cap production since 2010, backed by mold-making expertise that goes back to 1999: in-house design and tooling, 38 patents including dual anti-theft and anti-choking mold technology, a dust-free injection workshop with AI automatic inspection, and food-contact certification to ISO 9001, HACCP, FDA and EU 1935/2004.
Send your sketch and the checklist above, and you will get back a design-feasibility review and a clear picture of the stages ahead — before any tooling is committed. Request samples or a quote and start the process the same way every cap on the shelf started: with a drawing.