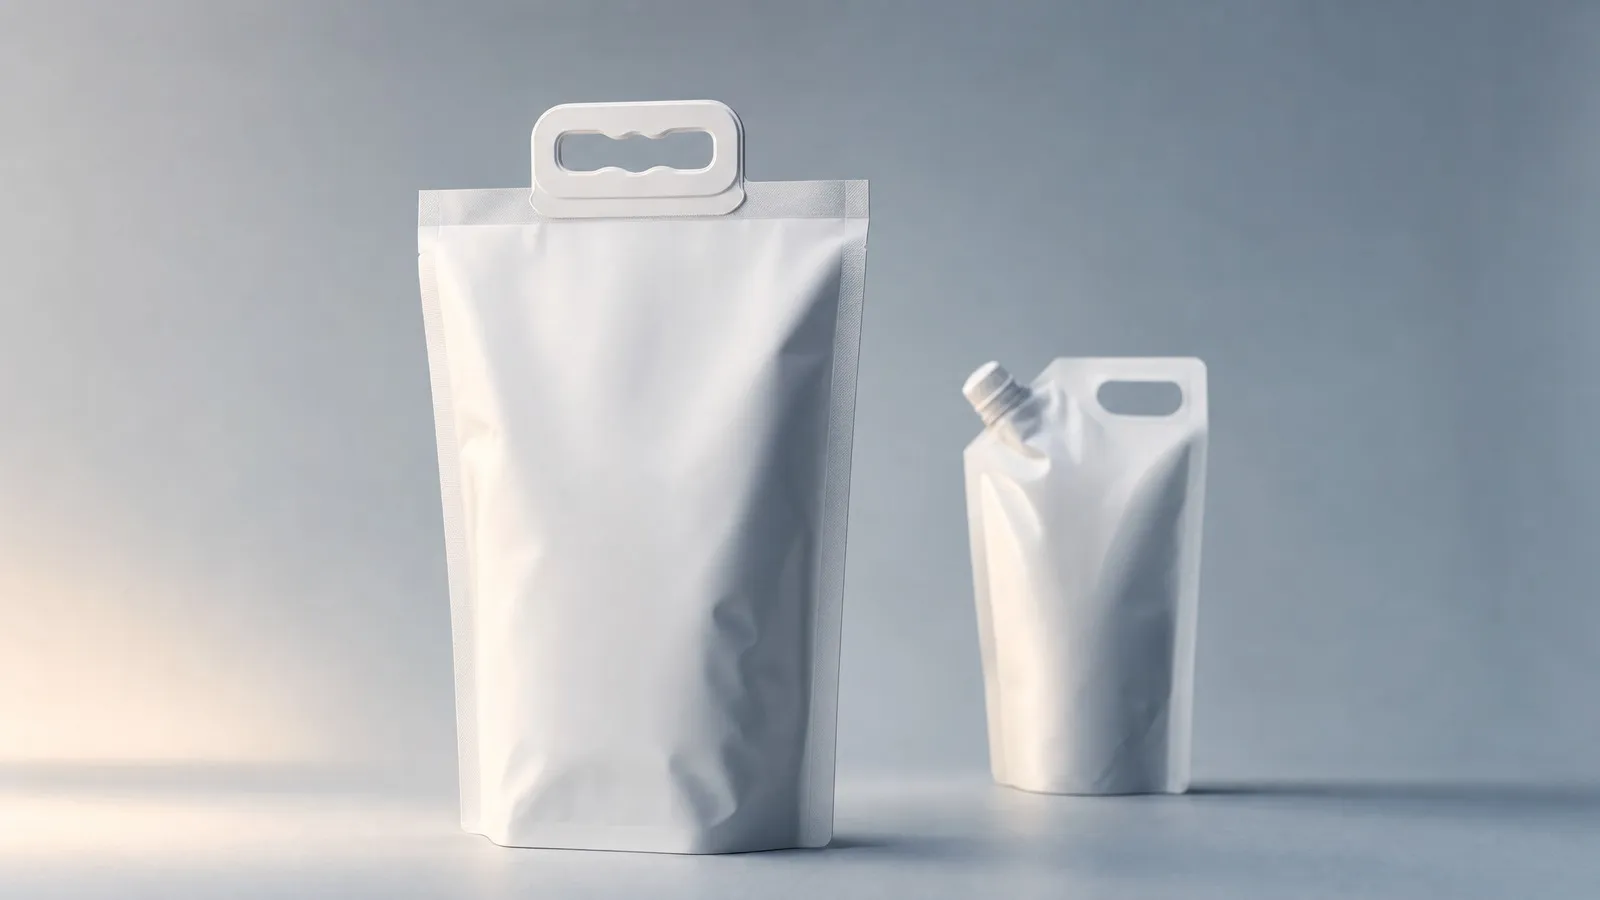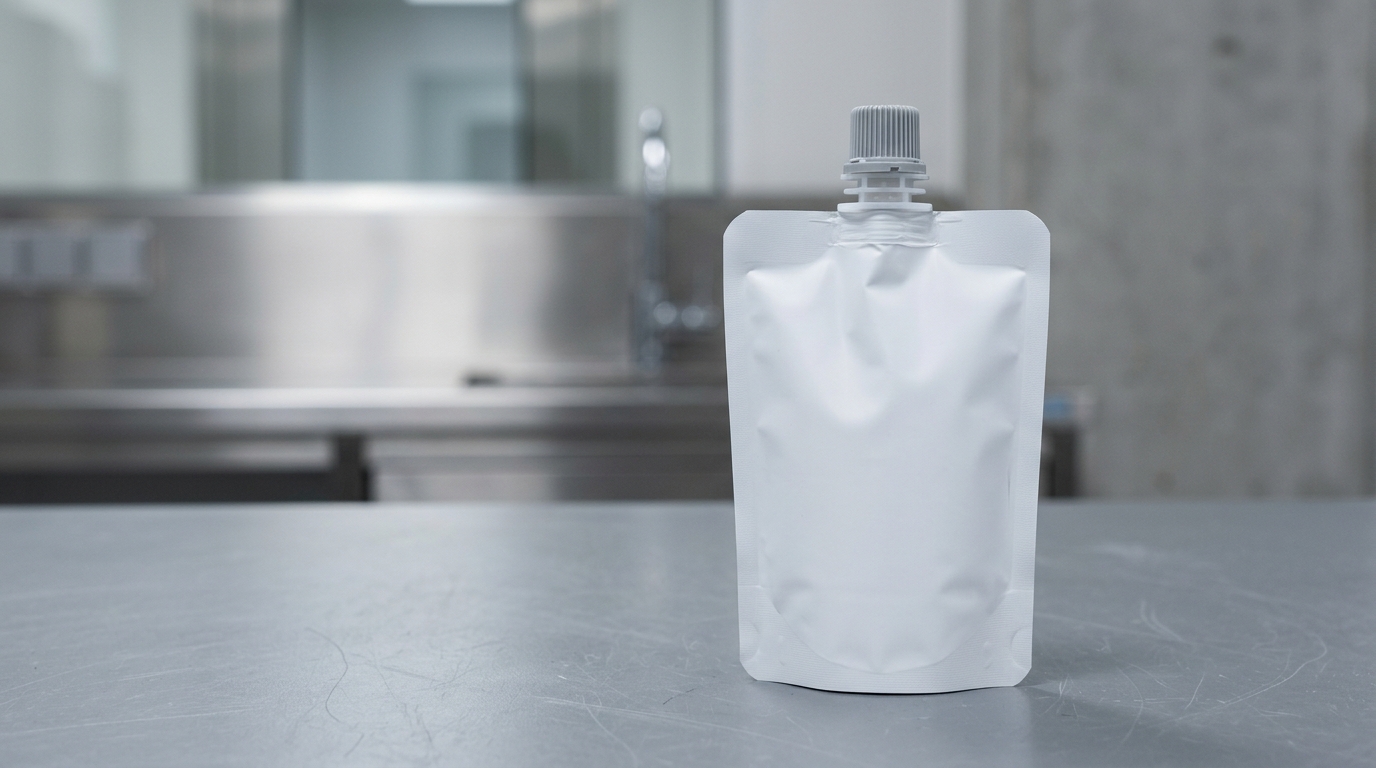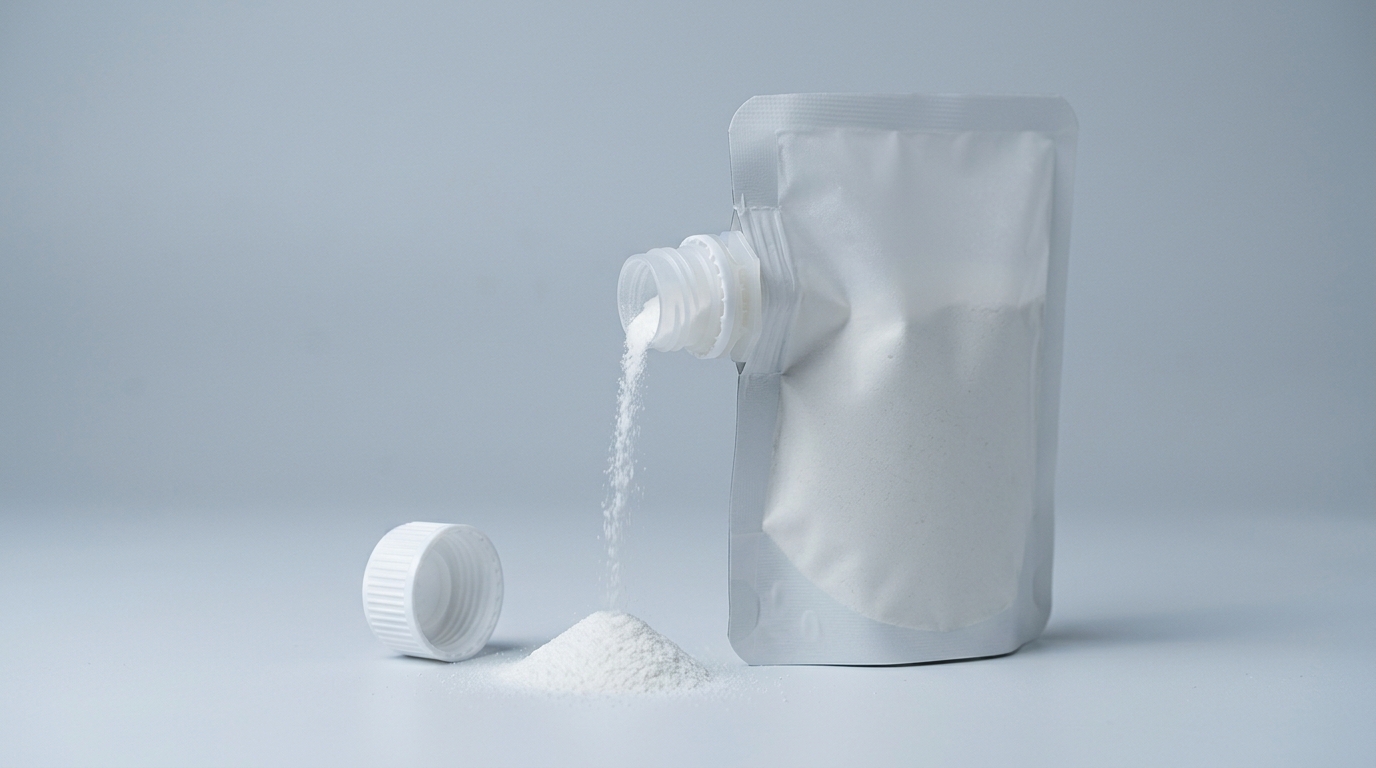


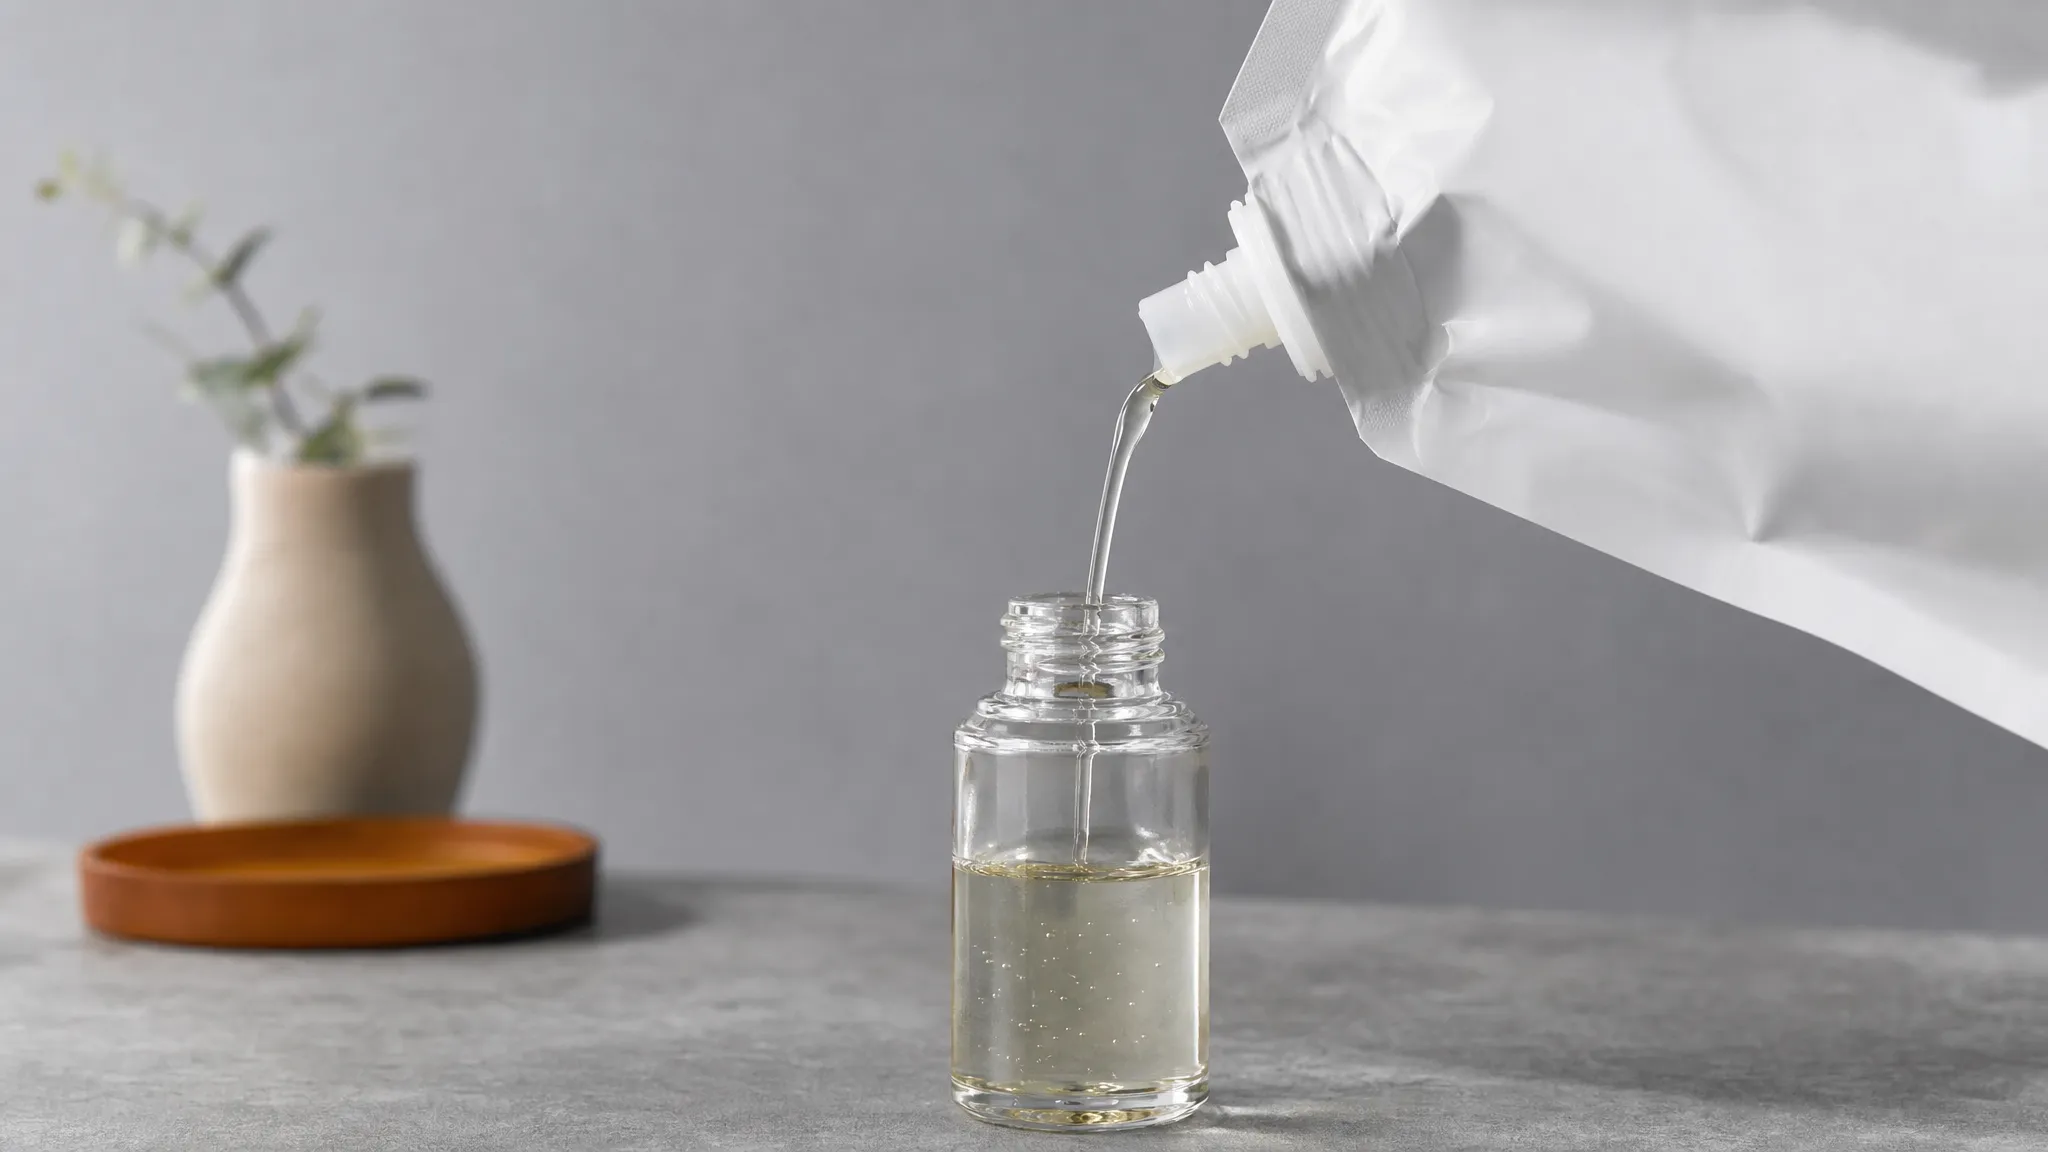
Direct answer. Pouring a refill pouch into a bottle is a transfer task, and it fails for reasons that have nothing to do with whether the cap keeps a seal. A refill pouch spout for bottles is judged on a single action: product leaves the pouch, crosses a gap of air, and lands inside a bottle's opening — cleanly, without splashing, and close enough to empty that the customer is not left shaking the last of it into a sink. Three things decide that outcome: the pour-side geometry of the spout, the bottle's opening, and the product itself. Align them and the pour is unremarkable; misalign them and you get a complaint nobody can reproduce on the line.
One boundary belongs at the top, because the phrase invites the wrong reading. The spout does not attach to the bottle. It is not a pour spout that screws into a bottle neck, and it is not selected to match a bottle's threads. It is welded into the pouch film, and its job is to deliver the pouch's contents toward the opening you pour into. If what you need is a component that mates to a bottle, this is not that part, and no specification on this page turns it into one.
This page is written for the person specifying the pack — a packaging engineer, product developer or buyer of a stand-up pouch or doypack for a refill product — not for a shopper buying a finished refill pouch. The same fitment has other jobs — filling the pouch, closing it, surviving repeated opening — and those are covered in their own places. This one is about the pour, and how to confirm it before you commit to a specification. If you are choosing the closure at the same time, the spout caps by content hub maps which fitment suits which fill.
Refill Pouch Spout for Bottles: What the Task Actually Is
A refill pouch spout for bottles is the weld-in fitment on a stand-up pouch that a user pours from when transferring liquid or concentrated product into a bottle. Its design question is transfer rather than sealing: whether the product leaves the pouch cleanly through the spout, reaches the bottle's opening, and lands inside it without missing.
Stated that way, the task immediately rules things in and out. It rules in the pour-side features: the bore the product passes through, the outlet it exits from, and the reach of that outlet. It rules out, for this question, thread forms and torque windows, which govern how well the closure stays shut rather than how well the product goes out. Both matter to the pack; only one answers the pour.
One more distinction belongs here, because "refill" is doing two jobs in packaging language. A refill pack is a pouch that replaces a bottle's worth of product. A reusable pouch is one that is refilled itself, many times, over its life. A refill pack is often a single-transfer pack: it is opened once, emptied into the bottle it was bought to refill, and recycled. Nothing about the word "refill" requires it to be reusable, and the two ideas put different demands on a closure. This page stays on the single-transfer case.
Pouring, Filling and Resealing Are Three Different Jobs
The same spout meets three tasks in its life, and a fitment that is excellent at one can be merely adequate at another. Separating them is what stops a specification from arguing past itself.
Task | Who does it | What it loads on the spout | How it is judged |
|---|---|---|---|
Filling | The packer, on a filling line, once | The spout is handled, opened or pierced, and closed at speed | Fill rate, seal integrity after capping, line uptime |
Pouring / transfer | The end user, once, at home | The pour-side path: bore, outlet, and how far the outlet reaches | Does it land in the bottle, and does it finish cleanly |
Resealing | The end user, repeatedly, if the pouch is reused | Thread, sealing face, hinge or tether, over many cycles | Retention, leak-tightness, thread wear over a cycle series |
For a single-transfer refill pack, the pour is the only task the closure meets in the user's hands, and it is over in seconds. That is what makes it easy to ignore — and expensive to get wrong, because a bad pour is the moment the customer forms an opinion of the whole product. The mechanics of repeated opening are a separate problem with separate tests; where a pouch really is reused, the cycle-side work is set out in what repeated opening does to a refill pouch closure. Keep the two apart in your brief, or you will buy resealability you do not need and skip a pour check you do.
The Four Things That Decide Whether a Pouch Pours Cleanly
Four variables, not one, set the pour of a refill pouch spout — and they interact, which is why no catalogue figure settles it.
Variable | What it controls | What to fix if it is wrong |
|---|---|---|
Pour-side geometry — bore and outlet | How much product leaves per second, and in what shape of stream | Match the bore to the product's thickness; a narrow bore throttles a thick product |
Outlet reach and shape | Whether the stream arrives at the opening or starts on the rim | A longer, narrower outlet reaches past the shoulder of a taller bottle |
The receiving bottle opening | How much room the stream has, and how much air can escape | Measure the real opening, not a nominal bottle size |
The product itself | Viscosity, particulates, temperature, surface tension | Re-test after any change to the formula or the fill temperature |
Two of these are the supplier's to answer and two are yours. Bore and outlet shape are component decisions, and the fill they have to suit is the subject of spout caps by fill type. The bottle opening and the product belong to your application — and a brief that supplies only the first half gets half an answer.
Match the Spout to the Bottle Opening, Not the Bottle to the Spout
Once you accept that a refill pouch spout and the bottle never touch, the pour becomes a geometry problem with an obvious sequence: describe the bottle opening first, then choose the outlet that pours into it, then check the pair against the product.
Start from the opening you are pouring into. What matters is the diameter of the actual hole, how far the rim sits below the bottle's shoulder, and whether there is a neck the stream has to clear. A bottle mouth you have measured beats a bottle size you have assumed: two 500 ml bottles can present quite different openings, and the pour follows the opening.

Then pick the outlet that reaches it. A short, wide, mushroom-style outlet pours well when the target is directly below it and generous in diameter; it is the wrong choice when the stream has to clear a shoulder and arrive inside a narrow mouth, where a longer, narrower pour side delivers the product into the mouth instead of onto the rim.
Then size the bore against the product. A thin liquid runs out of almost any bore, but a narrow one throws a faster, thinner jet that slaps the bottle wall even though it empties the pouch more slowly. A thick product is the opposite problem: too small a bore turns the pour into a wait, so the fitment is squeezed like a sachet to move the contents at all. Somewhere between those two is the bore that empties the pouch in a time a person will tolerate and at a flow they can aim. This is per-product, not per-category: laundry detergent and shampoo refills sit at different points on the viscosity scale, so the bore that pours detergent well is not automatically right for shampoo.
Then account for the air. A bottle is not empty space: it is full of air, and every drop that goes in has to push air out through the same opening. If the opening is small relative to the flow, liquid and air fight for one hole; the air leaves in bursts, the stream surges with each one, and product splashes past the mouth instead of landing in the bottle. The same interrupted flow is what makes a narrow-necked bottle glug when you pour out of it, and it works against you on the way in. A lower pour rate, reached through a smaller bore, is often the whole fix.

The sequence produces a short matrix worth writing down before you brief anyone:
Product and target | What to confirm first |
|---|---|
Thin liquid into a wide-mouth bottle | Pour rate and splash at the rim — the geometry is forgiving, the flow is not |
Thin liquid into a narrow-neck bottle | Glugging and surge; a smaller bore lowers the flow rate — check the thinner jet still lands in the neck |
Thick product into a wide-mouth bottle | Bore big enough to empty it; whether the customer will squeeze |
Thick product into a narrow-neck bottle | Whether a pourable spout is the right format at all, or the pack should answer to a different task |
If the last row keeps coming up, the answer may be a different closure rather than a cleverer spout, and the sizes on offer are set out with their applications in the spout cap diameter guide.
The Sample Set: What to Send, and What a Supplier Needs Back
Everything above is a hypothesis until it meets your pouch, your bottle and your product. That is why a pour recommendation cannot be made from a description: a fitment that pours beautifully into one bottle can miss another, and the difference shows up only on the real articles. A model can be recommended once the pouch sample, the bottle sample and a representative use are on the table; until then, any answer is about somebody else's pack.
This sample set turns a general question into a specific one. It is deliberately short; each line is something the supplier cannot infer. Minimum order quantities come later: sample sets are quoted before MOQ is discussed, and MOQ applies to the production run, not to the test.
# | Send | Why it changes the answer |
|---|---|---|
1 | A pouch sample with the film structure and the fitment you intend to use | The outlet that suits the job depends on the fitment actually welded to your film |
2 | A bottle sample, or its opening measured: bore, rim, depth, thread | The opening is half the pour; a bottle size alone is not enough |
3 | A representative use — product, viscosity, fill volume, pour angle, use temperature | The same spout is smooth on a thin product and a struggle on a thick one |
4 | A filled sample — the pouch with its product in it | Empty pouches pour differently; residue and temperature only show up loaded |
5 | Your acceptance criteria | "Pours cleanly" is not testable until it is written as a limit |
6 | Who runs the test, and where | Decides whether the result is a lab figure or a line-plausible one |
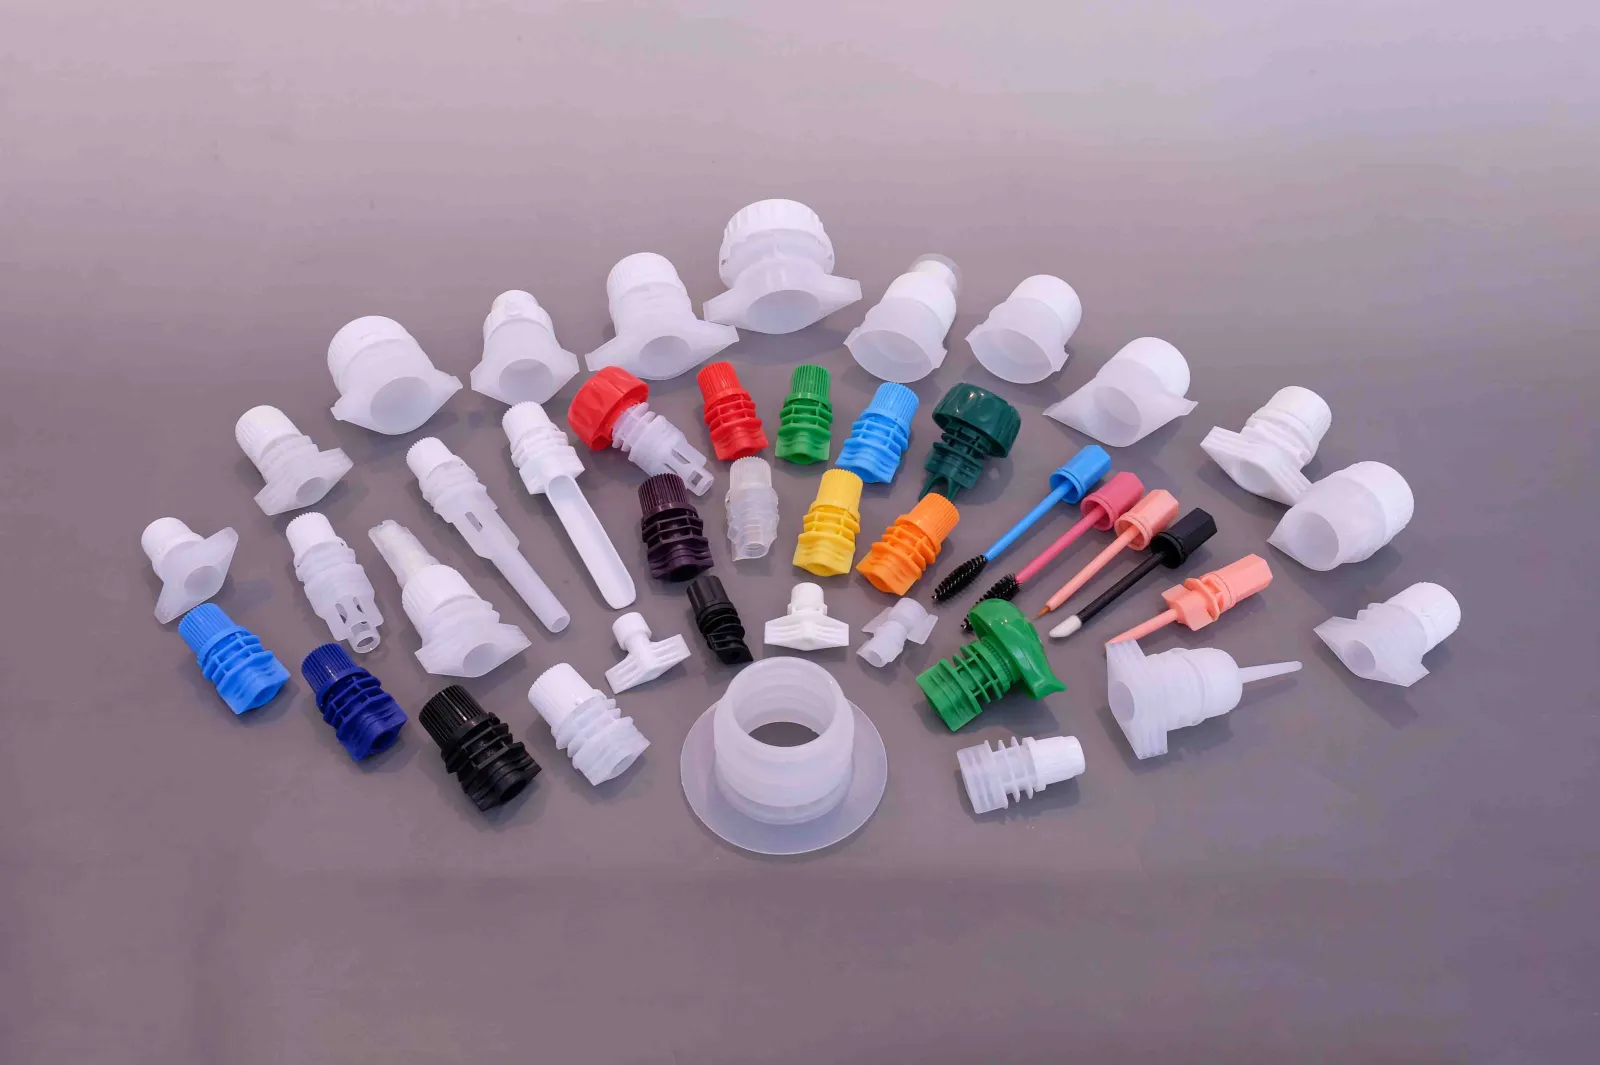
Two notes on sending samples. First, the sample pouch is worth more than a datasheet: it is the only object that carries the film, the weld and the outlet together, and a high-barrier laminate welds differently from a mono-material PE structure, so the same outlet can behave differently on each. A supplier testing against your own film answers your question rather than a generic one. Second, state the use before the pack is finalised — the pour angle, the target bottle, the temperature and the volume. That is the difference between a fitment that works and one that was merely available. The sample validation planner is a structured way to assemble those inputs before the first enquiry.
A Pour Test You Can Run in an Afternoon
A pour program does not need a laboratory. It needs a filled pouch carrying your refill pouch spout, the real bottle, and four measurements taken the same way each time.
- Fill the pouch to its working volume, not to its stated capacity, with the product at the temperature it will be used at. Record both.
- Set the pour position — the angle and the height the customer will actually use — and hold it there for every run, so the runs are comparable.
- Pour into the target bottle and time it from first flow to last drip, stopping when the customer would stop.
- Measure four things, not one: time to empty to the customer's stopping point; product left in the pouch when they stop; any overspill or splash at the mouth; and how much effort the pour took, including any squeezing.
- Repeat enough times to cover the spread — a handful of runs, more if the product is thick or the mouth is tight.
- Write it against a limit fixed before the first run, and keep the filled samples.
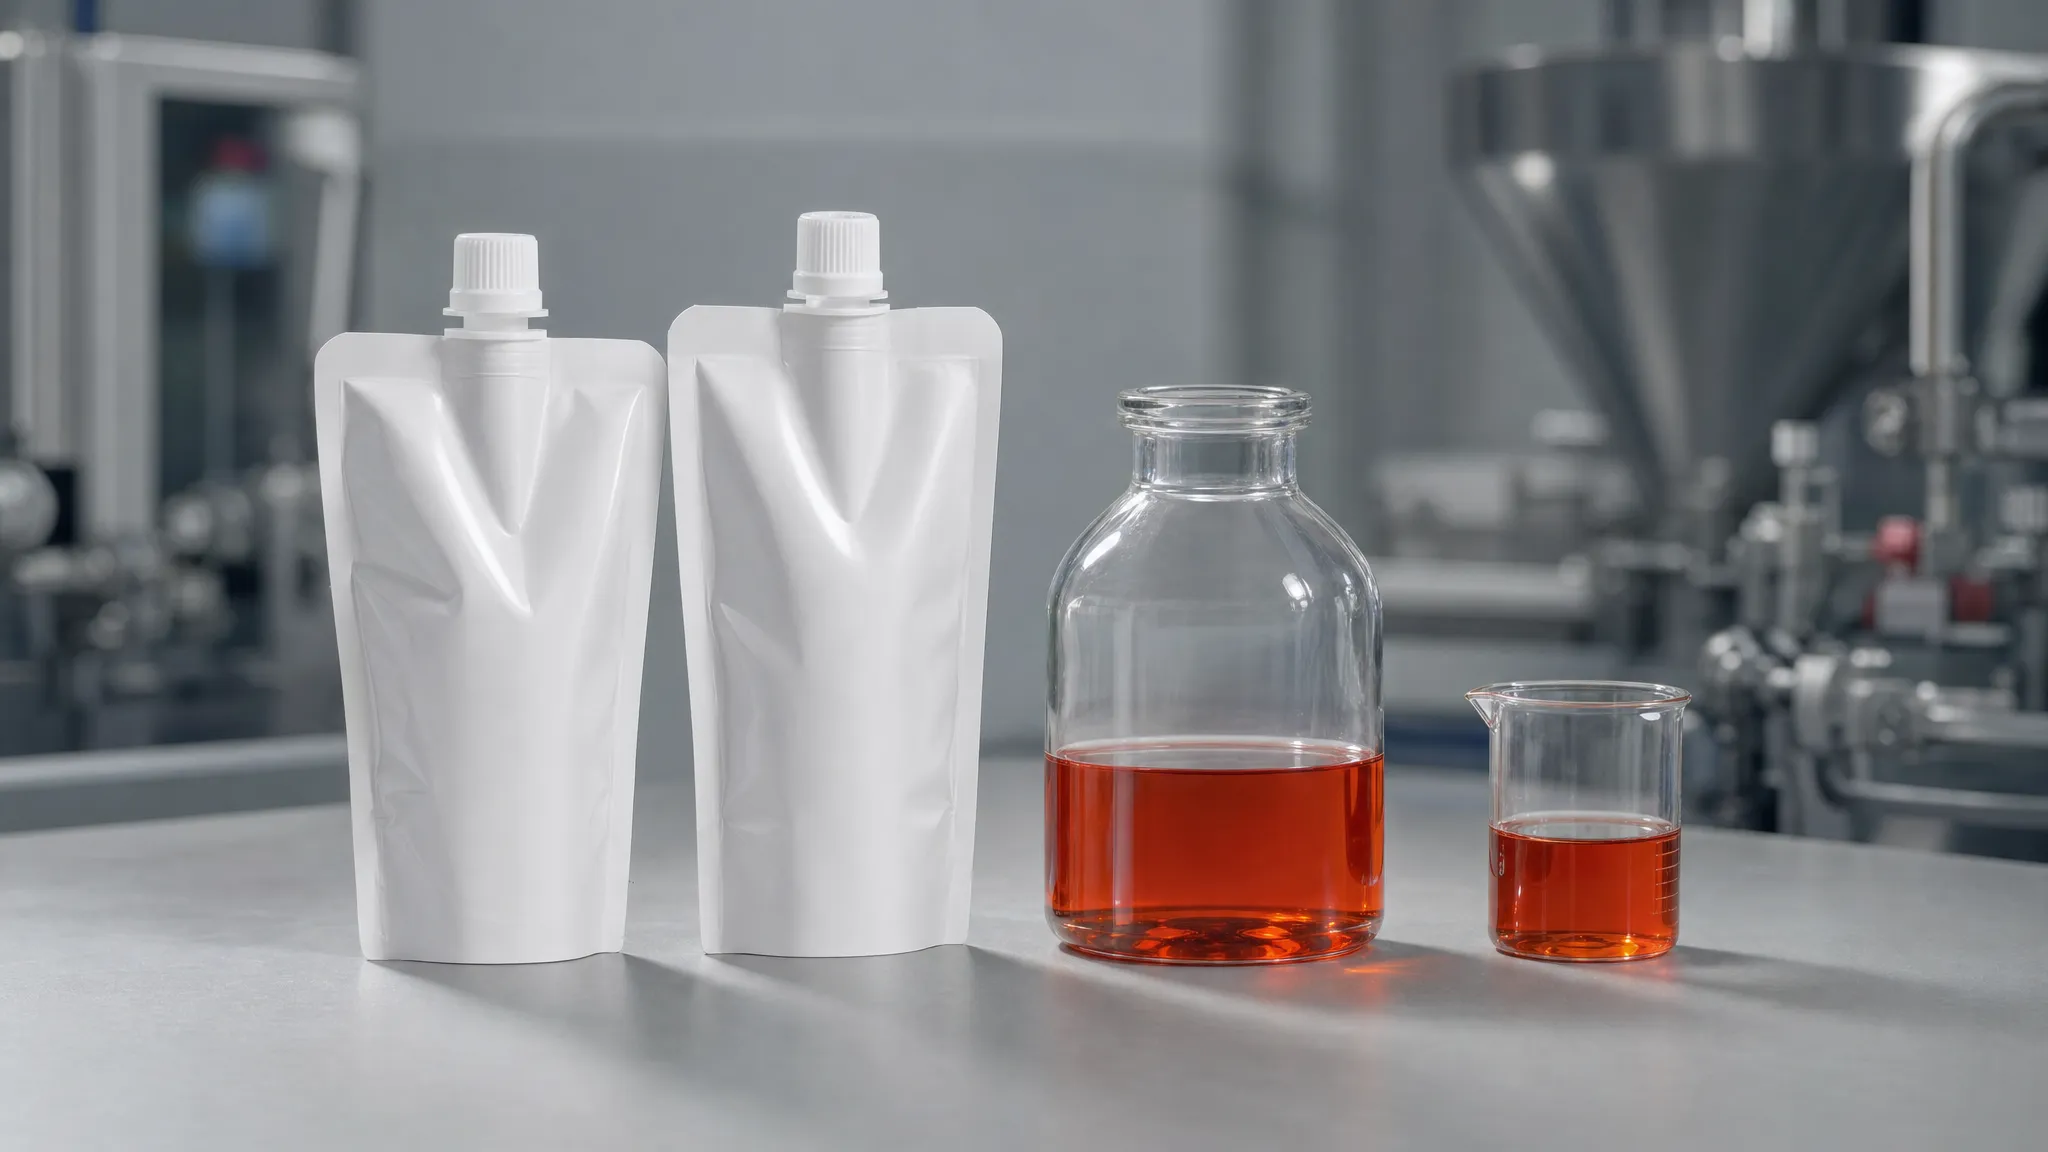
The discipline is in taking four readings rather than one: a pouch can empty quickly and still leave product behind, or drain completely while splashing every time — and a test that records only "how fast" reports both as identical. Fix the stopping point, the pour position and the temperature before the first run; chosen afterwards, they turn a test into a search for the result you already wanted.
What No Catalogue Can Tell You
A catalogue describes a part. It cannot describe your spout pouch, your bottle and your product poured together, and three claims that look useful are not available at the quoting stage.
No spout in this family mates to a bottle. You will see pour spouts that fit bottle necks — they are bottle accessories, and this is a different component class. A pouch fitment is welded into film. Asking whether a pouch spout "fits" a bottle's threads is asking about a connection that does not exist.
No model is interchangeable by default. Two fitments with the same bore can differ in outlet length, sealing face and film weld area, and the pour is decided by the outlet, not the bore alone. "Same size" is not "same result".
No compatibility with your equipment is implied. Whether a fitment suits your filling line, your sealer, your capper or your packing format is a separate question from how it pours, with its own checks. A supplier who answers the equipment question from a product page has not answered it.
What a supplier can do is convert a sample set into a specific recommendation. That is the honest order of operations: the pouch sample, the bottle sample and a representative use first, then a model named. If the pack carries a refill claim for the EU market, note that Regulation (EU) 2025/40, the Packaging and Packaging Waste Regulation, applies from 12 August 2026 and puts design requirements on packaging placed on that market, while the material that touches product — the fitment included — sits under the food-contact framework of Regulation (EC) No 1935/2004. Both are documentation lines for the component file, not pour performance, but they belong in the same brief.
A pour recommendation has one honest order: samples first, then a model. Anything that names a fitment before it has seen your pouch, your bottle and your use is answering a different question — and the difference only shows up at the sink.
Write the Pour Task Into the Brief
Most refill pouch spout problems are decided in a two-line email that named neither the bottle nor the product. Five lines fix that.
Line | What to write | Why it decides the pour |
|---|---|---|
Target bottle | The opening bore, rim and depth, or a bottle sample | Half the pour is the opening, not the spout |
Product and condition | Viscosity or a description, fill volume, pour temperature | Sets the bore and whether squeezing is acceptable |
Pour position | Angle and height the customer will use | A fitment that works held vertically may splash at an angle |
Acceptance limits | Time to empty, residue, splash, effort — with numbers | Turns "pours cleanly" into something a test can fail |
Documentation | Food-contact declaration and any scheme the buyer requires | Keeps the fitment usable in the pack you are building |
Two habits make the brief work harder. Send the pouch and bottle together rather than describing them, and ask for the pour answer against your samples rather than a stock recommendation. The spout caps product page lists the fitments that can be offered — food-grade PP or PE, 1.2 mm to 40 mm bore, for stand-up pouches and doypacks, including low-temperature sealing grades that weld at 110–130 °C into mono-material recyclable PE film, so the film can stay one material instead of a laminate. Which one suits your pour is still the part that has to be tested.
Next Step
Take the order seriously: describe the bottle opening and the product, send a filled pouch and the target bottle, state the pour position and the limits, and ask for the pour to be tested on your samples rather than quoted from a page. That sequence answers the question in one round instead of three, and it is the only route to a model recommendation that will hold on your pack.
Ruihua molds food-grade PP and PE spout caps from 1.2 mm to 40 mm for stand-up pouches and doypacks, is certified to ISO 9001 and HACCP with FDA and EU 1935/2004 food-contact documentation, and checks fitments on dimensional and air-tightness equipment on a sampling basis before they ship. Send your pouch sample, your bottle and the use you have in mind, and we will tell you which outlet to test first. Request samples or a quote to start.