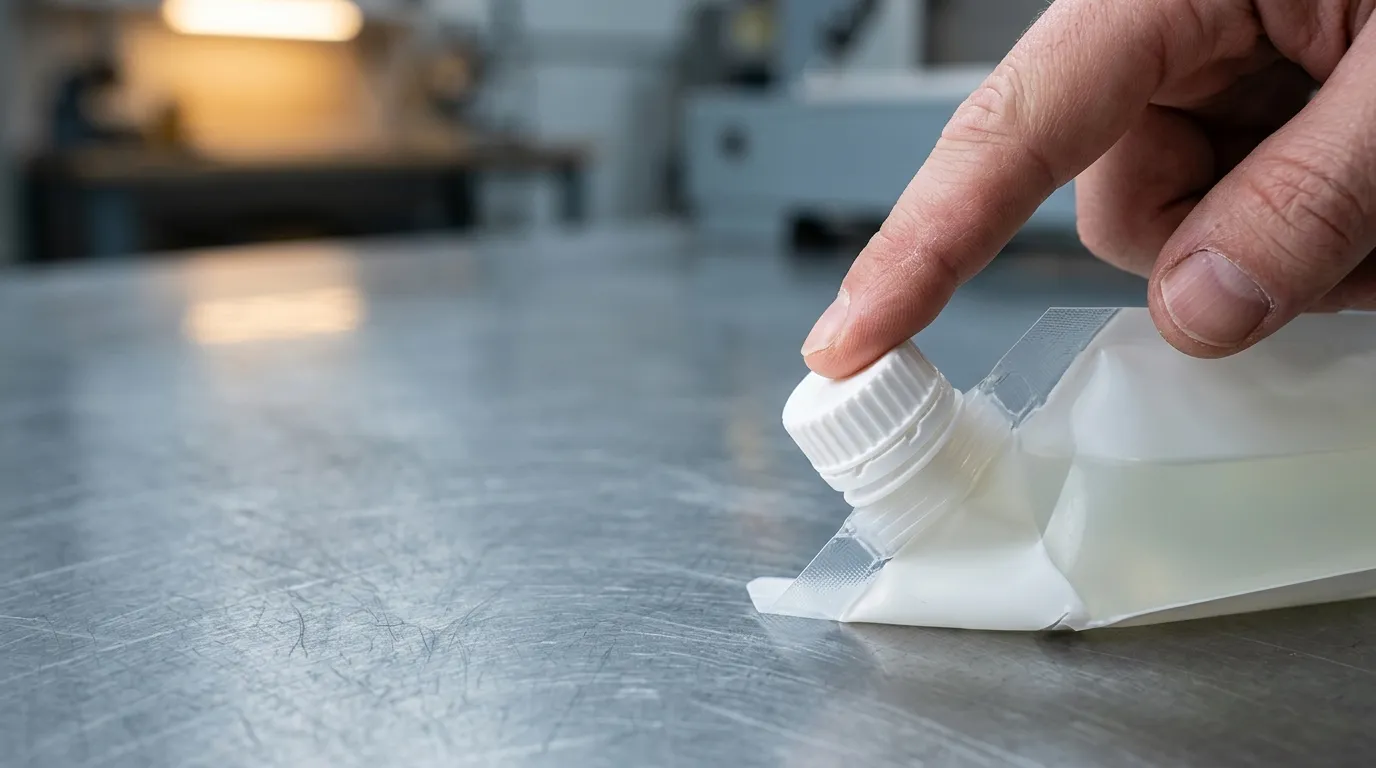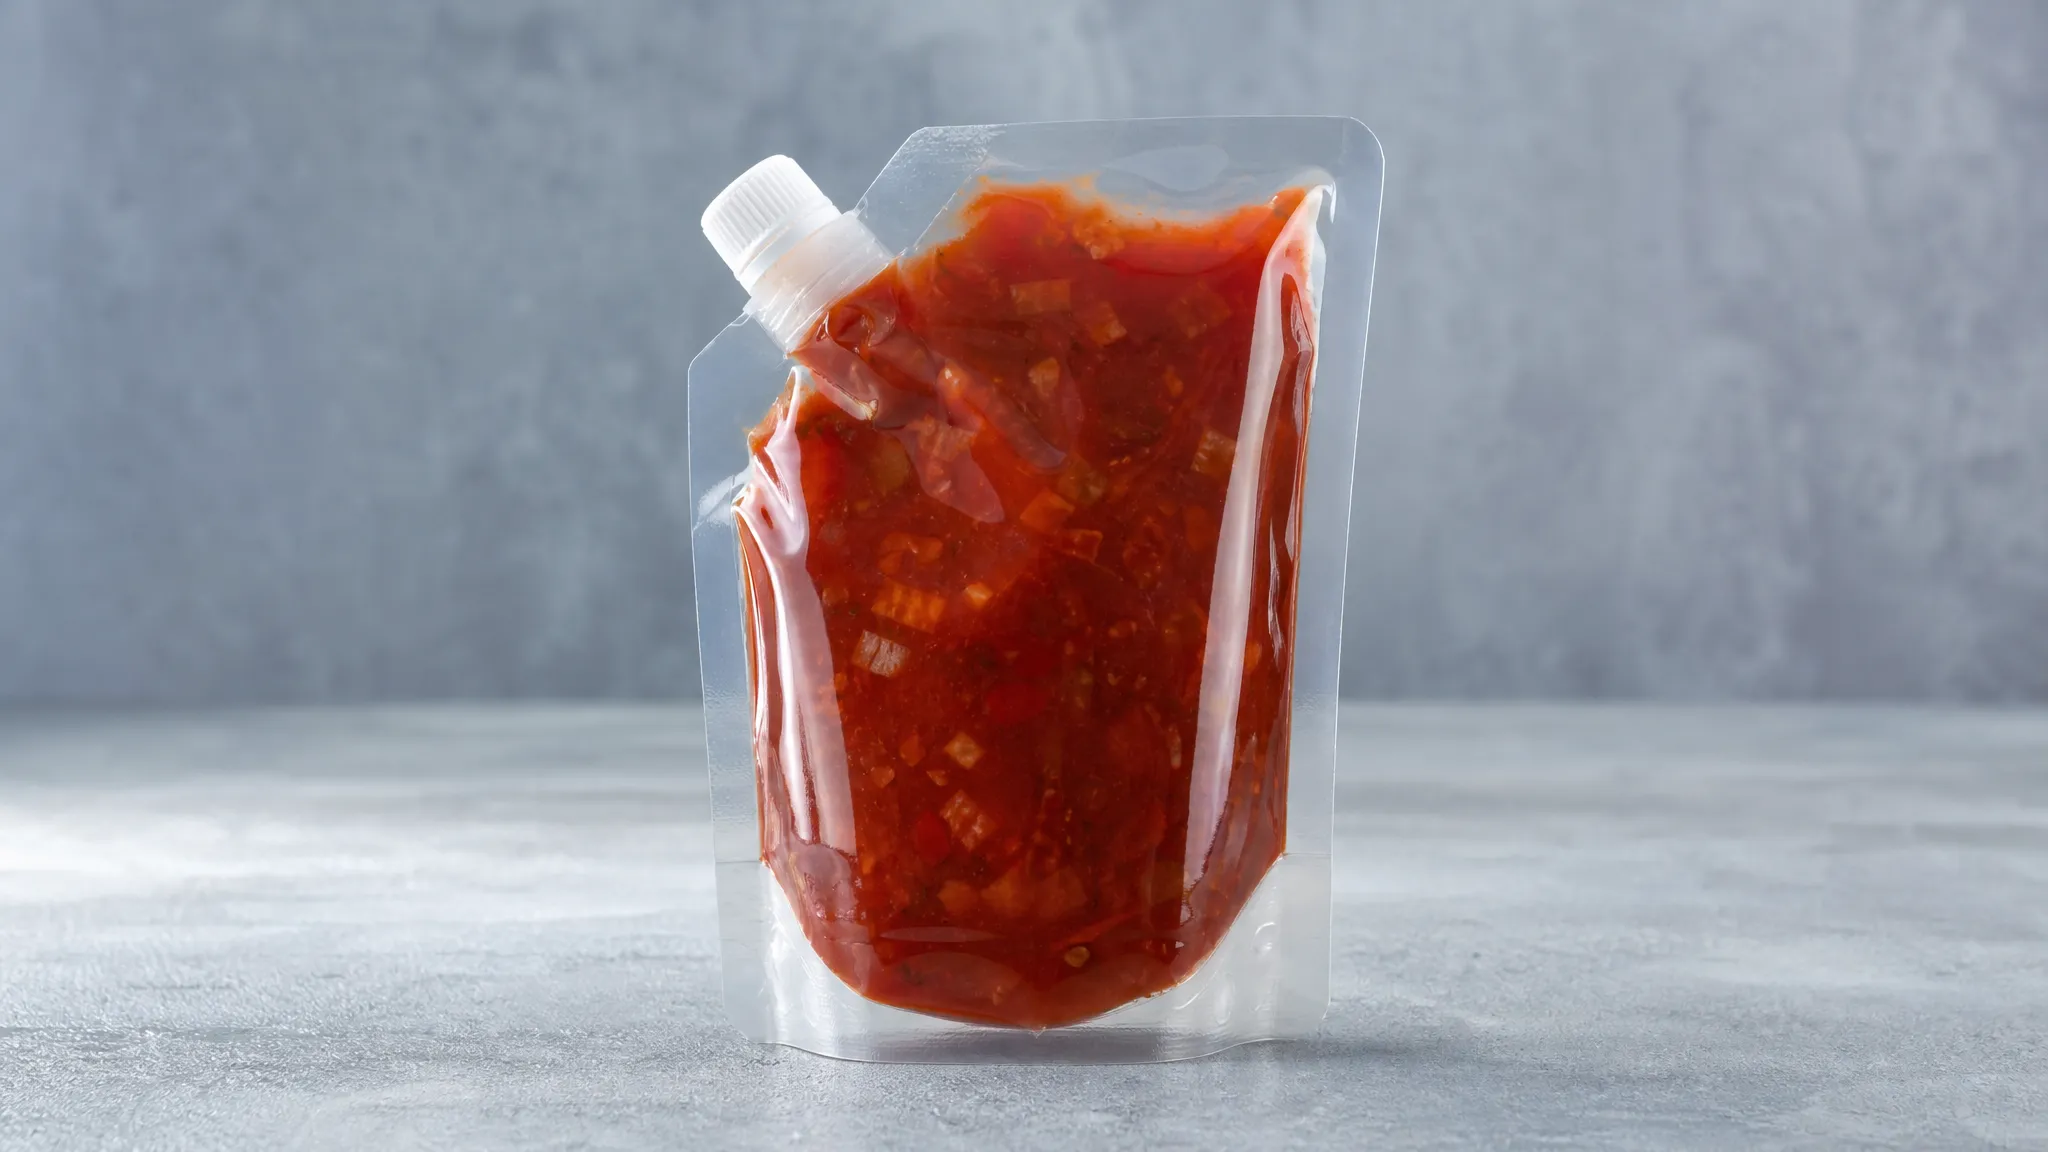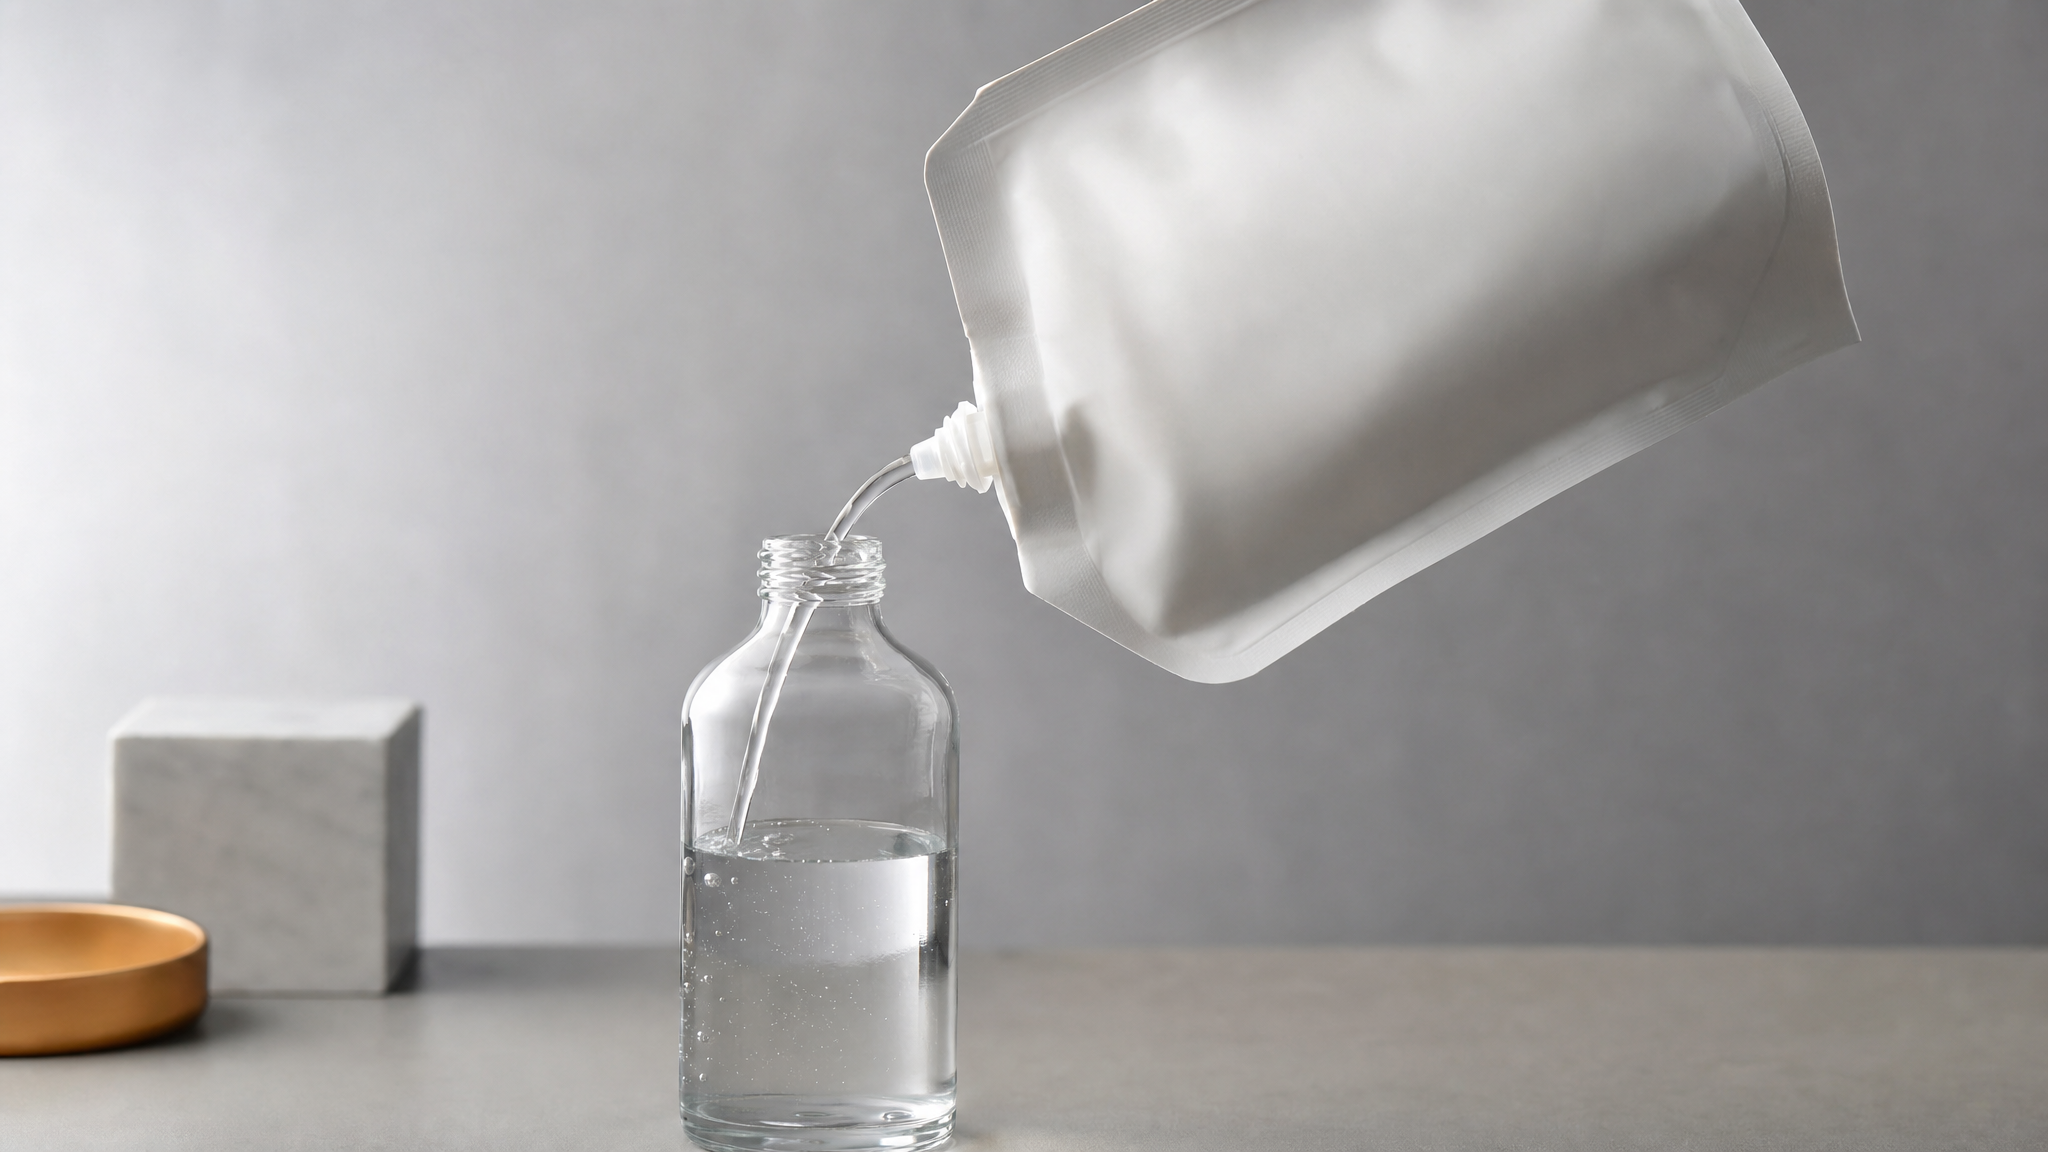

Direct answer. Dishwashing liquid refill pouch packaging is decided by three things that no specification sheet measures: how much the product foams when it is poured, how much of it refuses to leave the pouch, and where the stream actually lands. Test those three before you commit to a closure, in a balanced sequence, with five to eight people and a written record. Everything below is the protocol — the sample set, the three provocations, the sheet you fill in, and the rule you write down before the first pouch is opened.
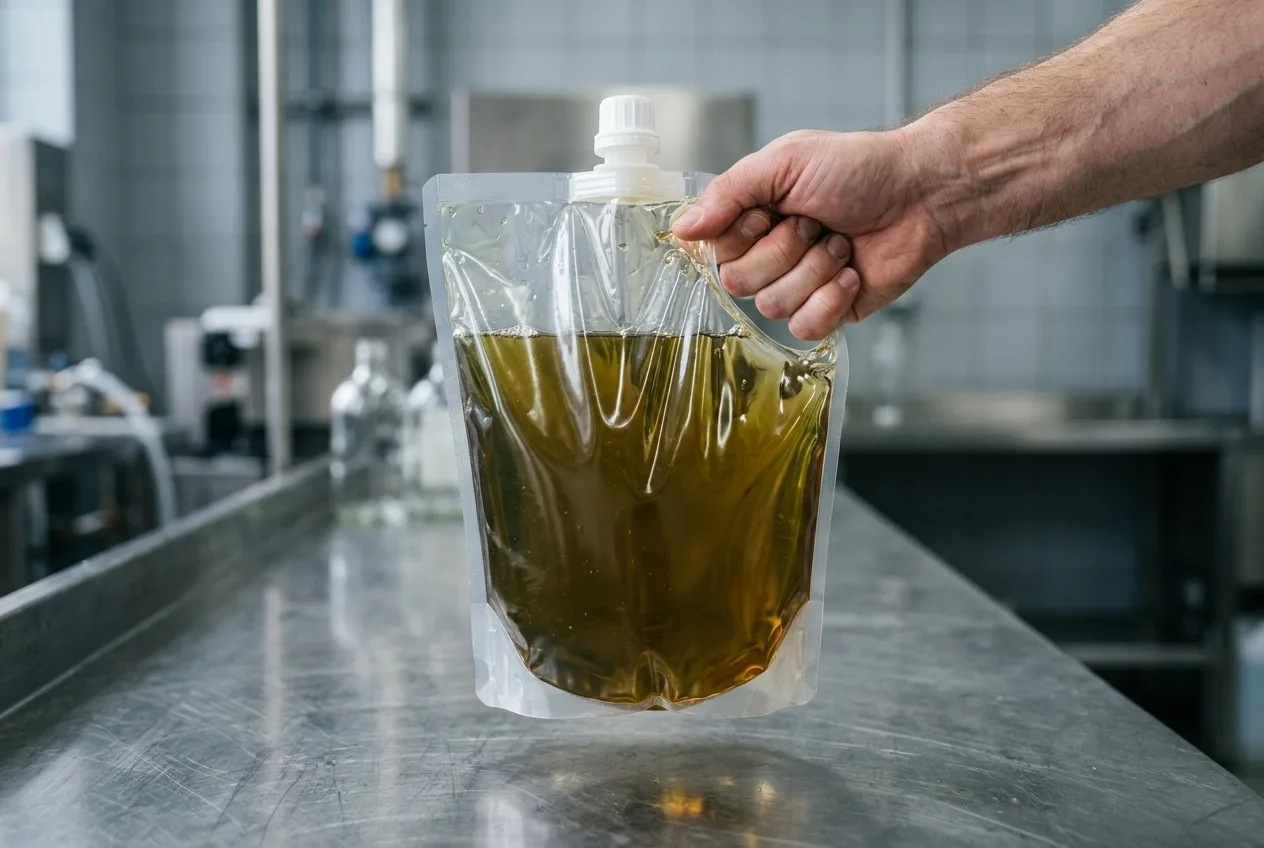
The object is specific, so the test can be too. A dish soap refill sold in a stand-up pouch is normally 500 ml to 2 L of surfactant solution in a doypack with a welded spout fitment and a screw or flip lid. The consumer takes it home, opens it, pours it into the bottle they already own, and puts the pouch on a shelf for the next top-up. That sequence is short, and every step in it puts a different load on the same few square centimetres of plastic.
Why bother testing at all? Because the alternative is arguing. A converter can show you a weld strength report and a closure can arrive with a certificate, and neither document will tell you whether a customer with wet hands can get the last 200 ml out of a pouch at the back of a cupboard. This is a usability question, and usability questions are answered by watching people, not by reading drawings.
Why a dishwashing liquid refill pouch is harder on its closure than a food pouch
Start with the product. Dishwashing liquid is water with surfactants in it, thickened to somewhere between "pourable" and "gel". It is heavier than water, it wets surfaces readily, and it produces foam whenever it is agitated. None of that matters much in a bottle with a 28 mm neck and a rigid wall. All of it matters in a pouch.
Four properties do the damage.
Weight without structure. Two litres of detergent is over two kilograms, and the pouch holding it has no rigid wall to carry the load. When the pouch is tilted for a pour, the film at the bottom sags and the product sits against the fitment at a pressure that depends on how the pouch is held — not on anything written in the closure drawing.
Squeeze as a second pump. A bottle empties by gravity. A pouch empties by gravity until it is about two-thirds gone, and then people squeeze. That squeeze is a pressure source the closure was never asked to contain: it drives product through the bore faster than the bore was designed for, and it drives foam out ahead of the liquid.
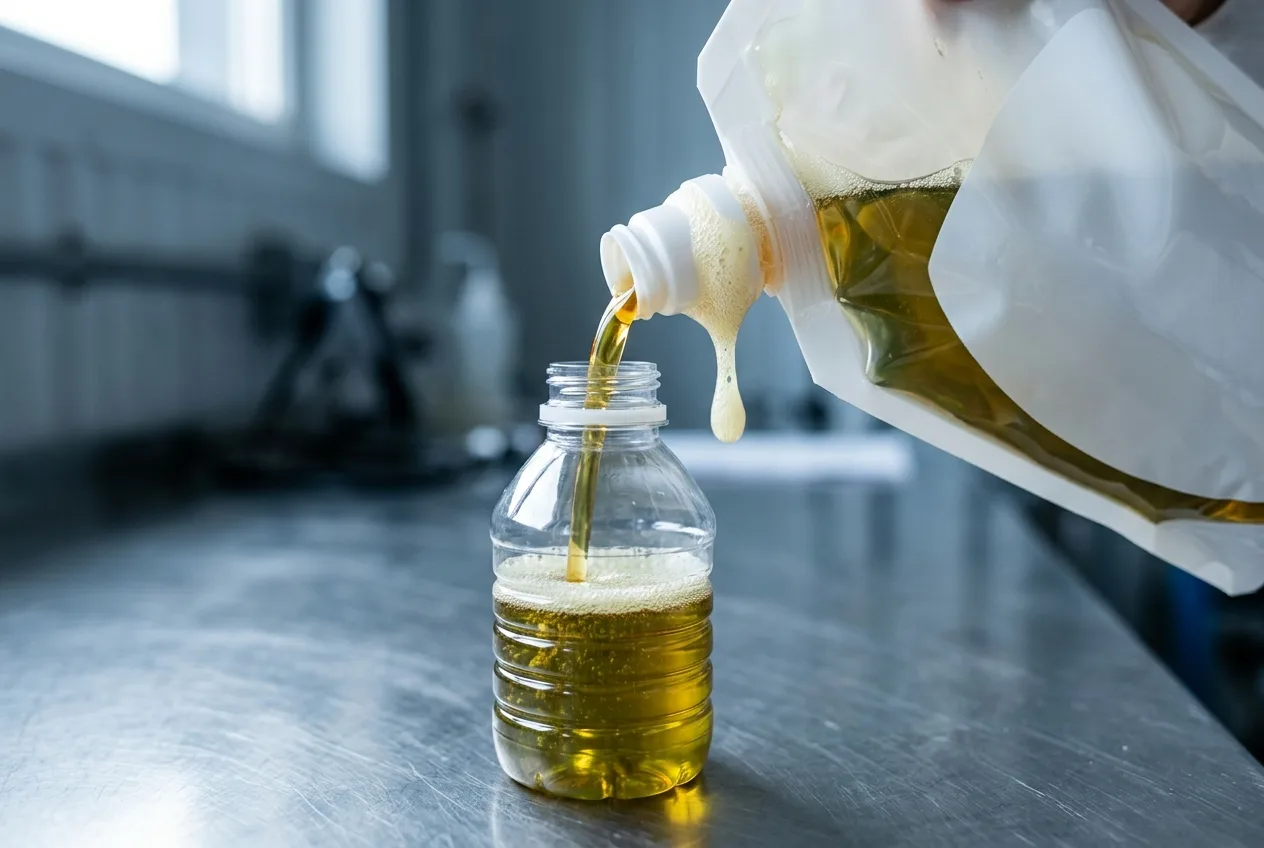
Surfactants and foam. Foam is not a defect in the product; it is the product working. The same molecules that lift grease from a plate also stabilise the thin film around an air bubble, which is why a detergent foams and a glass of water does not. Agitation during transport, a shake before pouring, and the collapse of the film during the pour all entrain air. The suds occupy volume in the spout channel, they carry product onto the outside of the cap, and they make it impossible to judge how full the receiving bottle is.
A surface that stays wet. This cap is opened at a sink, by a person holding a heavy pouch, often with detergent already on their hands. The force they can apply to a lid is lower than the force the same person applies to a dry lid at a desk, and nobody specifies the wet case.
Put those four together and the failure pattern is predictable: foam at the lip, product down the outside, residue in the pouch, and a cap that becomes unpleasant to open the second time. That pattern is what the protocol below is built to reproduce.
What you are testing: a closure system, not a pouch cap
It is tempting to treat the lid as the thing under test, because the lid is what the hand touches. That framing produces results you cannot act on, because most of what goes wrong happens at an interface rather than in a part.
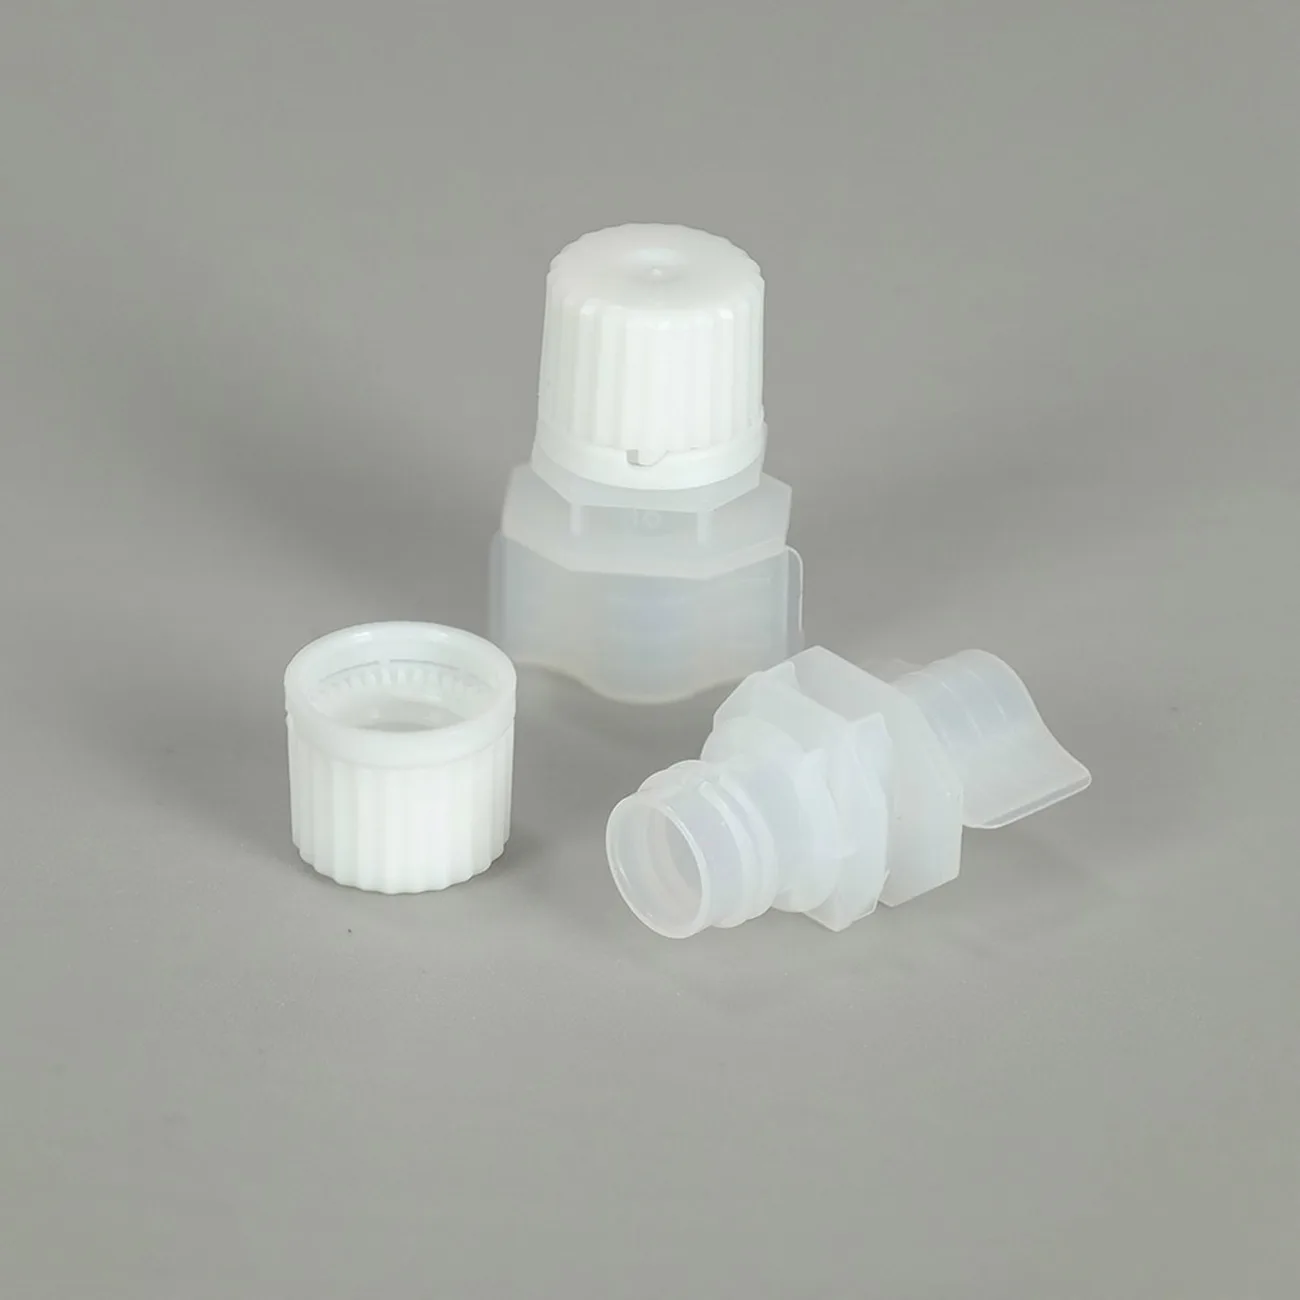
There are four interfaces in a spouted refill, and a test that ignores any of them will misattribute the cause:
- Film to fitment. The weld flange is where leaks and weeping start. A pour test cannot see this joint; a leak check can.
- Fitment bore. The bore sets velocity. Too narrow and the stream jets and splashes; too wide and the pour has no control at all.
- Lid to fitment. Thread engagement, hinge, or plug — this is where foam and dried residue change the feel of the pack between the first open and the tenth.
- Lid to hand. Grip area, ribbing, and the height a thumb can reach while the other hand supports two kilograms.
A closure supplier ships the fitment and the lid as a matched pair, which is why the first and third interfaces have to be judged together rather than bought separately and hoped over. We supply that closure half — spout caps and fitments for stand-up pouches, including parts specified for detergent and daily-chemical liquids — which is why this page treats the four interfaces as one decision rather than four. The hub for spout caps by content groups the rest of this site's material by what goes into the pouch.
So the unit of testing is a filled pouch, not a cap on a bench. A spout pouch only becomes one product once the fitment is welded into the film, and every measurement below is taken with the product in the pack, at the fill level it will ship at, because foam and residue only exist in a filled system. The bore diameter guide covers the second interface in more detail than a test plan should.
Build the sample set before you test anything
In dishwashing liquid refill pouch packaging most home-made tests fail here rather than at the measurement stage. Two variants are compared, one performs better, and nobody can say whether the difference came from the closure or from a different film, a different fill temperature, or a different production week.
Fix everything you are not testing. Same film structure, same fill weight, same fill temperature, same product batch, same fill date, same conditioning time before the test. Then vary one thing at a time.
Variant | Held constant | Varied | What a difference would mean |
|---|---|---|---|
A — baseline | Film, fill weight, product batch, conditioning | Nothing (reference) | Establishes the noise level of your own method |
B — bore change | As A | Fitment bore only | Isolates velocity and foam behaviour from the closure design |
C — lid change | As A | Lid type only (screw vs flip) | Isolates the hand interface from the flow path |
D — film change | As A | Film only (e.g. a mono-material PE structure) | Isolates collapse behaviour, which drives the last-third squeeze |
Control | — | The bottle the consumer uses today | Gives every number a meaning without inventing a threshold |
The control is the part people skip, and it is the most useful row in the table. You are not trying to hit a universal number for retained product; you are trying to be no worse than the bottle the customer already tolerates.
If one of your variants is a recyclable mono-material structure, the closure has to be compatible with the sealing window of that film, not just with the product. That trade-off belongs in the sample set rather than in a footnote — it changes what "the same fill" even means.
Sample size: five to eight participants per variant is enough for this kind of formative work, and the reason is well documented — five users per round typically surface the large majority of usability problems. What that sample cannot do is give you a percentage. Do not report "30% of users over-poured" from a group of six; report "two of six over-poured, both on the half-full pouch". Within a round, every participant should meet every variant, in an order you randomise and counterbalance across the group — otherwise the third pouch always feels easier, because by then they have learned the task, and the variant that always came last would look best.
Run order is part of the design. Alternate two blocks across participants: P1 does pour, then foam, then residue; P2 does foam, then residue, then pour; P3 and P4 repeat those orders. The pour test is the one measurement where first contact is the data — the first time a person picks up a pouch is the only time they are not repeating a motion made minutes earlier — so half the group must meet it first. The other half meets it last, which is not wasted: a systematic gap between the two blocks' pour numbers is your learning effect, measured instead of assumed. Each test also uses its own pouch of each variant, filled and conditioned identically, so a fixed order inside a block cannot contaminate what the next test weighs.
If nobody on your team has run a packaging session before, the craft of running one — recruitment, consent, how to phrase a task without leading the participant — is covered in planning a pouch cap user study for a different question (openability). The session craft transfers. The measurements do not, which is why the three tests below are specified separately.
Test: foam — provoke it, then watch the spout
Foam is the test that contaminates the other two. A pouch that foams at the lip will also leave residue on the cap and produce an erratic pour, so no block runs the residue weighing before foam — and that is a reason to keep foam ahead of residue, not a reason to nail foam to position one. Where foam sits relative to the pour test is the part the two blocks balance.
Set-up. Fill to the nominal level, condition upright for the same period for every variant, and mark the consumer bottle you will use in the pour test at the target fill line — that same bottle is the receiver here, because a different bottle between tests makes the two sets of numbers incomparable. Put a white tray under it; foam on a white tray is easy to see and easy to photograph. Tape a millimetre rule to the side of the bottle with its zero at the fill line and leave it there for the whole session — foam height is only a number if the scale is fixed in place and stays there between participants — and have a 0.1 g scale, a stopwatch and a small beaker on the bench before the first person walks in.
Provoke. Use the same agitation for every pouch: a fixed number of tilts of a fixed amplitude, done the same way each time. The numbers are yours to choose — ten slow inversions is a reasonable default — but write them down and never change them mid-test. Then hand the pouch to the participant and ask them to fill the bottle to the line.
Measure four things.
- Foam height in the receiver, read from the liquid surface up to the top of the foam against the taped rule — not from the bench — immediately after the pour and again after two minutes.
- Foam at the spout lip at the moment it first appears — yes or no, and whether it reached the outside of the cap.
- Product on the outside of the pouch, as a visual yes/no plus where it ran.
- Whether the participant could tell when to stop, in their own words, recorded verbatim.
Then run the second pour: close the pouch, shake it as a person would before a top-up, reopen, and pour again. This is where foam is worst, because the headspace is now large and the product has somewhere to move. A variant that passes the first pour and fails the second has told you something a single-pour test never would.
Test: residue — weigh what will not come out
Residue is usually treated as a product-loss question. In a refill pack it is also a closure question, because the product that will not leave the pouch is the product that sits in the spout channel and dries on the thread.
Set-up. Take a fresh pouch of the same variant for this test — same fill, same conditioning, same emptying method — so the product a foam session left on the outside of the film is not counted as residue. Weigh the pouch empty before it is filled and write that tare on the sheet, weigh it filled, and weigh it again after the participant has emptied it by whatever method they choose. Then define a standard drain: invert the pouch at a fixed angle over a beaker for a fixed time — sixty seconds at roughly 45 degrees is a workable default — and weigh the beaker before and after, so the drained product is a number rather than a puddle.
Weigh the lid; cut open a spare pouch for the fitment. The lid unscrews, so weigh it after the drain and again after the 24 hours — it carries what dried on the thread and the outside of the cap, none of which shows up in the pouch mass. The fitment does not: once it is welded into the film, its channel shares a wall with the bag, and no scale in place can separate channel residue from film residue. Use a sacrificial pouch instead — one extra per variant, filled and drained the same way, cut away from the weld flange only after the re-open test on the tested pouch is finished — then weigh the liberated fitment on its own. No spare pouch? Drop the fitment mass and record the channel qualitatively: a visible film, a blocked bore, a thread that feels gritty. A 0.1 g scale is enough for all of it; the differences here are grams, not milligrams.
Then let it dry. Stand the emptied pouch with the cap off for 24 hours at room temperature, refit the lid, and ask the same participant to open it again one-handed. Record whether it opened, whether it felt sticky, and whether anything cracked or flaked at the thread. Dried surfactant film is not just unpleasant — on a stressed part it is one of the routes into stress cracking of detergent pouch caps, which is a slow failure that a single-session test will never see.
The number to report is retained mass as a share of nominal fill — post-drain pouch mass minus empty pouch mass, divided by nominal fill mass, written as (post-drain − tare) / nominal fill and reported as a percentage — next to the same figure for the control bottle. If the pouch retains three times what the bottle does, that is a finding. If it retains the same, the absolute percentage is uninteresting — which is the honest position, because there is no published threshold for acceptable residue in a refill pouch and inventing one would make the whole exercise look more precise than it is.
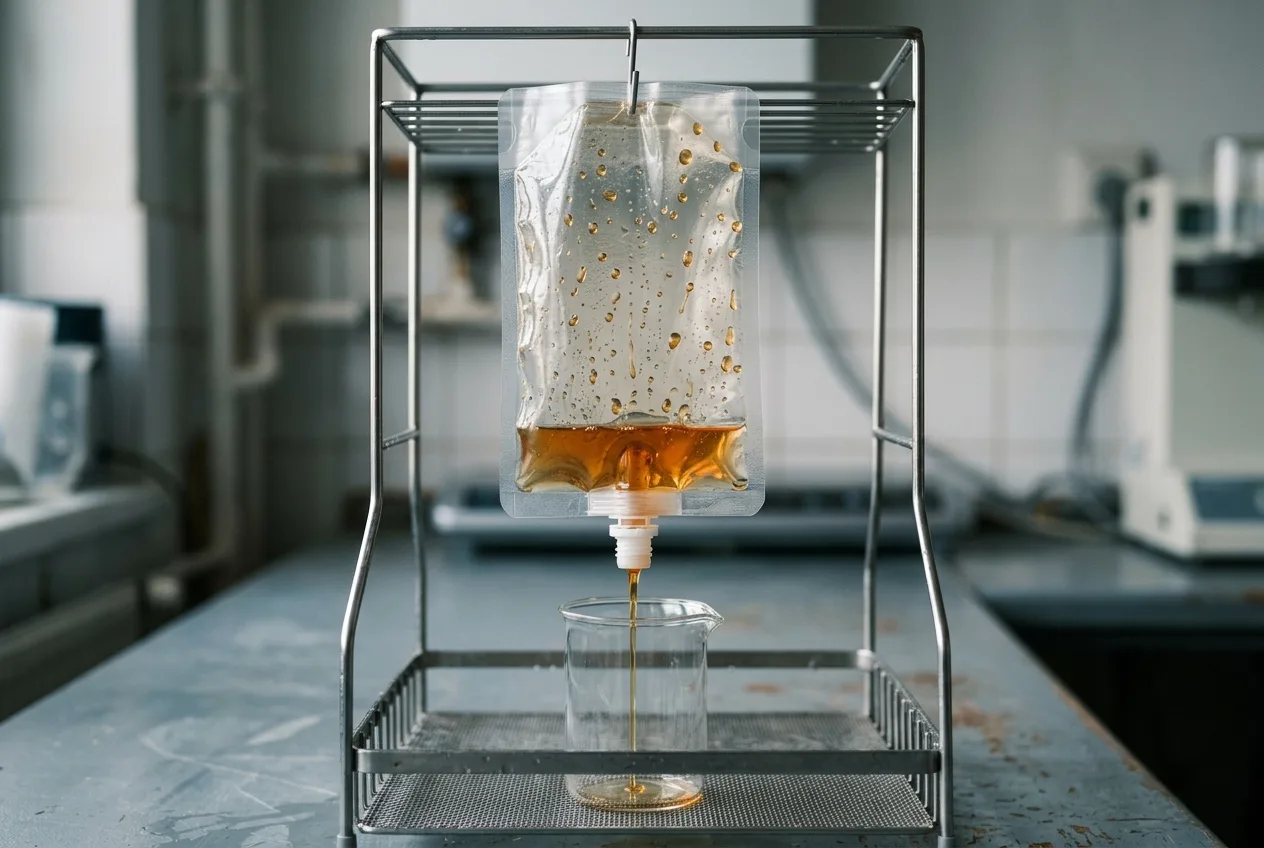
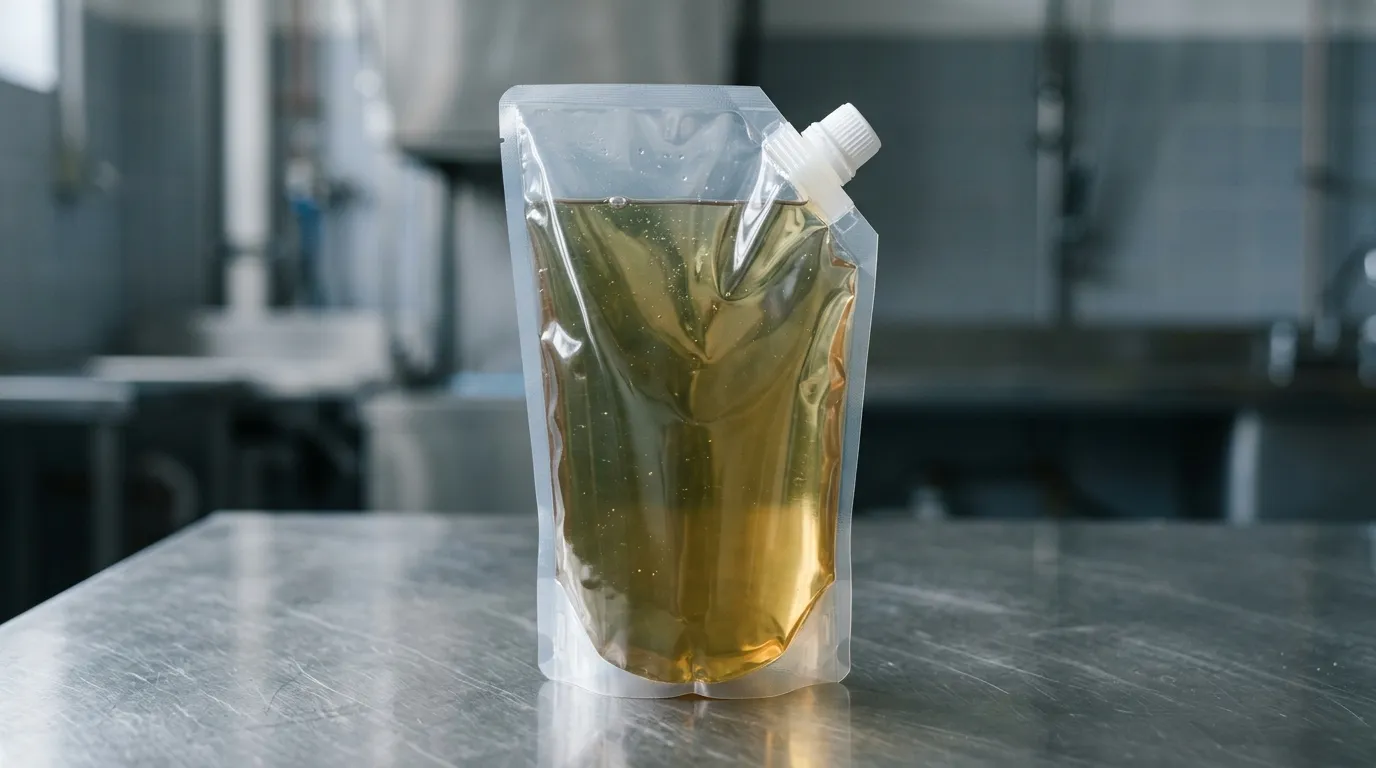
The photograph hangs the pouch vertically so the drain is visible; the protocol angle is roughly 45 degrees, so set it from a protractor or a marked jig rather than from the picture.
Test: pour — where the stream lands, and how often it stops
The pour test is the one participants enjoy and the one most likely to be measured badly, because it is easy to record opinions and hard to record behaviour.
The task. Fill the consumer's own bottle to a marked line. Not a beaker, not a funnel — the bottle they will actually use, with the neck they will actually aim at. Give them the pouch and say nothing else. What they do with their second hand is data.
Set the target mass first. "To the line" is a level and the metric is a mass, so tie the two together once, in advance. Empty and dry the consumer's bottle before the session — note on the sheet if it arrived part-full and you emptied it — weigh it on the 0.1 g scale, then have the operator make one reference fill to the marked line from a variant-A pouch and weigh again. The difference is the target mass, and it holds for every participant and every variant because the batch, the product and the line are the same. Re-dry and re-weigh between participants: rinse water in the bottle reads as somebody else's over-pour.
Measure five things.
- Over- or under-pour in grams. Weigh the bottle the moment the participant says they are done, subtract the empty-bottle mass, then the target: positive is an over-pour, negative an under-pour. Record the gross mass too, because a bottle that was not fully dry shows up there first. On the part-full pass the same bottle and line apply; if the pouch holds less than the target mass the line is unreachable, and the honest entry is "line not reached, delivered X g" rather than a large under-pour.
- Interruptions. Count how many times the stream stops and restarts. A collapsing pouch normally pours smoothly because it needs no air return — the film simply follows the liquid. When the film folds across the fitment base, the flow stutters; that stutter is a design signal, not a user error.
- Stream capture. Did the liquid enter the neck, or run down the outside of the bottle? Record where it went, not that it "spilled".
- Time to empty, from first tilt to the participant saying they are done — on a stopwatch, not an impression.
- One hand or two. Record the choice, and whether they changed mid-pour.
Run the task twice: once with a full pouch and once with a pouch filled to about a third. They are different tests. The full pouch tests weight and hydrostatic load; the part-full pouch tests whether the closure can deliver a controlled stream when there is little product left to stabilise the film.
The bore is the variable most often responsible for a bad result here, and the transfer geometry — neck diameter, lip clearance, how far the spout enters the bottle — is covered in detail in pouring a refill pouch into a bottle. Read that before you redesign a cap around a pour result.
One caution on reading the data: product on the outside of the pouch is not automatically a pour failure. It can also be a weld or thread leak that appears only once the pouch is inverted. If you see liquid where the stream never went, check leaks that appear after filling before you blame the participant.
The record sheet: one page, five columns
Every test above produces one kind of entry: an observation with a number attached. Keep them in a single table, one row per participant per variant per test. Resist adding columns during the test; add them between rounds if you must. The filled rows below show the format — the values are an example, not a target.
Participant | Variant | Test | Observation (what you saw) | Number |
|---|---|---|---|---|
P1 | A | Foam, pour 1 | Foam reached the lip before the bottle was half full; no overflow | foam 18 mm |
P1 | A | Residue | Pouch squeezed twice, then inverted; film clung to the base | retained 41 g |
P1 | A | Pour, part-full | Stream ran down the outside of the neck on the second tilt | 12 g over |
Two disciplines make the sheet worth keeping. First, record the observation, not the interpretation: "product ran down the outside of the pouch" is data; "the cap is bad" is a conclusion you have not earned yet. Second, record the number and the method that produced it — "retained 41 g" is useless six months later unless the drain angle and time are written at the top of the sheet.
At the end of the round you have a page that can be read by someone who was not in the room, which is the only test of whether a record is any good. When the results turn into a specification, they go into the spout cap specification sheet alongside the dimensional data — not instead of it.
Write the decision rule before you open the first pouch
This is the step that separates a test from a demonstration. In dishwashing liquid refill pouch packaging the decision is usually taken in a review meeting weeks after the samples arrived, by people who were not in the room. Before any pouch is opened, write down what result would change your mind.
Metric | Benchmark | Eliminate the variant if | Owner |
|---|---|---|---|
Foam at lip on second pour | Control bottle, same task | Foam reaches the cap on ≥ 4 of 6 participants | Packaging engineer |
Retained product | Control bottle, same drain | Retained share exceeds the control in ≥ 3 consecutive participants | Product development |
Over-pour | Control bottle, same line | Mean over-pour exceeds the control by ≥ 10 g over the group | Packaging engineer |
Re-open after drying | One hand, 24 h | Any participant needs two hands or a tool on the first attempt | Quality |
Three rules about this table. Benchmark against the incumbent, not against a number you found somewhere. Treat a difference smaller than your own run-to-run variation as no difference — which is why the baseline variant in the sample set exists. And name one owner per row, because a rule with four owners is a rule nobody applies.
The third column is written as counts and signed differences on purpose: the numbers are shapes, not a house threshold, so replace them with your own before the first pouch — but keep the shape. "Clearly worse, consistently" cannot be checked by a reader who was not in the room; "≥ 3 consecutive participants" can.
If a variant fails, the fix is usually upstream of the lid. Foam at the lip points at headspace, the air path and the bore. Residue points at spout position and the internal channel — a corner spout drains differently from a centre spout, and the difference is largest in the last third of the fill. Pour control points at bore and lid geometry together. Each of those is a specification change, not a consumer-instruction change, and each should be argued from the row of the table that failed rather than from a preference.
What this test cannot tell you
Being clear about the boundary is part of running the test honestly.
It is not a transport test. Vibration, drop and compression are separate protocols with their own equipment, and a pouch that pours beautifully on a bench can still fail in a pallet.
It is not a shelf-life or compatibility test. Surfactant solutions attack some polymers under sustained strain, and that failure takes weeks to months. A one-day usability session cannot see it.
It is not a child-resistance test, and it must never be reported as one. Child-resistant packaging is a regulated performance requirement with its own protocol — in the United States, 16 CFR Part 1700 sets out the testing regime — and it pulls in the opposite direction from ease of opening.
The difference between tamper evidence and child resistance is worth reading before anyone in the room starts using the two phrases interchangeably.
It is not a statistical result at five to eight participants, and it does not replace the converter's own seal-integrity check — non-sterile pouch leak test methods covers how that check is done. What this test does is tell you which of your variants deserves the next, more expensive round of testing. The pour test answers in an afternoon; the residue and re-open checks need another day, so plan on two.
If you are at the stage of choosing the closure rather than testing one, the spout cap range for stand-up pouches and doypacks is where the dimensional options live; bring the record sheet with you, because a supplier can answer a question about foam at the lip far better than a question about "better quality".