
Direct answer. Center versus corner is not a style decision on a pouch. The exit decides it first — how the product leaves the pack and who operates it — and the entry confirms it second, meaning how your filling line reaches the spout body. A corner spout pours cleanly, drains fully and suits drinking or squeezing straight from the pouch. A center spout fills evenly, looks symmetrical on a shelf and suits pouring into a bottle or a dispenser. Pouch size, print layout, cap style and order size are consequences you check afterward, not reasons to pick one.
This guide is written for the person specifying a spouted stand-up pouch or doypack — for juice, puree, sauce, syrup, detergent, shampoo, a liquid supplement, or a dry fill that pours. Keep the words pouch and doypack attached to the question while you search. In US search results the bare phrase "corner spout vs center spout" returns kitchen faucets, bathroom sinks and teapots; the packaging question only appears once a pouch qualifier is attached. If you are still settling the closure itself, the guides on choosing and running spout caps work through diameter, resin and sealing temperature before the position matters.
Center vs Corner Spout Pouch: The Short Answer
Read your situation on the left, take the middle column as the default direction, and put the right column on the list of things to confirm before you approve the artwork.
Your situation | Start with | Confirm before you approve |
|---|---|---|
Drunk or squeezed straight from the pouch (baby food, puree, jelly, single-serve drink) | Corner spout | The cap opens one-handed, and the pouring edge clears the seal a mouth or a child reaches |
Poured into an open cup, a jug or a machine (juice, sauce, syrup, oil) | Corner spout for a clean pour | How much product stays behind when the pouch is emptied by hand |
Refilling a narrow-neck bottle, trigger sprayer or dispenser (detergent, cleaner, shampoo) | Center spout, usually a wide bore | Thread and torque match, and how the pouch is gripped while it pours |
Powder or granules with fine particles | Corner or center — the filling route decides | Whether the product can pass the fitment at all, or has to be filled before the seal |
Symmetrical front panel on a retail shelf | Center spout | That the print layout and the top seal still close around the flange |
Wide, heavy pouch for bulk fill | Center spout on wide formats | The load path when a filled pouch hangs off-center |
The rule in one line. Choose the exit first — a corner spout when the product is drunk, squeezed, or has to drain to the last spoonful; a center spout when it is poured into a narrow-neck bottle or a dispenser, or has to pour while the pouch stands upright. Then confirm the entry, and only then look at the artwork.
What "Center" and "Corner" Actually Mean on a Doypack
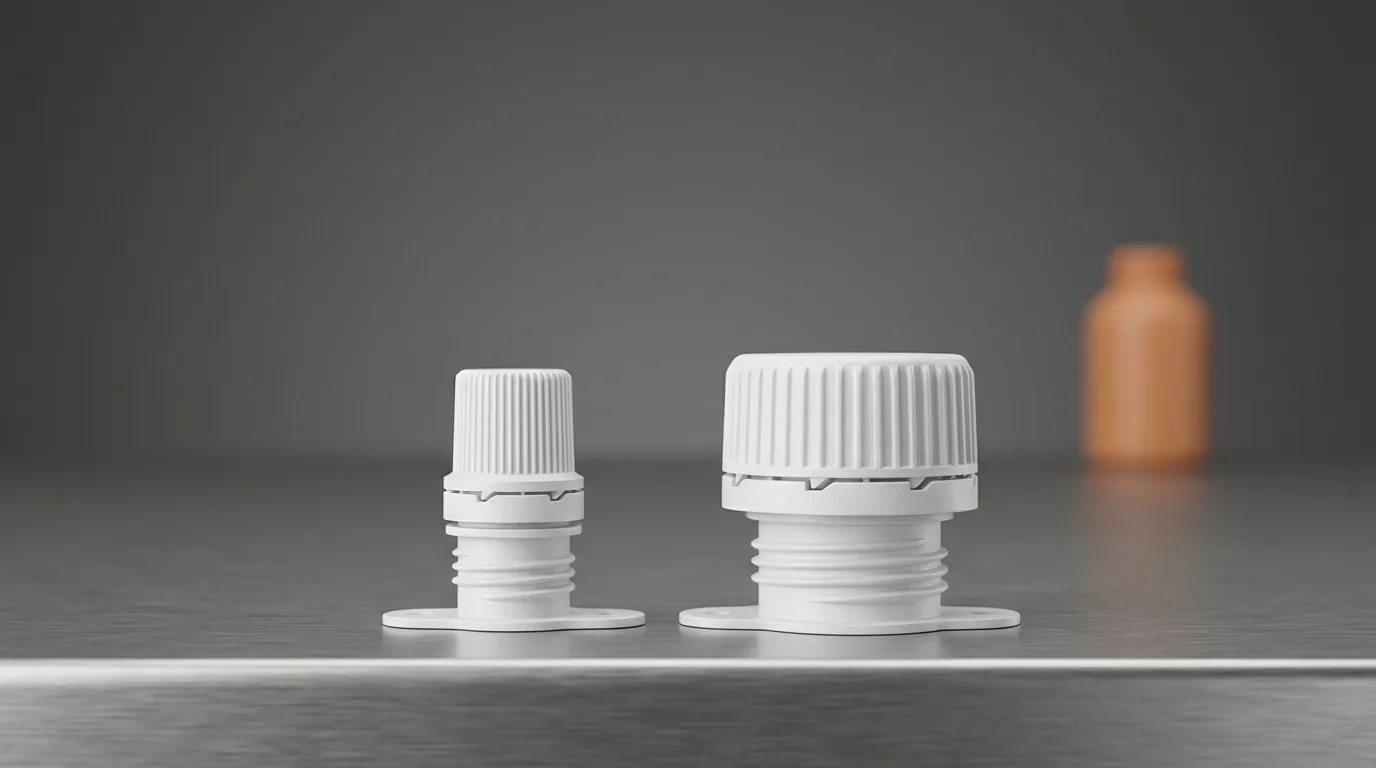
The spout on a stand-up pouch is a fitment: a molded body with a flange, produced by injection molding, whose flange is heat-sealed between the two films of the top seal. The cap is fitted to the spout afterward. Position is therefore not a decoration on the front panel — it is a decision about which strip of the top seal the flange occupies, and that strip is shared with the seal itself, the tear notch and the print registration.
Three positions cover nearly every format:
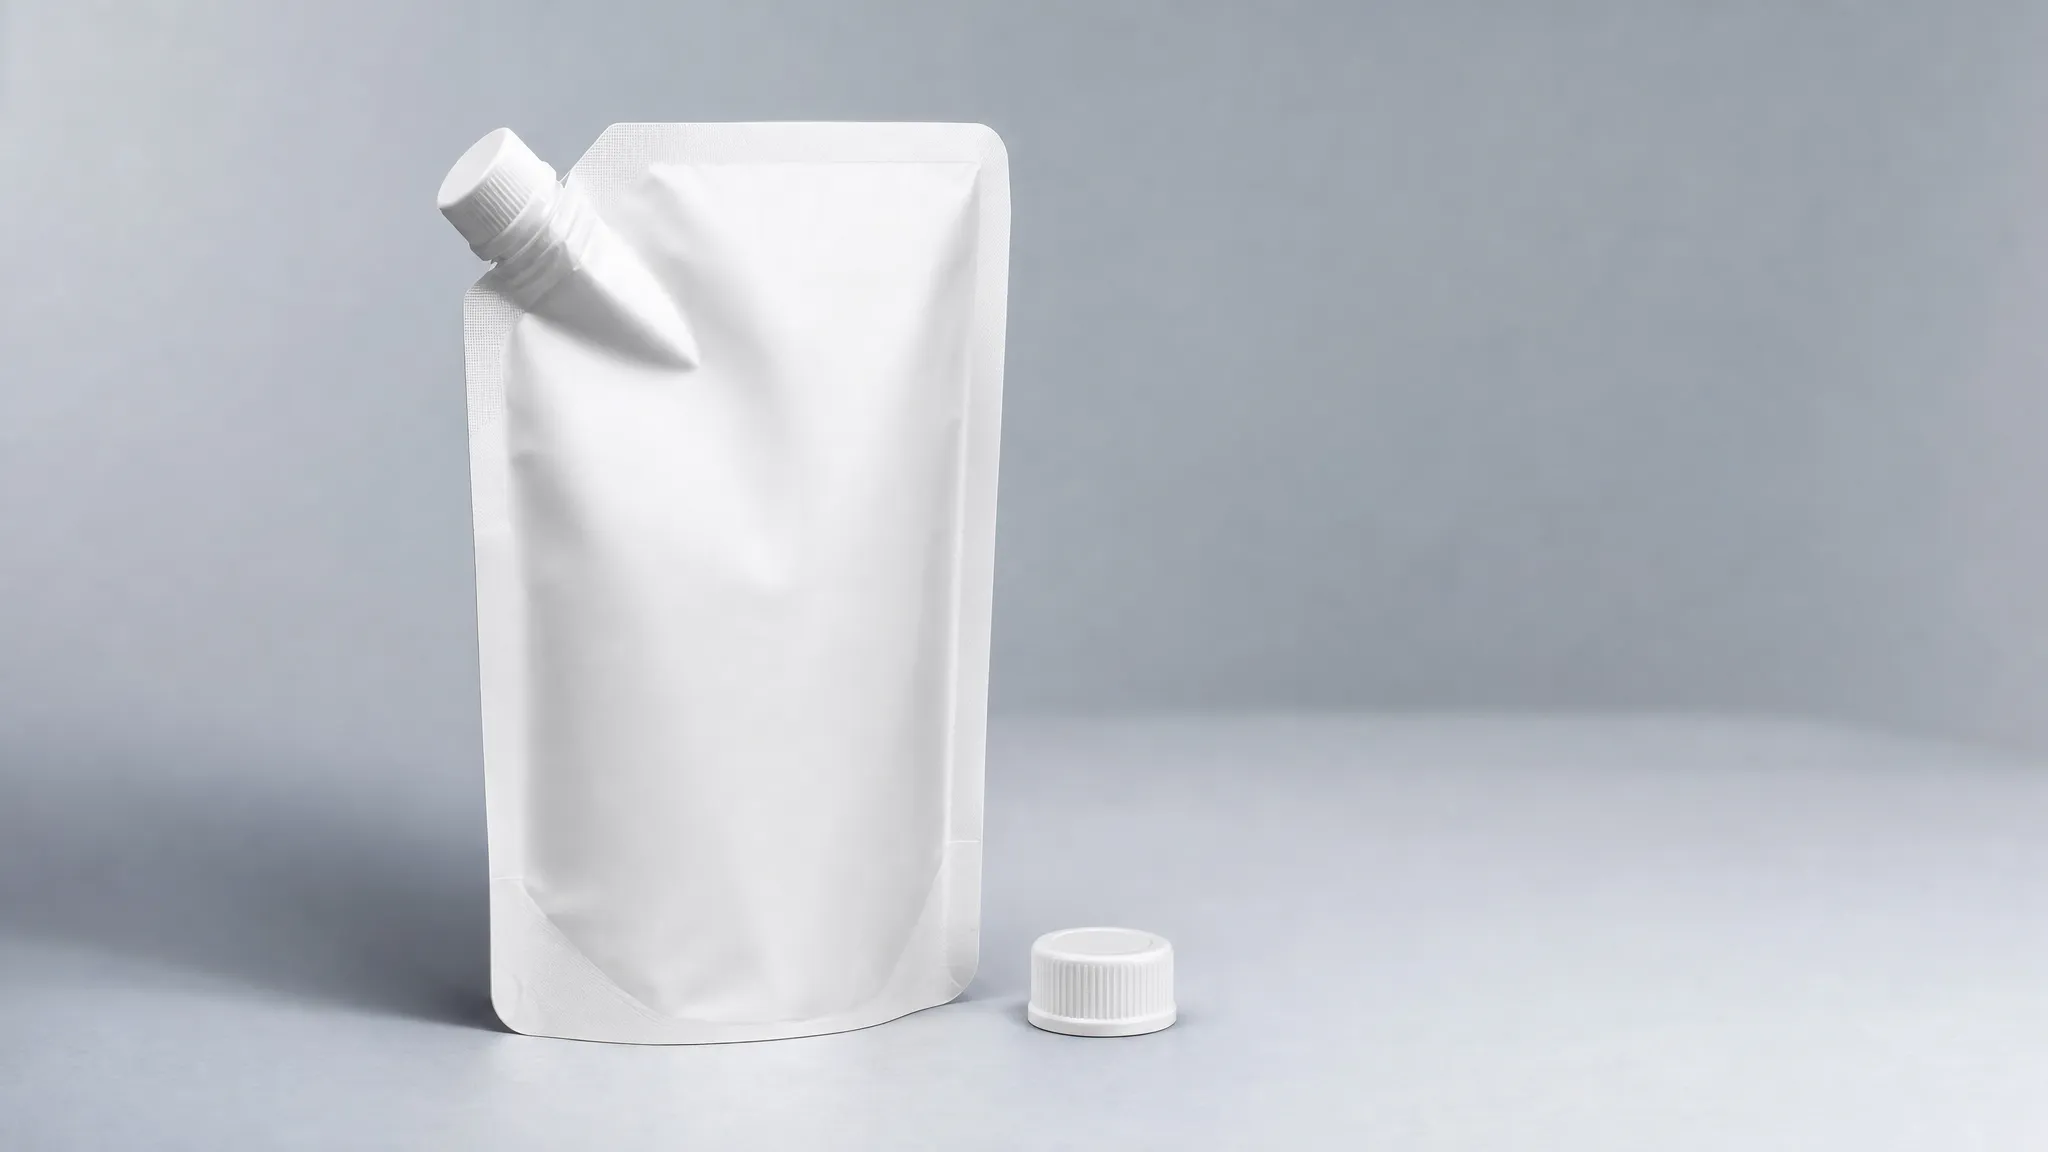
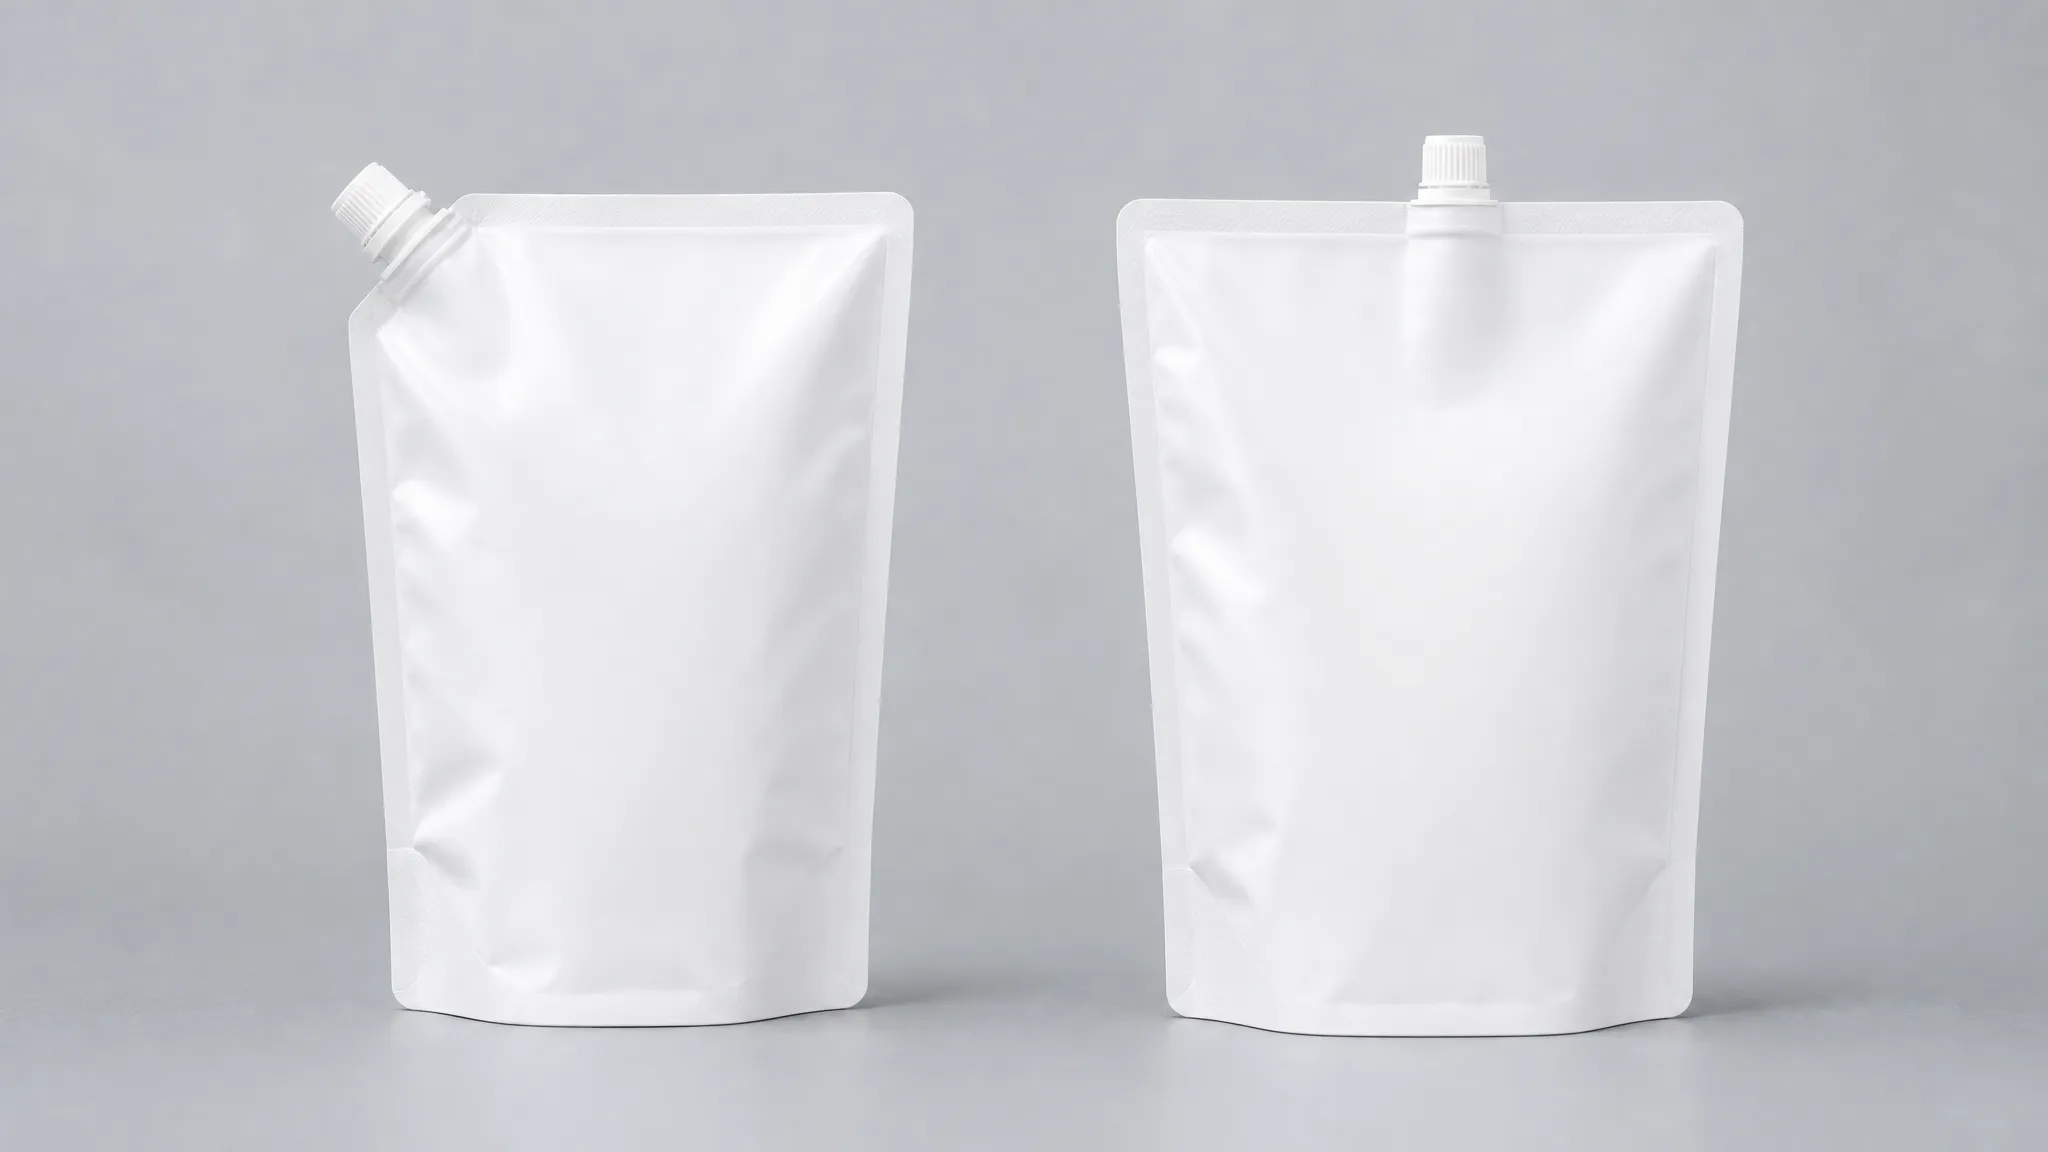
- Corner spout — the fitment is sealed into one top corner of the pouch, so the exit sits at the highest point when the pouch is tipped and at the lowest point when it is squeezed.
- Center spout — the fitment sits in the middle of the top seal, which is the widest, most symmetrical part of the pouch face and the easiest place for a nozzle to reach straight down.
- Side spout — sealed into the side seam or a shaped panel, used for particular dispensing shapes rather than standard doypacks. If your format is a shaped bag, the position is set by the shape, not by choice.
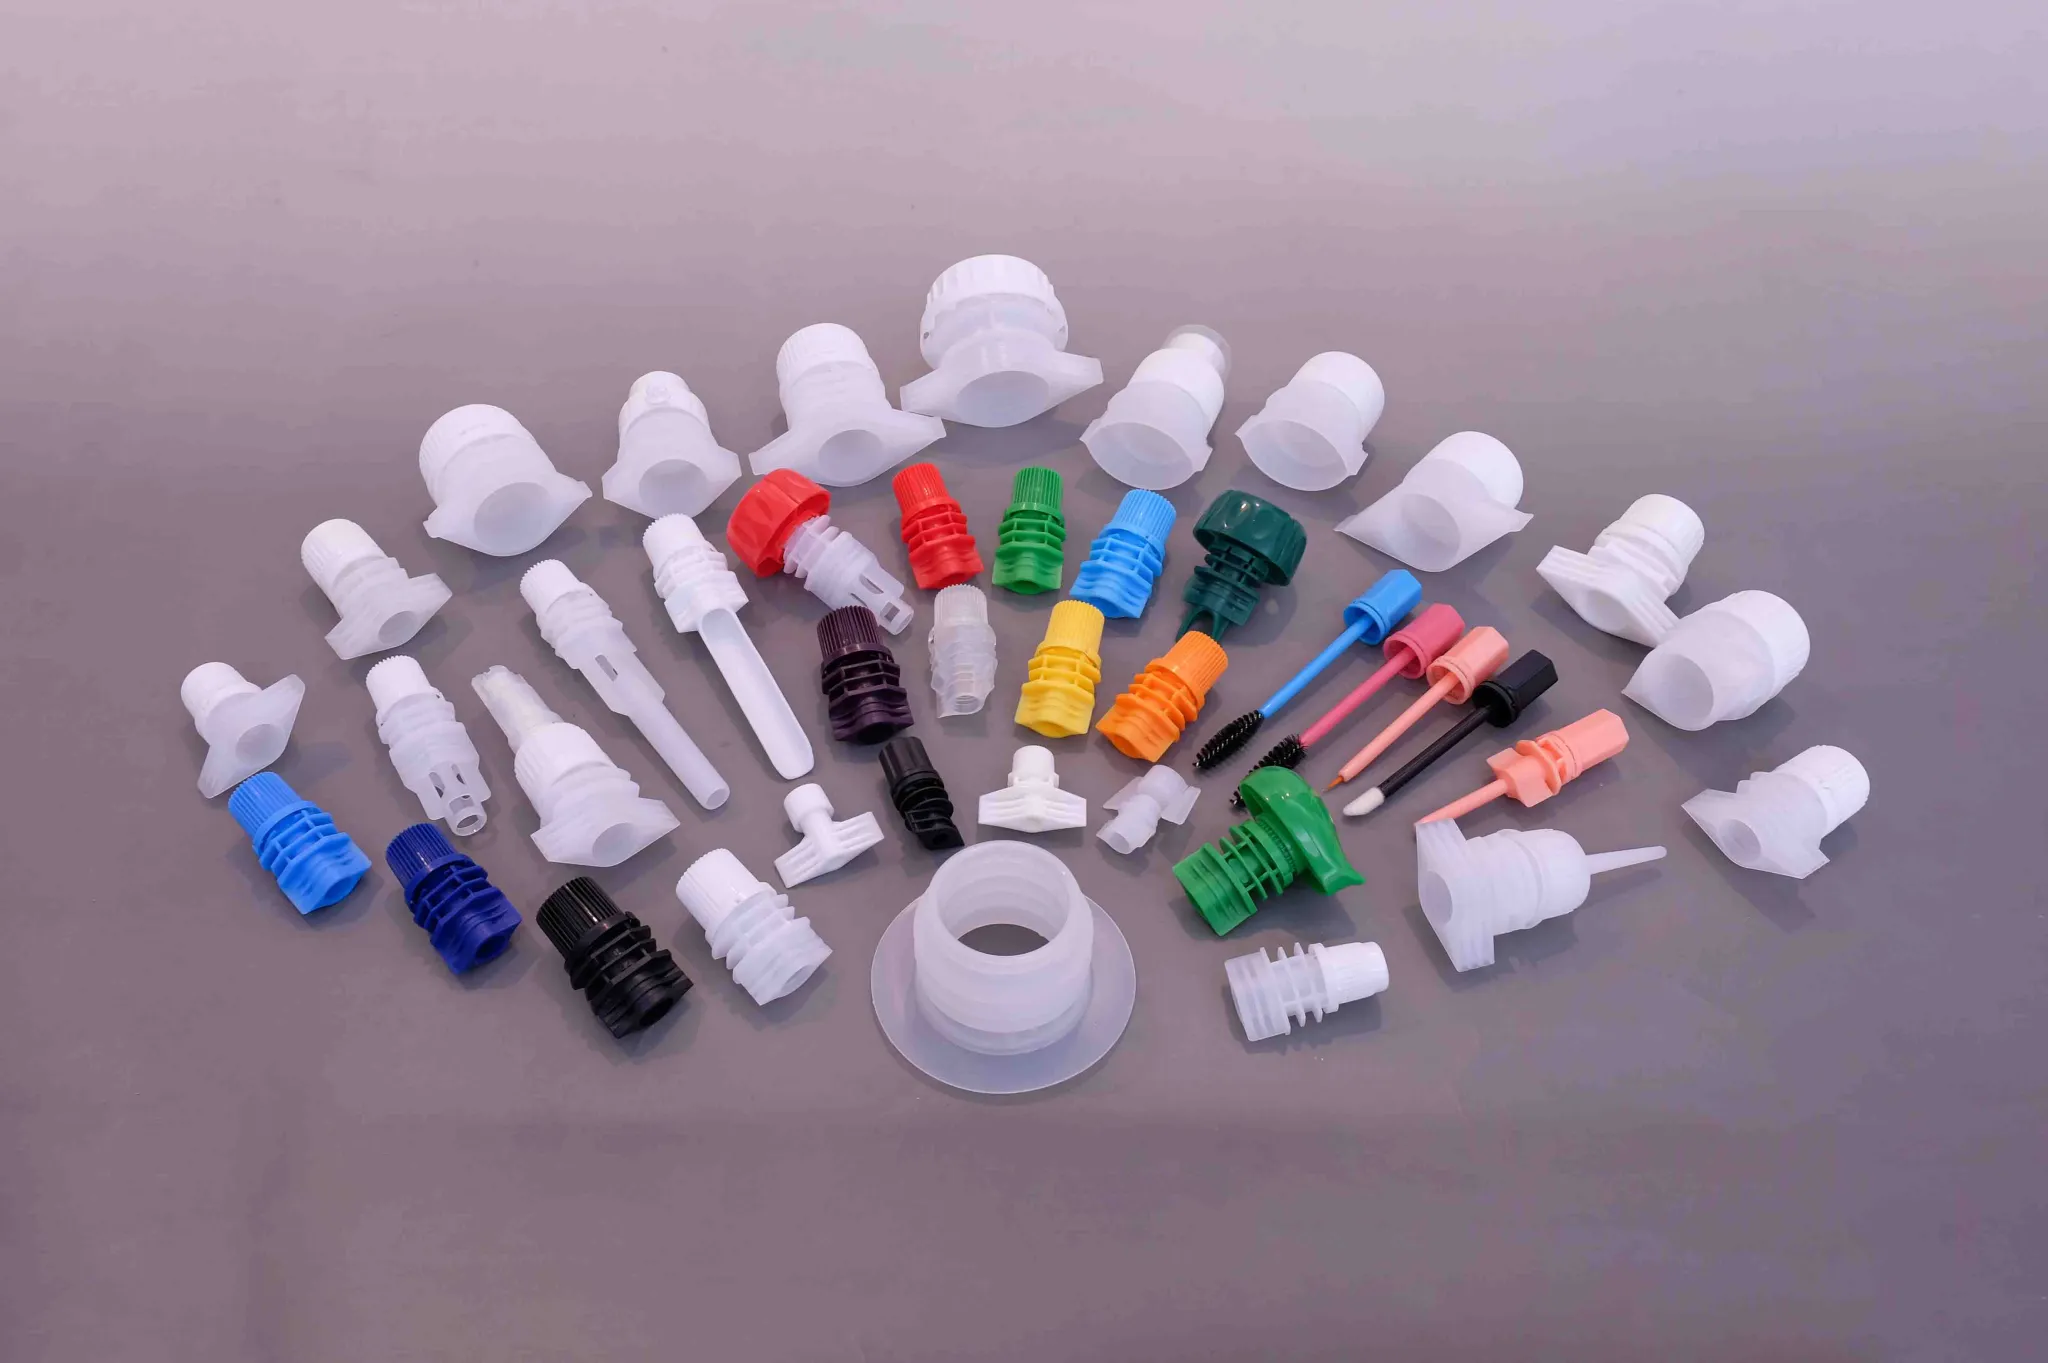
Two terms worth fixing before a specification goes out. "Top spout" usually means a center spout in the middle of the top seal, but some suppliers use it for any spout in the top seal, corner included — write the position, not the shorthand. And the bore is a separate decision from the position: the same corner fitment exists from a few millimeters to a wide pour, so fix the spout diameter alongside the cap rather than deriving it from where the spout sits. A corner spout is not automatically a small one — Ruihua's RD-031, for example, is an 8.6 mm mushroom-shape corner spout built for tomato sauce, puree and seasoning pouches, and it holds up to retort at 121 °C.
Pour, Drain and Squeeze: Where the Spout Sits Decides the Last 10%
Gravity is the first design constraint, and it is the one buyers feel immediately.
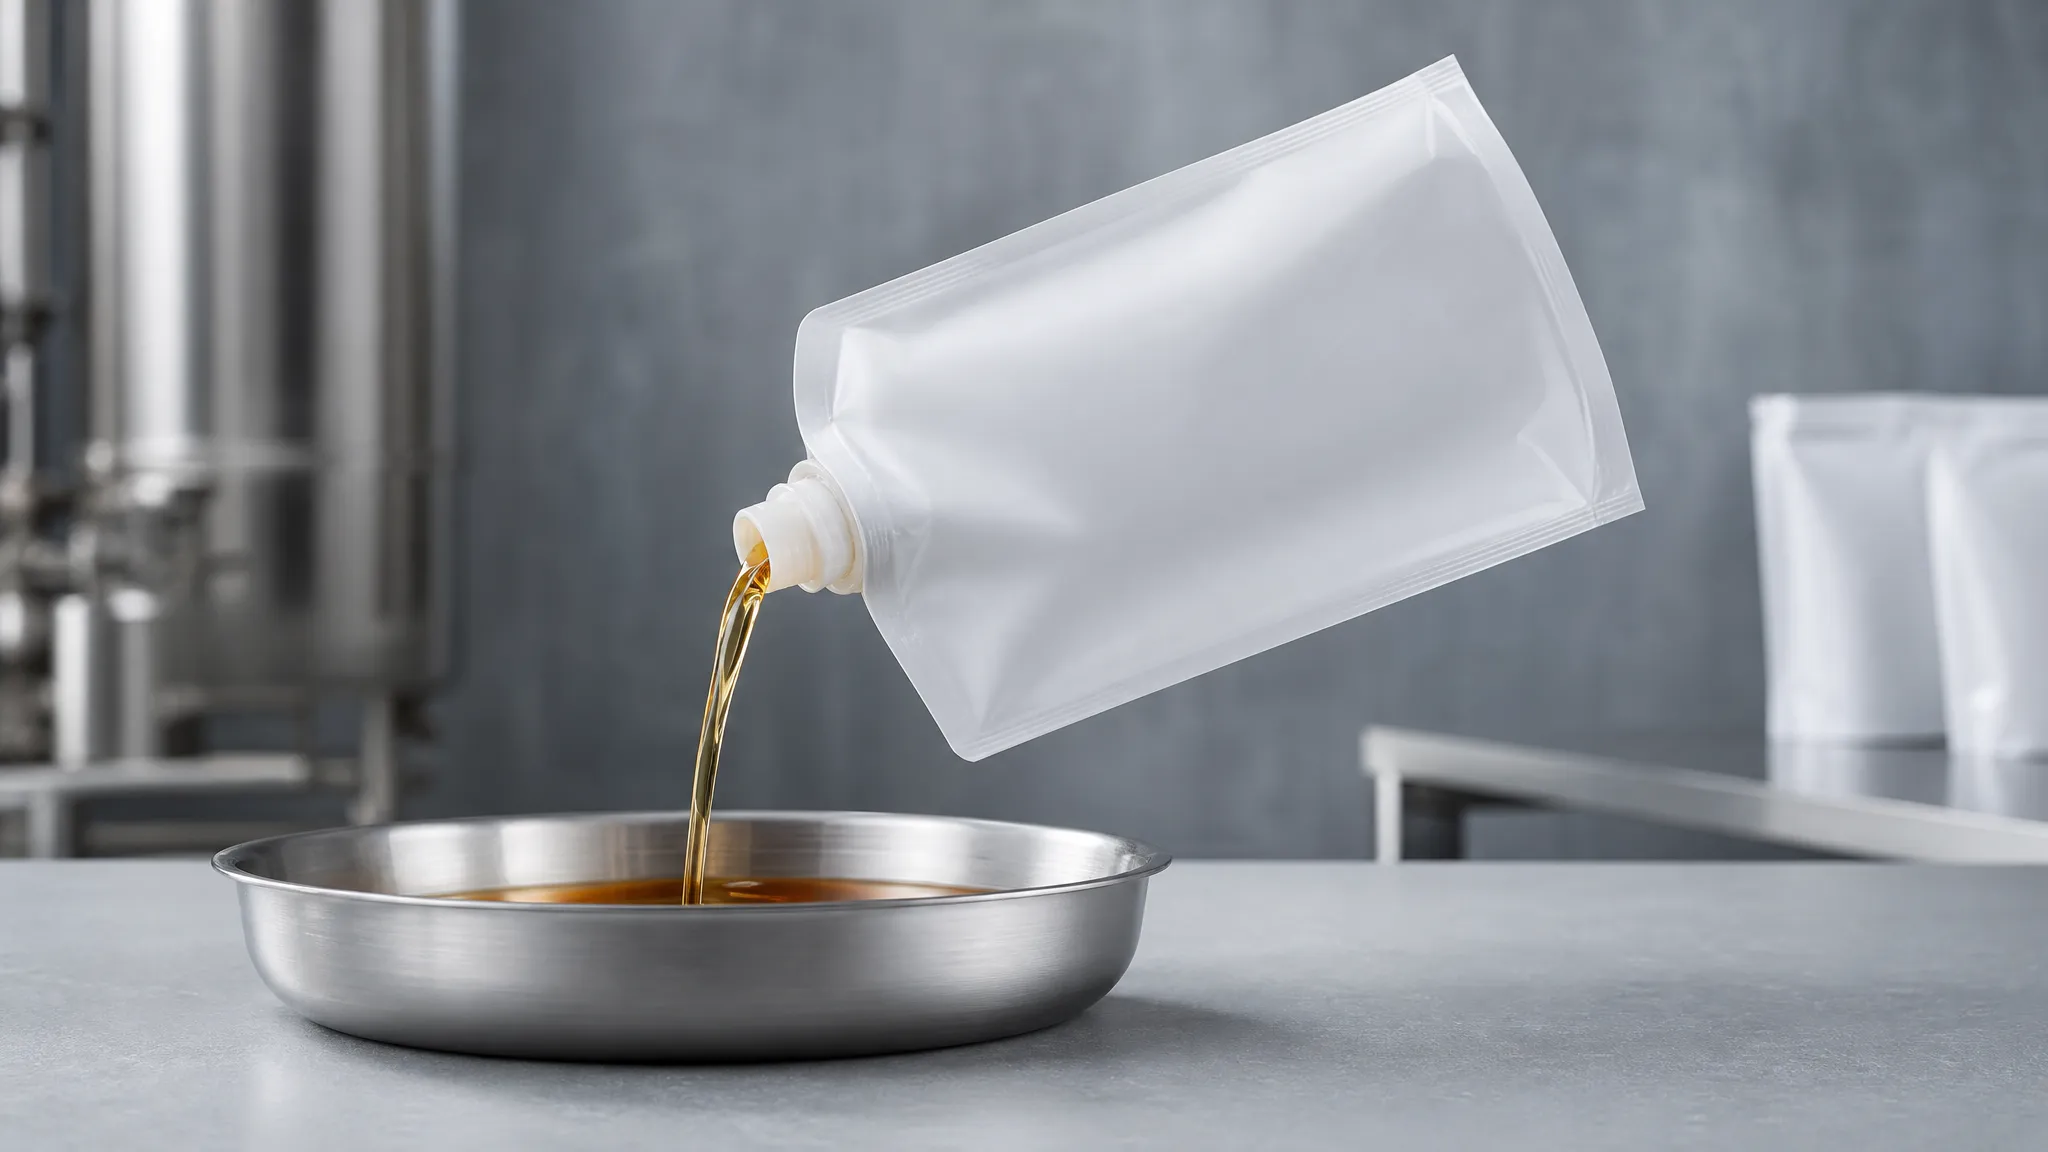
A corner spout puts the opening at the extreme edge of the pouch. Tilt the pouch and the product runs to that corner, so the pour starts cleanly, the stream stays tidy and the pouch drains almost completely when it is squeezed. That is why corner spouts dominate baby food, purees, jellies and single-serve drinks: the pack is used directly, often by someone who is not holding a cup, and the last spoonful matters. The same geometry makes a corner pouch easy to drink from without a straw, and easy to squeeze into a bowl.
A center spout puts the opening where the pouch is widest. Poured at an angle, the product has to travel past the spout before it reaches it, and the two bottom corners of the pouch act as reservoirs that stay full until the pack is manipulated. For a pourable liquid that is decanted into a bottle or a dispenser — juice, syrup, oil, a sauce sachet-style pack — that is a minor annoyance; for a viscous paste or a puree that is eaten directly from the pouch, it is the difference between a good pack and one the consumer complains about.
Two consequence checks follow from the same fact:
- Standing and storage. A center spout lets the pouch stand on its base and pour with the pouch upright, which is what people do with a refill pack on a shelf. A corner spout usually asks for the pouch to be tilted, which is fine in hand and awkward on a crowded bench.
- Off-center weight. With a fitment in one corner, a filled pouch hanging from that corner is loaded asymmetrically. This is where the load path and the base gusset stop being theoretical — a 5 L detergent pouch with a corner fitment behaves differently from the same pouch with the fitment in the middle.
Filling: Which Route Reaches the Position You Chose
Position is chosen for the exit, then validated against the entry, and this is the step most specifications skip. Your line will fill a spouted pouch in one of two ways, and the position changes what each route can do.
Through the spout. The fill head mates with the spout body, so the product enters through the fitment itself. This is the default for liquid and semi-liquid fills on automatic lines, and it makes position almost irrelevant to the filling act — with two limits. The product has to pass the spout bore, and the fitment has to be presented to the head in a way the machine can grip. A center spout presents itself predictably in the middle of the top seal; a corner spout has to be located and held in a corner, which is a real difference in tooling, not a nuance.
Through an open pouch, sealed afterward. Here the pouch arrives with the fitment already welded in place and the top left open. The fill nozzle drops in and the final seal closes the pouch afterwards. This is the route for particles, pastes and foaming liquids that cannot pass a fitment, and it is the route where position matters least — the product never meets the spout. It is also the route that needs the most top-seal space, because the flange, the fill opening and the final seal all compete for the same panel.
Three practical consequences:
- Particles settle the question. If the largest particle cannot pass the bore, no position will save a through-spout fill — the pouch has to be filled open and sealed after. Corner and center are then decided by the exit alone.
- Foam slows both routes. A center spout that lets the nozzle enter vertically can fill fast and foam less than a corner position that tilts the pouch; a corner spout is easier to fill from a bulk head without the product running back out.
- The line sees the spout before the customer does. A fitment in the corner changes how a pouch is stacked, indexed and picked up. Alignment problems on a filling line trace back to placement long before they trace back to the cap, which is why spout misalignment on the filling line is usually a position and presentation problem rather than a molding fault. And if the fill includes pieces of fruit, herbs or nut fragments, the same constraints are worked through for sauces with particulates.
Film, Faces and the Top Seal
The top seal is finite, and a spout takes a bite out of it. That bite is the second thing position decides.
Seal continuity. The fitment flange has to sit inside a weld that runs to both edges of the pouch. Put a corner spout too far inboard and you shorten the seal the film has left to hold; put a center spout slightly off-center and both ends of the flange weld become asymmetric. Either mistake shows up as a leak at the flange rather than a leak at the cap — the failure mode buyers usually attribute to the closure. Ask for the flange footprint and the weld window with the quotation, and measure them against your own pouch width.
Print and registration. A center spout gives a symmetric face: the front panel, the back panel and the top seal all fold predictably, and the artwork is easier to repeat. A corner spout makes the front panel asymmetric, which is deliberate on drink and puree pouches — the eye follows the spout — but it has to be laid out that way from the start, because moving the fitment after artwork approval means new plates, not a small edit.
Base and gusset. The stand-up base is what makes the pouch stand, and it is unaffected by the spout position — until the pouch is filled and handled. A wide base with a corner spout is stable on a shelf but harder to pour without tipping the pouch's weight over the corner; a center spout on the same base pours with the pouch upright but leaves more product behind. This is the trade-off behind the size question buyers ask most often, and it is why the same product in a 250 ml and a 1 L pouch can legitimately need two different positions. The figure near the top of this guide shows both arrangements side by side.
Five Checks to Run Before You Approve a Spout Position
Position is approved badly more often than it is molded badly. Five lines in the brief, in this order, turn a preference into a specification.
# | What to confirm | Why it changes the outcome |
|---|---|---|
1 | The exit — who opens it, and how the product leaves (drunk, squeezed, poured into something) | Decides corner or center before any other question is asked |
2 | The entry — through-spout or open-pouch filling, and the largest particle | Rules out a position the line cannot fill, or a bore the product cannot pass |
3 | The cap and the bore — screw, flip-top, wide pour, or a tap, and how it is gripped while pouring | Some closures only exist in one position family, or in one bore range |
4 | The seal budget — pouch width, flange footprint, remaining seal on both sides | A position that starves the top seal leaks at the flange |
5 | The consequences — dose left in the pack, pouch size, print layout, order quantity | These follow the position; raising them first reverses the decision |
Two habits make the brief work. Send a filled sample at your working dose rather than a specification of milliliters, and ask for the same fitment in both positions against your own film — a corner spout and a center spout in the same bore are a cheap pair of samples and they answer more than a page of description.
How the Position Changes With Your Cap and Your Film
The position constrains the closure, and the closure constrains the film. Two pairings decide most of it.
The cap follows the exit. A pouch drunk from directly wants a flip-top or a push-pull closure that opens with a thumb; a pouch poured into a bottle wants a screw cap in a wider bore that can be resealed and carried; a bulk refill wants a wide pour or a tap. A center fitment in a wide pouch has the panel space for a large cap; a corner fitment on a narrow drink pouch usually takes a smaller one, because the flange cannot grow past the corner radius. If your closure choice depends on the fill — a hot-fill or retort product that must survive 121 °C — confirm the cap and the spout as one assembly before you fix the position, as the retort and hot-fill spouts selection does.
The film decides how the flange welds. The flange seals between the two films, so its resin and the film sealant have to be compatible inside your converter's sealing window. The same fitment that welds cleanly on a three-layer laminate can fight a mono-layer PE structure being run at a low sealing temperature, and the difference shows up at the edges of the flange, not in the middle. If your structure is chosen for recyclability, the position is not the recyclability problem — the fitment and the cap are — and the packaging rules you are designing against (EU 2025/40, the PPWR, applied from 12 August 2026) look at the pack as a whole. On the food-contact side, the two references buyers ask for in the US and Europe are the FDA's 21 CFR Part 177 for indirect food additives and Regulation (EC) 1935/2004 for food-contact materials in the EU. Both are checked per material and per market, not per position.
Two Mistakes Buyers Approve by Accident
Fix the position before the cap. Position and closure are one assembly, and choosing a corner spout first quietly removes the wide-bore options that needed the panel space. Decide the exit, then confirm the route that reaches it, then the cap and the bore, then the seal budget — in that order.
Assume position sets fill speed. It does not. Fill speed follows the bore, the product's viscosity, temperature and foaming behavior, and the nozzle the machine can present. A center spout often fills faster on an automatic line because the nozzle enters vertically; a corner spout can fill faster from a bulk head because the product has somewhere to run. The line decides this, and the only way to know is to run both.
Neither mistake is a molding problem. Both are specification order problems, and the order the checklist above runs avoids them: the exit, the route that reaches it, the cap and the bore, then the seal budget — and the artwork last.
Common Questions About Spout Position
Does position change the size of pouch I need? It changes how the pouch behaves, not how much it holds. The same fill is usually possible in the same pouch in either position; what changes is whether a small pouch drains fully (corner) or stands and pours upright (center). If a 250 ml pack and a 1 L pack of the same product behave differently in your market, the position is a legitimate reason to specify them differently.
Does a corner spout cost more than a center spout? The position itself is set by where the fitment is welded, so it adds no component. What moves the cost is the fitment you choose — the bore, the cap, the resin and whether the model already exists in tooling. A standard model carries no tooling charge and no minimum quantity; a custom color carries a minimum order quantity, because the machine has to run a color-matched batch; and a new shape means a new mold, quoted from a 3D drawing rather than from a description.
Can I change the position after the artwork is approved? You can change the spout, but not for free: the print layout and the flange weld both move, and the pouch has to be revalidated. Treat position as a specification item signed off with the cap and the film structure, and it stops being a late change.
Next Step
Work from your worst case, not your average. Start with the exit: if the product is drunk or squeezed straight from the pouch, or has to come out to the last spoonful, plan for a corner spout. If it is poured into a narrow-neck bottle or a dispenser, or needs to stand and pour upright on a bench, plan for a center spout. Then confirm the entry — the filling route and the largest particle — and check the five items above against your own pouch.
Ruihua molds food-grade PP and PE spout caps and fitments from 1.2 mm to 40 mm inner diameter, including corner-spout models, with in-house mold making so a new shape is quoted from a 3D drawing. Standard models have no minimum order; a custom color is the only line with a volume threshold, and a tooled project has none after the mold exists. To compare both positions against your own film and fill, request samples and a quote with your fill weight, film structure and how the pouch will be emptied.