
What a spout pouch filling line changeover actually changes
A spout pouch filling line changeover looks like one event on the schedule and behaves like four. The spout and its cap have to suit the new pack; the pouch has to sit and open the same way on the machine; the machine's change parts have to accept the new geometry; and the pack has to be re-proved (weld, torque, leak, first-off) before anything ships. A supplier can only sell you the first of those four, which is why "it's a quick swap, the machine does 20-minute changeovers" is not a number you can put in a quote.
That gap matters for a contract filler more than for anyone else. A brand can decide to keep one spout size for a year. A co-packer takes the SKUs it is handed, and the economics of the job are decided before the first pouch is filled: how many line hours the change absorbs, how much film and product you scrap finding the seal again, and whether the new size can run on the same machine at all.
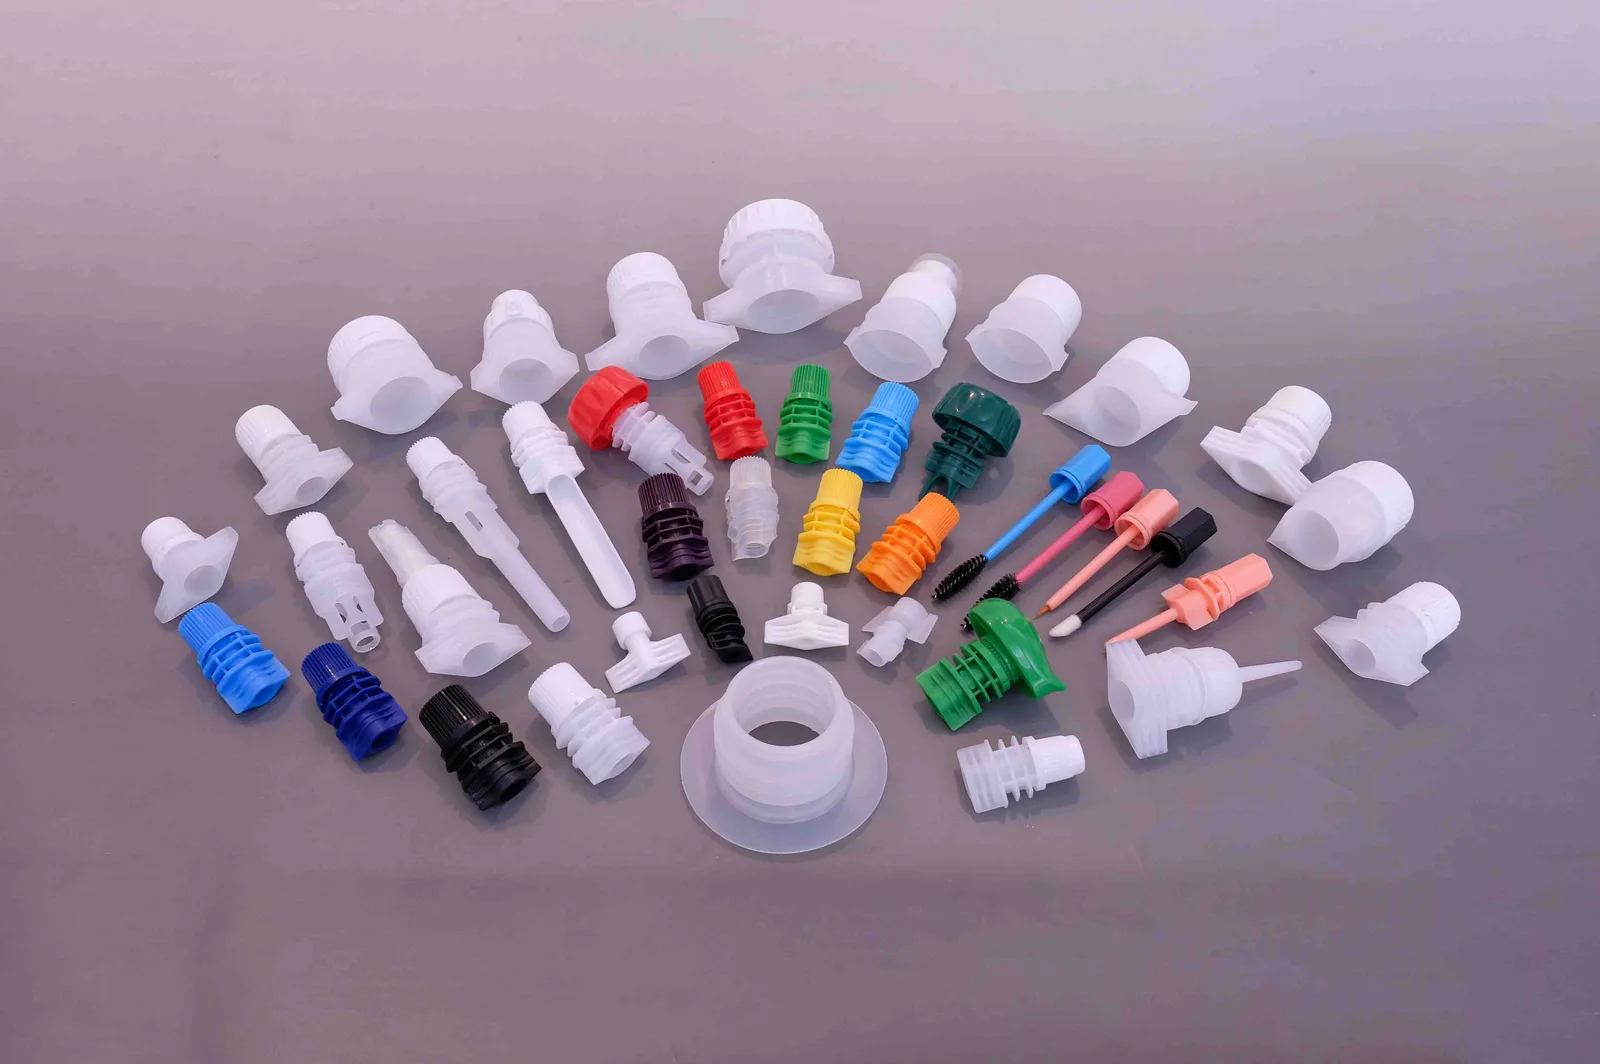
The fix is not a faster operator. It is a specification decision made months earlier, at the point where someone chose which spout sizes your line would ever have to run. This article is about that decision: what actually changes between spout sizes, what decides whether a change is a recipe change or a hardware change, and where the hours go. The hub page for the closures this applies to is choosing and running spout caps: this article is the changeover corner of it.
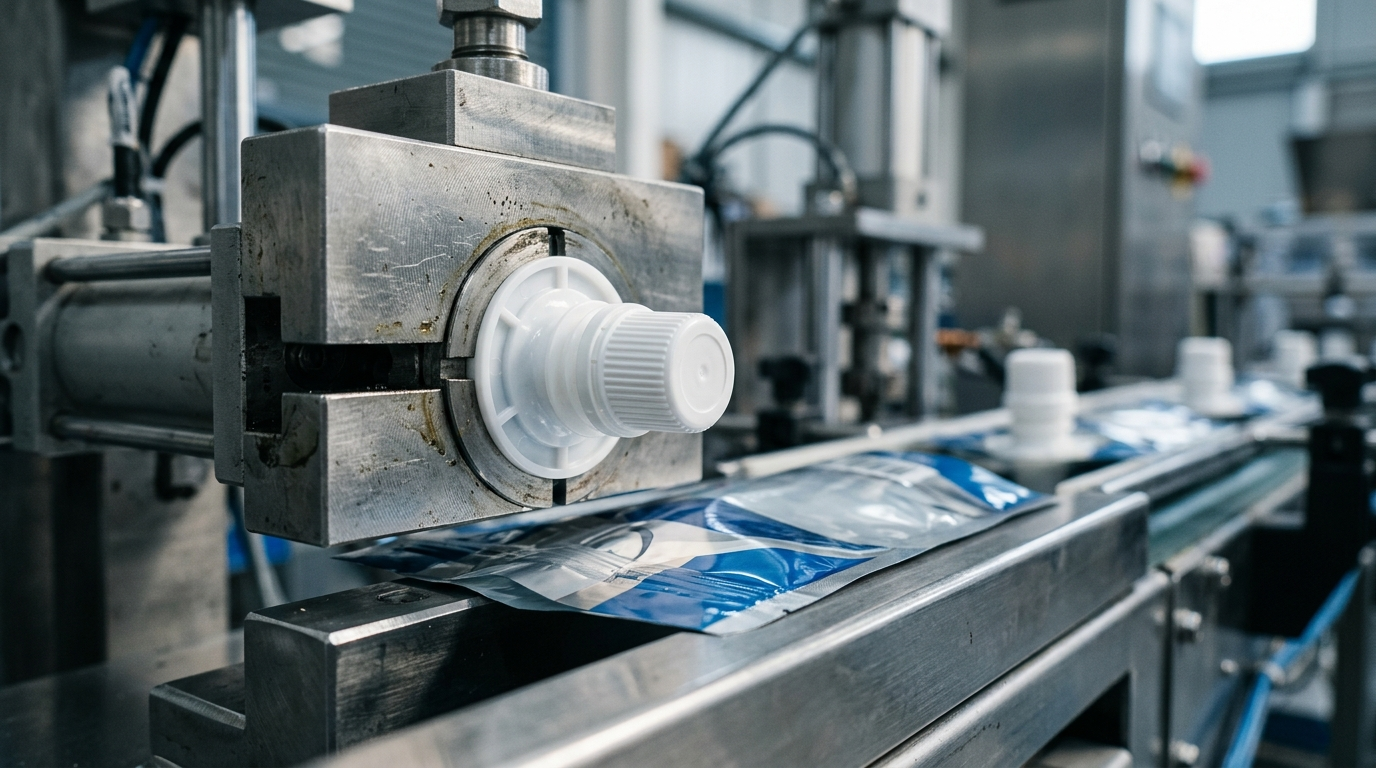
One number from the market is worth having on the table early, because it is the only published figure in this exact area. A spout-pouch machine builder answers the same question on its own FAQ page: for "physical spout size changeovers (for example, switching from a 10mm beverage spout to a 28mm anti-choking child-proof cap)" the process "involves swapping the pouch gripper chucks, cap chute rails, and capping head magnetic inserts", and "a trained plant operator can execute a complete physical line changeover in 20 to 35 minutes" (Spartan Machine, spout pouch filling and capping machine). The three parts are a useful starting inventory. The 20–35 minutes needs reading carefully, and by the end of this article you will see exactly what it does and does not include.
The rule that decides whether a change is a swap or a re-set
Strip the changeover down and one rule explains almost all of it:
What two spout sizes share costs you nothing to change; what they do not share has to be swapped, and anything the machine has to find again has to be re-proved.
Same bore, different fill volume (100 ml to 200 ml in the same 8.6 mm spout) shares everything that touches the machine. Nothing mechanical moves: the fill weight is a recipe value, the gripper, chute and capping head never see the difference, and the change is a line clearance with a settings recall. Different bore, same family (an 8.6 mm spout replaced by a 15 mm one) stops sharing the moment the diameter changes: the fitment sits deeper or shallower in the jaw, the cap that screws onto it is a different outside diameter, and the feeder that oriented the old cap may not orient the new one. Different thread and finish — a screw cap replaced by an anti-choking two-piece cap at the same bore — shares the bore and nothing else.
This is why "how long does a spout size changeover take?" has no single answer, and why the honest version of the question is: which of the three am I doing? It is also why the changeover literature you will find online, which is about bottle filling and case packing, keeps separating tasks into external preparation, machine work and first-off approval rather than quoting one duration for "a changeover" (Packaging Lines UK, packaging line changeover guide). If you have not yet settled which bores your line will run, start with which spout cap diameter to choose; that upstream decision is worth more money than any changeover project.
Layer 1 — the closure: what a size family gives you for free
The most useful fact about spout caps is that a bore size is not a part, it is a family. Ruihua's own catalogue carries 31 food-grade models at the 8.6 mm bore and 15 at 22 mm, out of an overall 1.2 mm to 40 mm range. Counts like these move as models are added, so treat each family page as the live figure. Inside a family, everything the machine touches is supposed to be consistent; what varies is the cap.
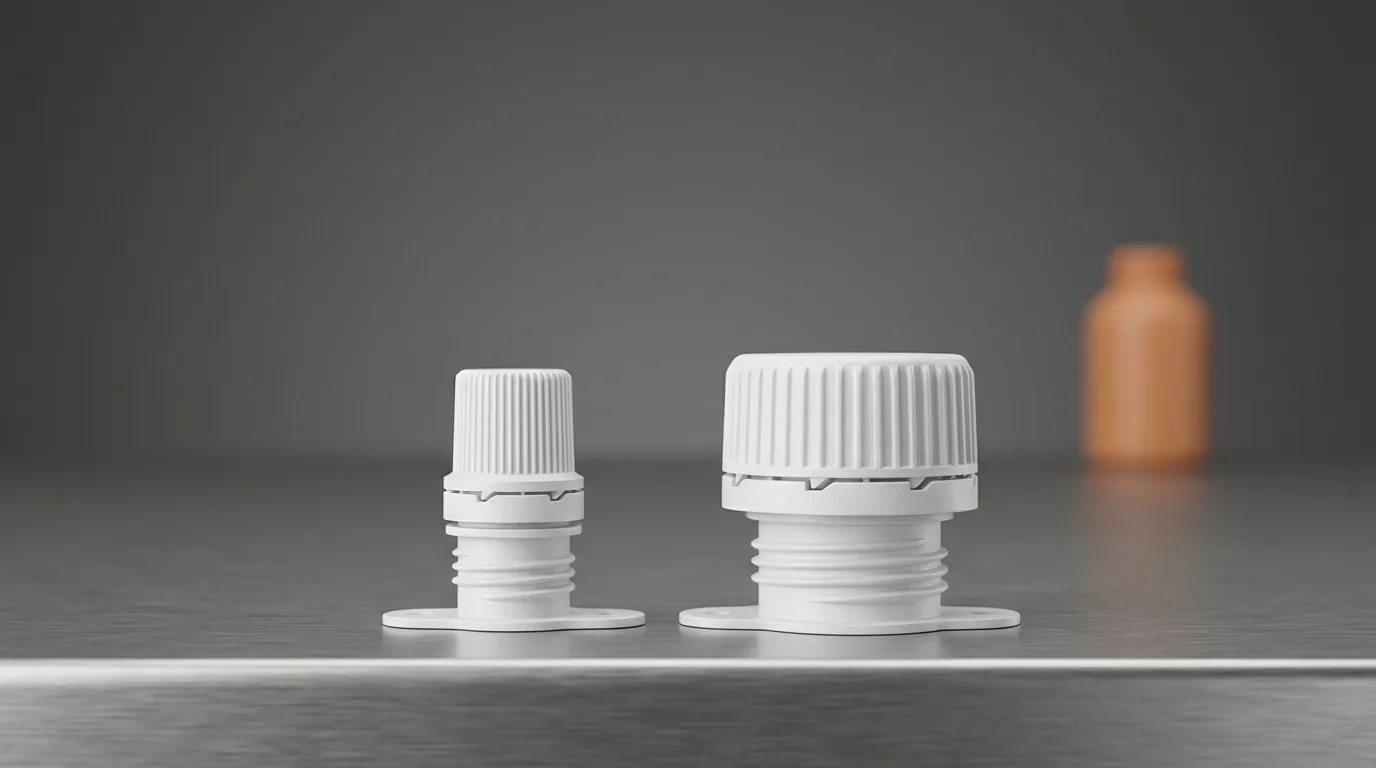
That variation is larger than most changeover plans assume. Within the 8.6 mm family, a plain screw cap measures φ19 × 16.96 mm while an anti-choking two-piece cap on the same bore measures φ33.46 × 17.85 mm, a 14.46 mm difference in cap diameter at an identical bore (the 8.6 mm family). At 22 mm the spread is narrower but still real: φ30.69 × 20.2 mm on a screw cap, φ31.3 × 19.8 mm on the child-proof version (the 22 mm family).
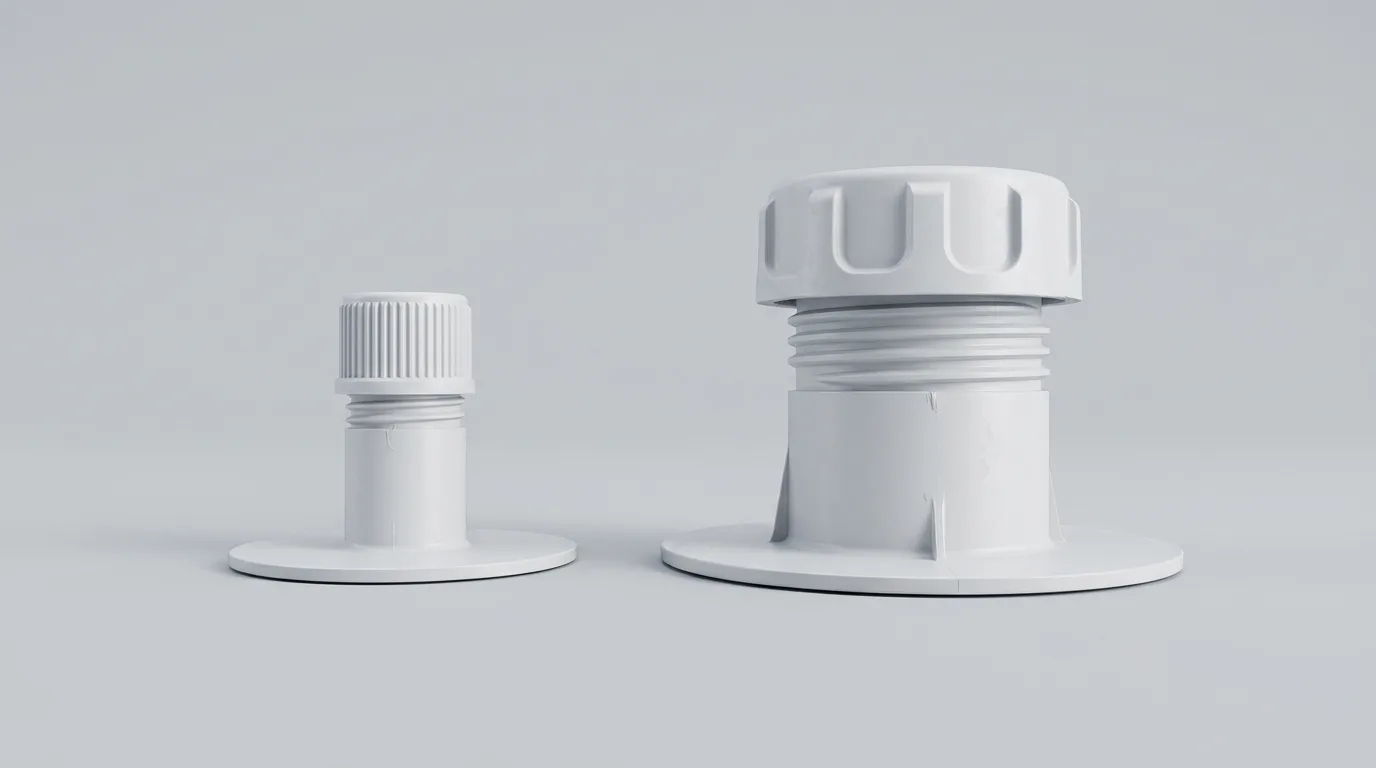
Two consequences follow, and both of them land in your changeover budget:
- The feeder and the chute follow the cap, not the bore. A line tooled for a φ19 mm screw cap does not automatically feed a φ33.46 mm anti-choking cap on the same 8.6 mm spout. Same spout, same pouch, same seal — different change parts. This is the single most common place a "we only changed the cap" changeover turns into a half-day stop.
- Resin and seal window travel with the model, not the size. Spouts engineered for low-temperature sealing weld in a 110–130 °C window, which is what makes a mono-material PE pouch recyclable as one structure; conventional laminates run hotter. Mixing a low-temperature spout into a line set up for a hotter film means the seal recipe changes with the component, not with the format.
The practical instruction: when you standardise a bore, also standardise the cap family across your SKUs — same cap style, same height, same finish. Sizes you keep inside one cap family are close to free; sizes you spread across cap styles are the ones that come back as change parts.
Layer 2 — the pouch carrier and the guiding rail
A spouted pouch does not stand on a conveyor like a bottle. It is carried, located and opened by a guiding rail — the auxiliary component that feeds empty spouted pouches into the filling and sealing machine, aligns them, and holds the mouth open while the spout is welded and the pouch is filled. Rails are cut to suit a spout diameter and a pouch pitch, and that is the detail that decides how two sizes coexist on one line.
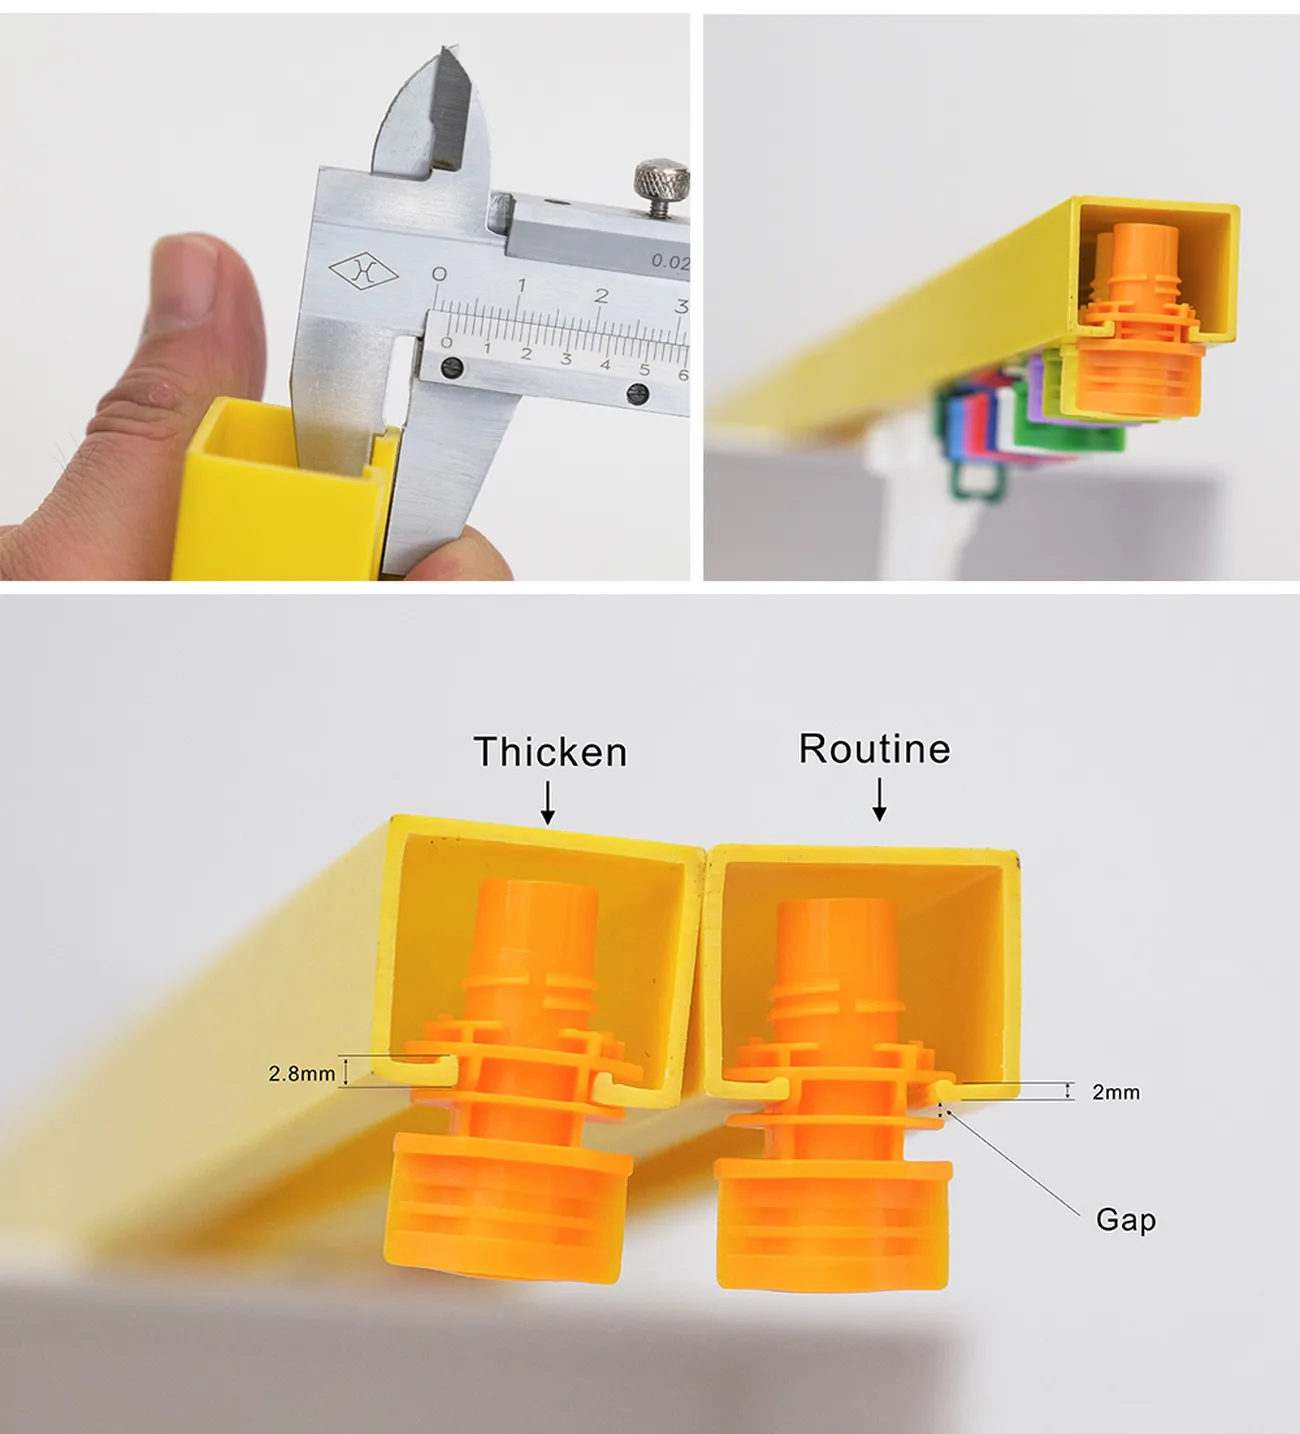
If both spout sizes sit in the same rail channel family, the rail is one line item and the changeover sets it and goes. If they do not, you are not changing a setting, you are changing a rail — and a rail change drags the pouch pitch, the pouch-opening assist and the registration that the machine uses to know where the spout is. Ruihua's own rail family (the RD-052 guiding rail, in φ8.6 × 770 mm profiles) is specified against spout diameter, pouch pitch and machine model rather than sold as a universal part, which is the shape of the conversation to have with whoever supplies yours: given these two spouts and these two pouch pitches, can one rail carry both, and what is the changeover between them? — see spout rails.
There is a second-order effect that changeover plans usually miss. The rail also locates the pouch for the seal. Change the rail and you have moved the datum the sealing jaws were set against, which is why a "rail only" change still ends with a peel test and a first-off pack.
Layer 3 — the machine change parts your operator will actually swap
Bring the supplier's three parts together with what a filler loses time to, and the change-parts list for a bore-to-bore move looks like this:
Change part | Why the size change touches it | Swap or setting? |
|---|---|---|
Pouch gripper chucks | Hold the pouch by its edges; the grip window is built around pouch pitch and filled weight | swap |
Cap chute rail | Carries the cap from feeder to spout; cut to cap diameter, which changes even inside one bore | swap |
Capping head inserts | Set the seat and the torque transmission for the cap geometry | swap, then re-torque |
Bowl feeder tooling / orientation | Orients caps by shape; a taller or wider cap usually needs new tooling | swap |
Fitment holder / sealing jaw set | Locates the spout in the weld; the fitment's flange and shank sit differently | swap or re-shim |
Cap torque recipe | Torque window is a function of thread, liner and cap material | setting |
Fill and seal recipe | Volume, seal temperature and dwell are recipe values tied to film and spout resin | setting |
Sensors / ejection settings | Position and size checks follow the part, not the format | setting |
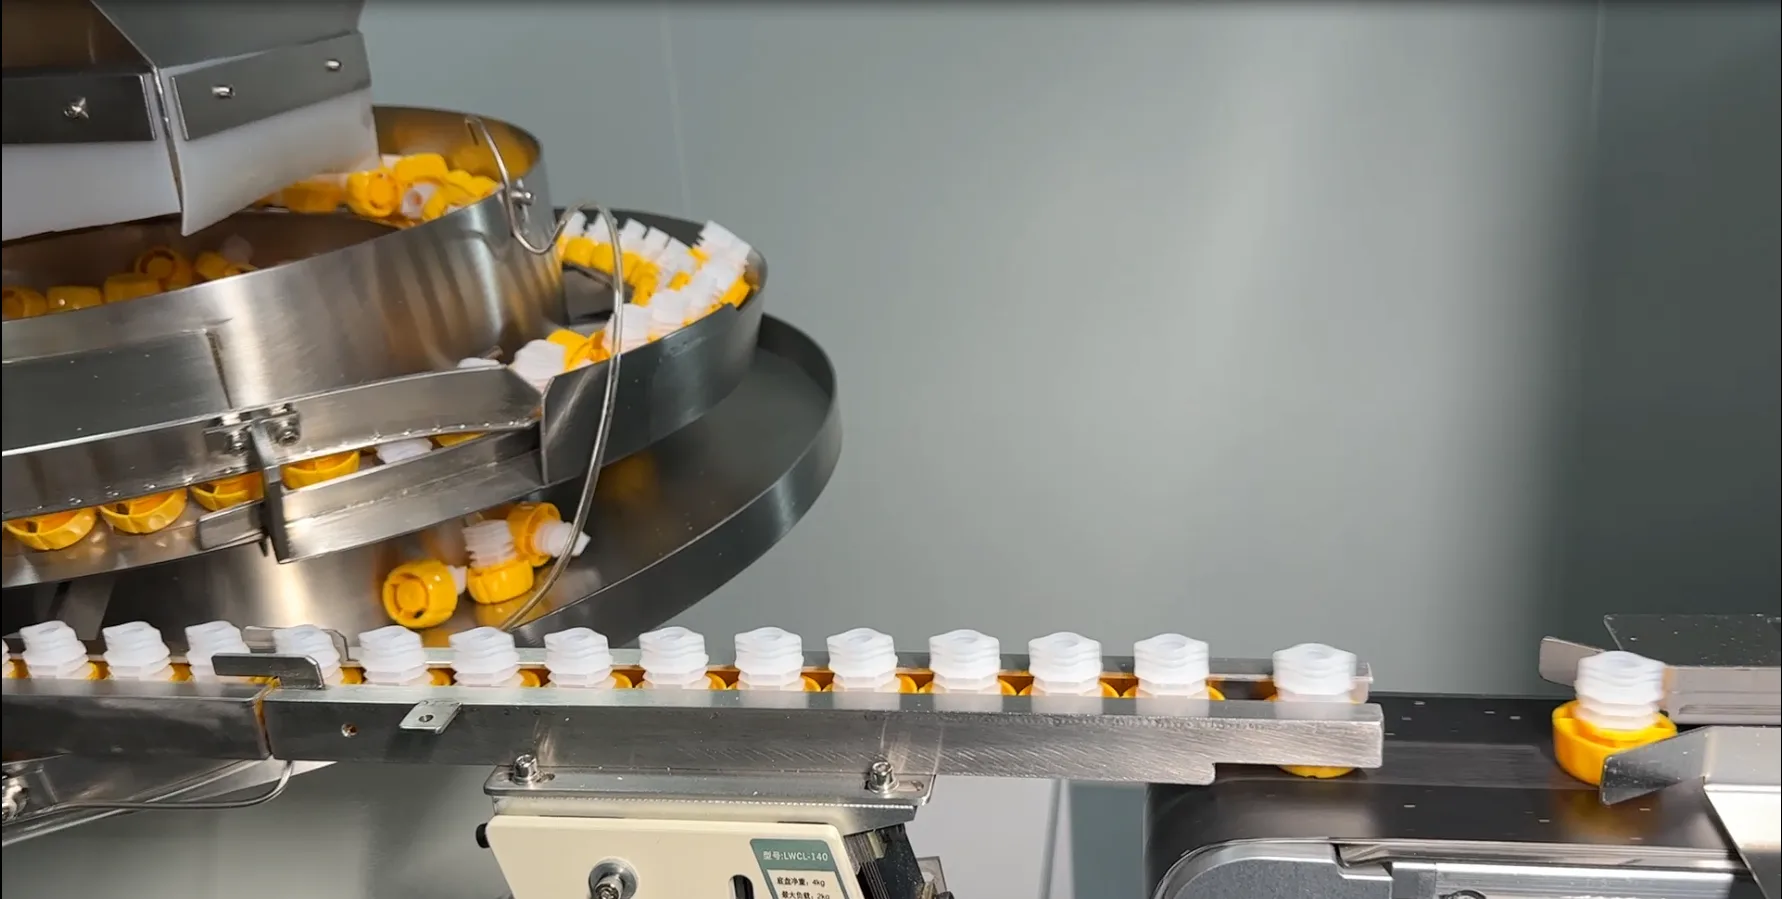
Two rules fall out of that table. First, swaps and settings should never be mixed in the same step — the industry's changeover discipline puts every swap into an external preparation window before the line stops, and keeps the stopped-line work to settings and checks (BW Packaging, quick changeover best practices). Kitting the swap parts before the stop is the difference between a 30-minute stop and an hour plus. Second, anything the machine touches to find the part has to be checked on the first pouches after the change; the whole machine compatibility question reopens at every size change, even when the change looks cosmetic.
Layer 4 — verification and first-off: the hours nobody counts
Here is where the published 20–35 minutes stops being a planning number. A swap can be fast; a release cannot. Before the second half of the run can start, a filler normally has to re-establish:
- the weld — a peel test on pouches welded with the new fitment in the actual film, at the actual seal temperature and dwell;
- the torque — cap removal torque within the window the brand agreed, checked on capped, filled pouches rather than on a bench sample;
- the leak behaviour — a pressure or vacuum check on a sample that has been through the line at production speed;
- the fill — weight and fill-position checks, because a deeper shank or a wider cap changes how the pouch stands in the gripper;
- the release — first-off approval by QA, plus documented line clearance when the previous SKU shared the line (Packaging Lines UK, packaging line changeover guide).
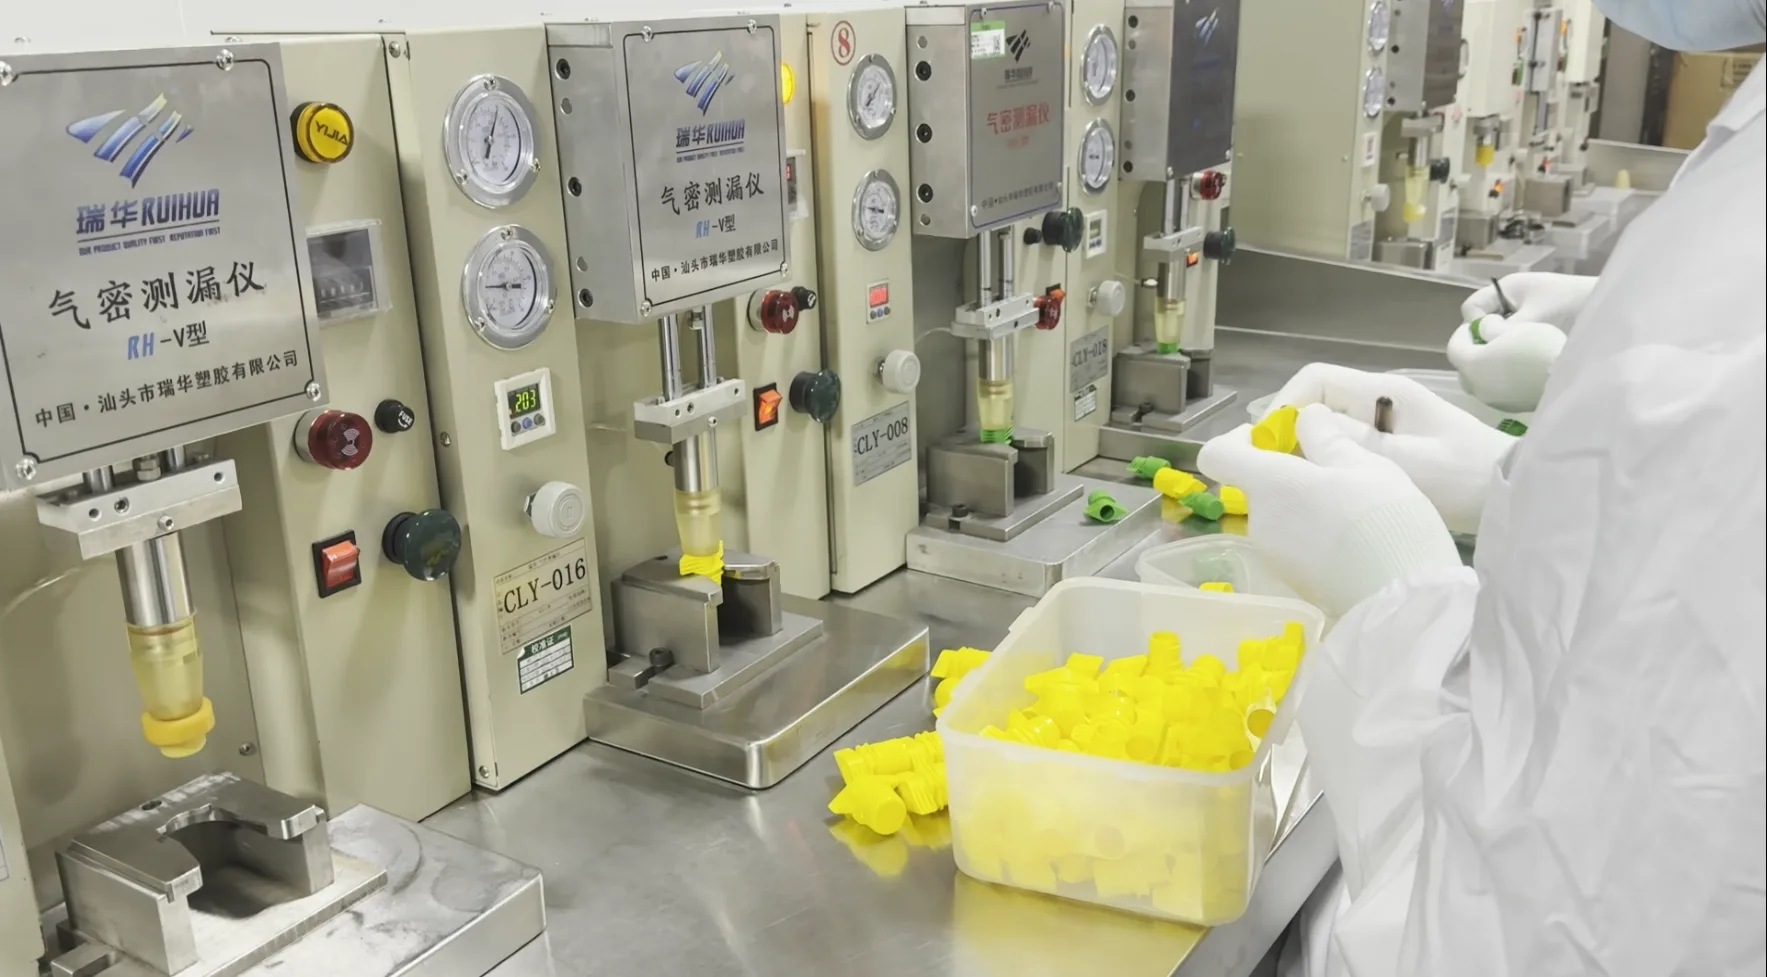
None of that is waste. It is the difference between a size change and a recall. But it is also changeover time, and any target you set from a supplier's machine-time figure without budgeting for it will be missed on the first changeover. The most common verification shortcut, running the new size on the samples left over from the old one, is exactly how a seal temperature that was acceptable on a thicker shank turns into a leak complaint three weeks later.
Three transitions, side by side
Transition | What changes | Sequence | Realistic stop time |
|---|---|---|---|
Same spout, new fill volume (100 → 200 ml) | Recipes only: fill weight, maybe seal dwell | Clear line → recall recipe → weigh first 20 → first-off | The short end: minutes, not a shift |
Same bore, different cap (screw → anti-choking, or longer shank) | Bowl feeder tooling, chute rail, capping inserts, torque recipe | Prepare chute + inserts off-line → stop → swap → torque setting → leak + first-off | Half shift on a line that never planned for two cap styles |
Bore to bore (8.6 mm → 22 mm) | Gripper chucks, chute rail, capping inserts, fitment holder, rail, seal recipe, eject/sensor settings | Prepare the full kit → stop → swap → full recipe recall → peel + torque + leak + first-off | A day, until the kit and the validation plan exist |
The third row is the one that gets quoted badly. The stop times in that table are the shape the mechanism implies, not measured benchmarks from your plant — you replace them with your own schedule data, which the next section sets up. A filler who has run 8.6 mm and 22 mm on the same line for years, with kitted parts and a written validation sequence, will do it inside a shift. A filler doing it for the first time with parts arriving on the day will do it across two, and will scrap a reel of film in between. The difference between those two outcomes is planning, and it shows up as a line-hour cost, which is where the next section comes in.
What a size changeover costs you per year (with your numbers, not mine)
No credible industry-wide figure exists for "the cost of a spout size changeover", and this article will not invent one: the wider writing on packaging-line changeover asks the same question and rarely commits to a defensible number (sysmatec, how much time is lost per format changeover). What can be built is your own arithmetic, from four figures you already have:
- Changeovers per month on the line, counted from your schedule.
- Stopped-line hours per changeover, measured stop-to-release — including first-off, not just the swap.
- People on the stop, including QA for the release.
- Contribution margin per line hour — what an hour of that line is worth when it is running.
Multiply 1 × 2 × 4 and you have the annual cost of your changeover habit in running-hours terms; hours three and four then tell you what a faster release is worth. Two variables move the result more than any hardware purchase:
- SKU count. Short-run SKUs multiply the changeover block. Some plants deliberately group all short runs into one window rather than spreading them, because the second changeover of the day pays for two releases.
- Kit readiness. If the swap parts live in a numbered kit next to the line, the stopped-line work collapses to settings and checks. If they live in a store room, half your stop is a walk — searching for scattered change parts and missing tools is one of the root causes behind it (Septimatech, improving changeover efficiency).
A changeover you have to think through at the machine costs a shift. A changeover you have rehearsed, kitted and validated costs an hour. The hardware is the same in both cases.
How to specify so the next changeover is cheaper
Everything above converts into five requests you can put in front of a spout-cap supplier, and they are all answerable at the quoting stage:
- Name the sizes you will run for the next two years, not just this SKU. A supplier who knows that 8.6 mm and 22 mm must coexist will tell you which parts can be shared; one who is told "8.6 mm, 20,000 pieces" will not.
- Keep the cap family consistent inside a bore. Screw caps across your SKUs cost nothing to change; a screw cap in one SKU and an anti-choking two-piece cap in another is a feeder change every time.
- Ask for the change-part map. Grippers, chute, capping-head inserts, fitment holder — which of them differ between the sizes you named, and which are shared. That single document decides whether your changeover is a swap or a project.
- Fix the interfaces, not just the part: spout diameter, flange, shank length, thread and finish; pouch pitch; target torque window; seal temperature range. A specification that freezes these turns a changeover into a setting change. The fields worth freezing are itemised in the spout cap specification sheet.
- Run the second size before you need it. A sample pouched, welded and cap-torqued in the second size is cheap insurance; the first time a size runs should never be the day a customer order depends on it. The pouch fitment compatibility tool is a starting point for checking spout, film and pouch against each other before anything is cut.
Ruihua's part in that list is the component side: a bore range of 1.2 mm to 40 mm with the guiding rails that match it, so a line can be specified for two sizes on paper (including which change parts travel with the second one) before either size is ordered. Our bench-top spout sealing machines exist for exactly the step above: welding and torque-checking the second size in real film while the line is still making money on the first.
FAQ
How long does a spout size changeover take? It depends which of the three transitions you are doing. A fill-volume change on the same spout is a recipe recall. A cap-style change on the same bore swaps feeder tooling, chute and capping inserts. A bore change (8.6 mm to 22 mm) additionally moves the gripper chucks, the fitment holder and usually the rail. A machine builder's published figure for the physical swap alone is 20–35 minutes with tool-less quick-release parts; add preparation, seal and torque re-validation and first-off approval for the line-hour number you should plan against.
Do I need new change parts for every spout size? No — for every changed interface. Grep your own line: if the cap diameter, fitment height or pouch pitch is identical, you need settings, not parts. If any of the three differs, at least one change part follows.
Can one line run two spout sizes? Yes, and it is common in contract filling. It needs three things: a rail that can carry both pouch pitches, a change-part kit that is kitted rather than ordered, and a written validation sequence so the second size is released the same way as the first.
What breaks first after a size change? The three places to check first are cap orientation in the feeder, cap torque (a new cap thread or liner seated to an old torque setting), and the seal on a shank that sits differently in the jaws. All three show up in the first-off check if you run one.
Does changing the fill volume need any hardware change? No. Same spout, new volume is a recipe value. If someone tells you a volume change needs parts, they are describing a pouch format change, not a spout change.
If you are quoting a job that runs two spout sizes on one line, send us the two spouts and the pouch pitch you intend to run and we will come back with the bores, caps and rails that share the most: request a quote or samples with the second size named, not just the first.