
A retailer's packaging questionnaire lands on your desk and question 14 reads: describe how you verify seal integrity on filled pouches. You run a non-sterile line — sauce, detergent, shampoo, pet food — and until this morning the honest answer was a squeeze test at the end of the line and an inspector's eyes.
That answer no longer survives an audit. Yet most pages about pouch leak test methods are written by people selling leak detection instruments: they describe the methods accurately, then stop exactly where your problem begins — which method belongs in your specification, how many packs you test, and what counts as a pass.
This guide works from the other end. It starts with the questions a non-sterile operation actually has to answer — is this closure sound, is this weld sound, is this filled pack sound — and maps five published leak tests onto them. They are taken below cheapest-first rather than in that order, and the limits that decide whether a test is worth running at all are written into every section. The methods sit inside the wider set of decisions covered under Choosing & Running Spout Caps, where "spout cap" always means the closure on a stand-up pouch or doypack, never a gas-can spout.
Why a Non-Sterile Pouch Needs a Test Plan, Not a Standard
Packaging for terminally sterilized medical devices is governed by ISO 11607, package integrity is evaluated under USP general chapter 1207, and FDA guidance describes container and closure system integrity testing (CCIT) as a documented alternative to sterility testing. In that world the framework is already written for you: validated method, justified sensitivity, fixed sampling, retained records.
Non-sterile food, household and personal-care pouches have no equivalent. No standard prescribes the method, the sample size or the acceptance criterion for these packs, and the schemes that do require seal verification — retailer standards, BRCGS-style audits — deliberately leave the method to you. That absence is the actual job: you are not selecting a compliant method, you are writing a plan you can defend to a customer, a retailer or an auditor.
It also changes the target. You are not proving a sterile barrier; you are protecting product quality and the customer's shelf: a slow weep that softens a carton, a detergent pack that marks the print beside it, a sauce pouch that smells in the warehouse three weeks after it shipped. The fault is usually small, intermittent, and only visible after handling — which is why "maximum sensitivity" is often the wrong purchase and "repeatable, cheap, documented" is usually the right one.
Find the Leak Path Before You Choose a Method
A leak is a path, not a property of the pack. On a spouted pouch it starts in one of four places, and each has a different cause, a different fix, and — the part that decides your test plan — a different test.
- The cap-to-spout interface. Thread engagement, the compression land under the cap, and on push-pull or valve caps the valve itself. A well-molded cap applied crooked leaks in the same spot as a bad cap.
- The spout flange to film weld. Channels from contamination in the weld zone, uneven pressure, or a sealing window carried over from a different film structure.
- The film body and back seal. Wrinkles, product in the seal, a stress point where the fitment corner meets the film.
- The fitment body. A hairline crack at the shoulder, usually from over-torque or a cap driven on at an angle.
Twenty returned packs will tell you which of the four you actually have. Fill and cap them, dry the outside, then squeeze over a paper towel and rotate the pack: at the cap or thread it is path one, at the base of the spout it is path two, on the film it is path three, and a crack in the plastic itself is path four.
Do that before you price a machine. A component-level fault cannot be corrected by testing whole packs, and a whole-pack test cannot tell you which of the four paths failed. If your rejects cluster at the cap, the useful test is on the closure; if they cluster at the weld, it is on the seal. The fault-by-fault version of this diagnosis is in the five causes behind a leaking spout pouch.
The Five Pouch Leak Test Methods, Side by Side
The field is smaller than the vendor pages suggest. Five published leak tests cover almost everything a non-sterile operation needs. Burst and creep sit in the same table because they are bought in the same budget conversation, not because they find leaks; the two middle columns are the ones marketing copy underplays, because they name what each test can actually see and which question it answers.
Method | Standard | What it finds | Answers | Destructive? | Where it earns its place |
|---|---|---|---|---|---|
Bubble emission (vacuum) | ASTM D3078 | Gross leaks anywhere in the pack, located visually | Leak — whether, and where | Yes — water contact | Filled-pack audit, complaint investigation |
Internal pressurization | ASTM F2096 | Gross leaks, located; usable where a vacuum chamber will not take the pack | Leak — whether, and where | Yes — needs a port or needle | Oversized or awkward packs, weld-region focus |
Dye penetration | ASTM F3039 (non-porous); F1929 (porous) | A channel along the seal, and where it starts | Leak — where in the seal | Yes | Weld qualification, seal troubleshooting |
Vacuum decay | ASTM F2338 | A pressure-change signature against a baseline, no water | Leak — whether, not where | No | High sampling rates, retained samples, slower lines |
Pressure decay | ASTM F2095 | The same signature, with the pack pressurized from the inside | Leak — whether, not where | Yes — the pack is ported and pressurized | Closure and weld stressed from the inside; limp packs that give a vacuum little to read |
Burst and creep | ASTM F1140 | The pressure at which the pack fails | Strength and margin, not a leak | Yes | Design validation, film or format changes |
Two familiar checks are deliberately absent. Seal strength (ASTM F88) measures bond, not continuity. The appearance check at the end of your line measures neither, and neither one is a leak test — which is why they get their own section further down.
Bubble Leak Test (ASTM D3078): The Cheapest Test You Can Defend
Of the pouch leak test methods in that table, the bubble leak test is the one most plants can install this month. The pack is immersed in a chamber of water, the chamber is evacuated, and escaping air shows up as a stream of bubbles from the leak. ASTM D3078 is the standard for flexible packaging, and its scope is deliberately narrow: bubble emission detects gross leaks. It will not certify a pack as shelf-stable, and any page claiming otherwise is overselling a test that costs less than a day of production.
Its value is elsewhere: it is a published, repeatable, visually verifiable method that locates the leak while you watch, on a real filled pack, using equipment any maintenance shop can build around a vacuum pump and a clear chamber. For an audit, documented method plus photographed result beats an uncalibrated instrument.
Four setup mistakes produce most of the false results:
Setup mistake | What it looks like | What to change |
|---|---|---|
No wetting agent | Bubbles cling to the film and hide a slow weep | A drop of surfactant in the bath |
Dwell time too short | A marginal leak never shows, so the lot passes | Set the dwell with a known-leaking control — a pierced pack or a calibrated orifice — and hold until that control is caught, then write the number into the spec |
Clinging air read as a leak | Bubbles release for a few seconds from a fold, a gusset or the cap's own cavity | A real leak keeps bubbling from one fixed point — mark it, re-test, and only then scrap the lot |
Pack tested straight off a cold line | A cold, stiff film seals the path and the pack passes | Condition samples to room temperature first, or you are testing the weather |
One more thing this method will not do: it will not find a cap that was started crooked by a capper chuck and then forced home, because that fault often opens only under squeeze. If that is your failure mode, the evidence lives on the line, not in the water bath — see what a misaligned capper does to a spout.
Dye Penetration (ASTM F3039): A Map of the Weld, Not a Pass or Fail
When the leak sits in the weld, you usually need more than a yes-or-no answer — you need to know where in the seal it begins and whether the channel runs to the product side. Dye does that. A colored solution is applied to one face of the seal, capillary action pulls it into any channel, and after a defined dwell the pack is rinsed and read.
This is also where most published comparisons go wrong. Search for dye penetration testing and you will be pointed at ASTM F1929, which is written for porous medical packaging — paper and Tyvek lids on trays. A foil, metallized or PE-laminate spout pouch is the opposite case. The standard that applies to non-porous films and flexible barriers is ASTM F3039. If a supplier quotes F1929 for your laminate pouch, ask which clause covers a non-porous web, because none does. ASTM F1929 remains the right document for porous medical lids, and knowing the difference is a quick way to tell a real test lab from a brochure.
The practical constraints are worth writing down before you run it. The dye has to reach the seal edge, so the test only covers paths that open onto that edge — a cap thread fault or a valve fault is invisible to it. It is destructive, so the sample is gone afterwards. And the dwell time and read time have to be fixed and validated on a known-leaking control sample, otherwise you are timing your own patience rather than the leak.
Vacuum Decay (ASTM F2338): When Non-Destructive Pays
Vacuum decay is the only pouch leak test method in this list that puts the pack in a chamber, pulls a vacuum and watches the pressure rise. A leaking pack admits air and the pressure climbs faster than a sound one. ASTM F2338 defines the method, and its appeal is simple: nothing gets wet, nothing gets punctured, and the sample survives. You can test the same packs at the start and end of a shelf-life trial, or raise the sampling rate without destroying the lot.
Pressure decay is not the same standard turned around, and this is where most comparisons of the two go wrong. ASTM F2095 pressurizes the pack itself through a port and times the drop, with or without a restraining plate — and because the pack has to be entered to be pressurized, the method is destructive: the sample is used up. What that buys you is a reading on a limp pack that gives a vacuum very little to measure, and stress that arrives from inside the pack rather than from around it. What it costs you is the sample, and without a restraining plate the risk of timing the film stretching rather than the leak.
Neither method is free of conditions. Vacuum decay needs enough headspace and enough stiffness for the evacuation to produce a readable signal; a very limp pouch with almost no air inside gives you very little to measure. You need a baseline per format — pack size, film, fill level, product — established with known-good and known-leaking samples, because the pass limit is a comparison, not a universal number. Temperature has to be stable, and a product that outgasses will confuse the reading.
Then there is throughput and capital. A chamber cycle is slower than a filling line, so in practice this method serves sampling, retained samples and investigations — the roles where a destroyed sample is a real cost. If your line runs fast and your leak rate is already low, bubble leak testing on a small sample will usually tell you as much for a fraction of the price. Buy decay testing when the cost of a missed leak — retailer chargebacks, a recall, a lost account — is larger than the instrument and its validation. Trace-gas methods using helium, and mass extraction, reach smaller leaks still, but they need a dedicated instrument, a gas supply and a trained operator: that is a lab service or a supplier qualification, not a line check.
Pressure, Burst and Seal Strength Answer Different Questions
Two of the three tests in this section are not leak tests at all, and the confusion costs money in both directions.
Internal pressurization, ASTM F2096. Instead of pulling a vacuum around the pack, you push air into it through a needle or a self-sealing port, immerse it, and watch for bubbles. It sounds like a variant of the water bath and behaves like one, but it solves two practical problems: it works on packs too large or too rigid for a chamber, and it pressurizes the headspace directly, which stresses the closure and the weld from the inside — closer to what a squeezed pouch in a carton actually experiences.
Burst and creep, ASTM F1140. These measure the pressure at which an unrestrained pack fails, or how long it holds a set pressure. That is a strength and margin measurement, not a leak locator. Run it at design validation, when you change film structure, and when you qualify a new spout-to-film combination — including the move to a mono-material PE structure, where the weld window is narrower and the sealing temperature you set decides whether the joint has margin at all. Do not run burst tests every shift and call it leak control; a pack can burst at a healthy pressure and still weep at the spout.
Seal strength, ASTM F88. This peels the seal and reports force. It is the most commonly substituted test in the whole list, and the substitution is a category error: a seal can be strong and still leak through a channel beside the bond line, because strength measures how well two surfaces stuck, not whether the path is closed. Keep F88 for incoming film and seal-window qualification, alongside a leak method rather than instead of one.
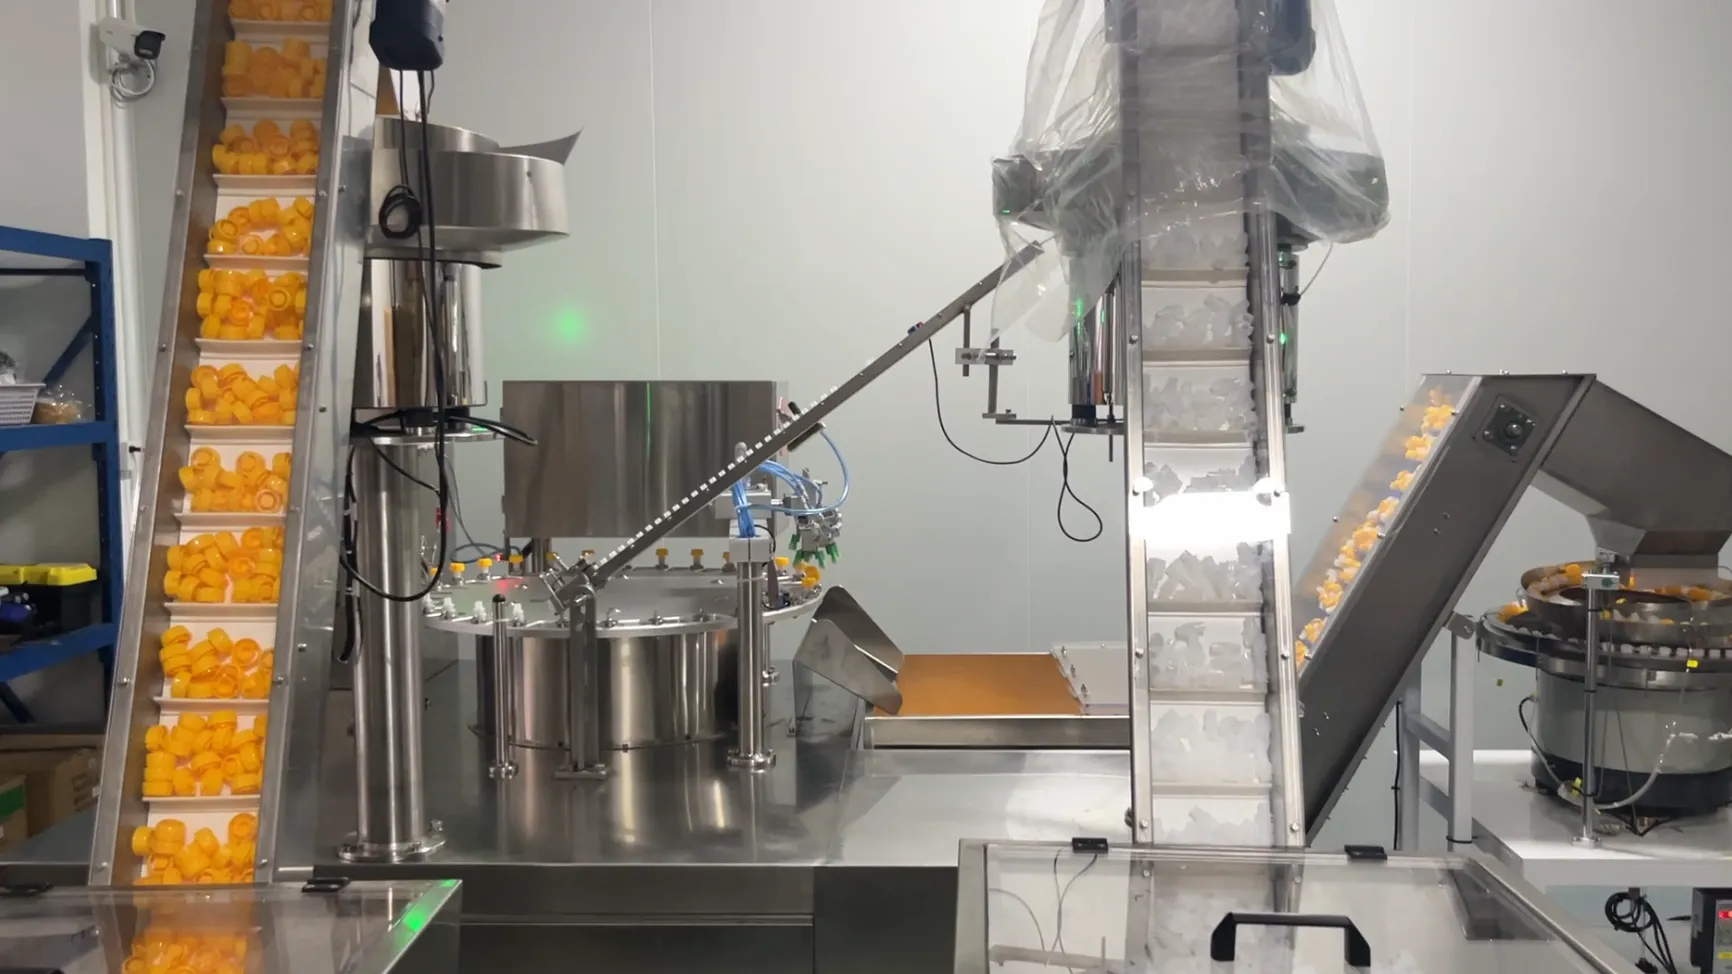
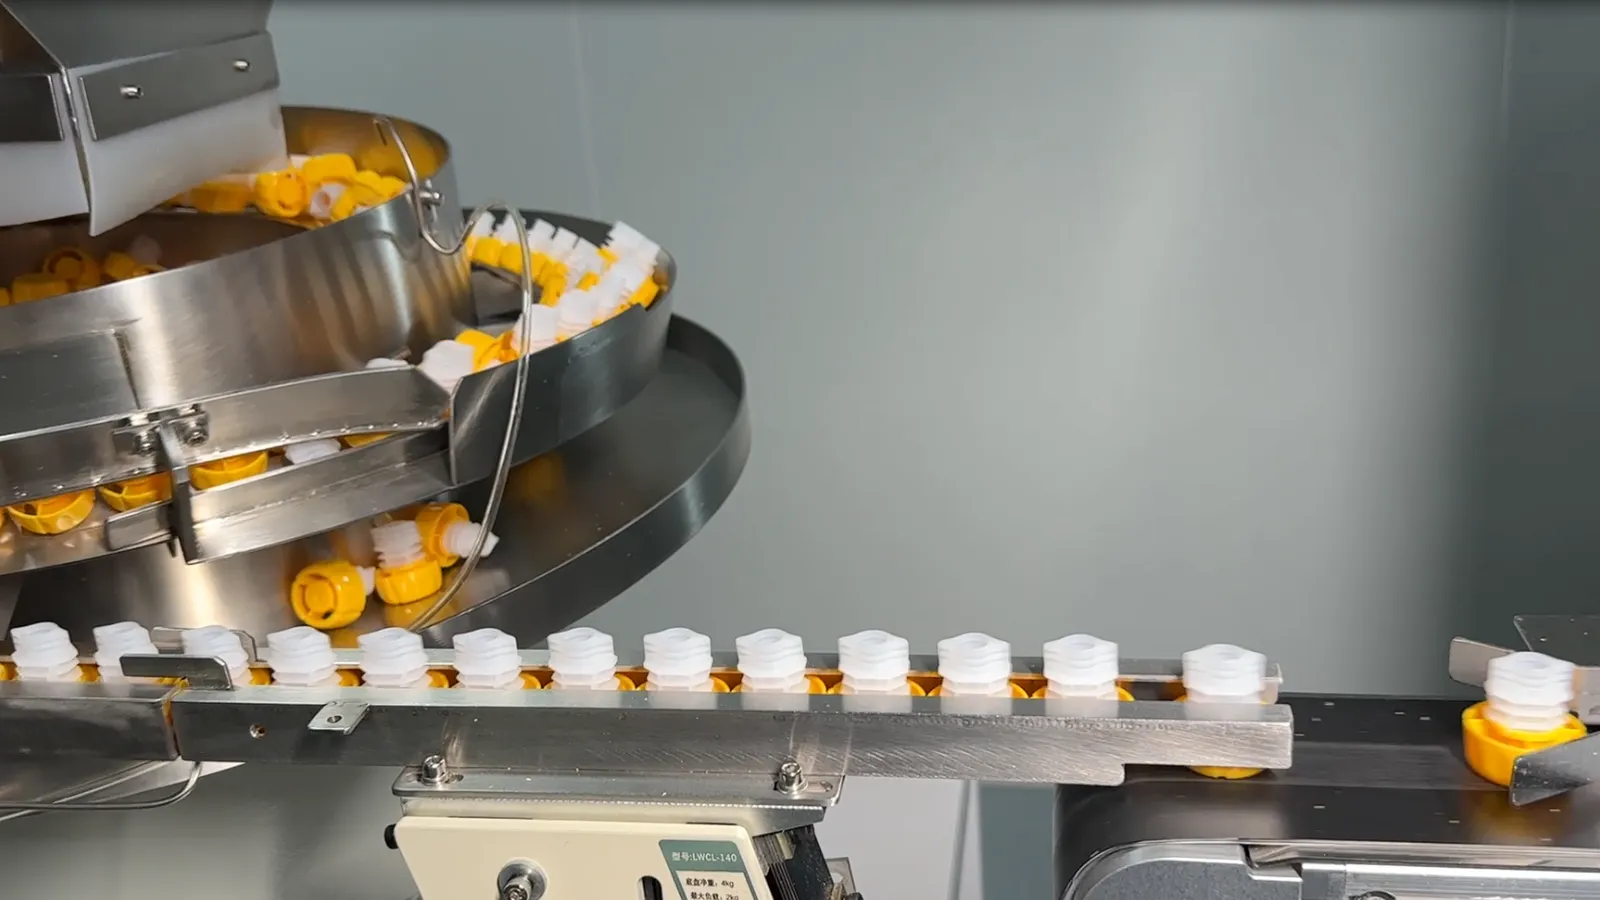
And a note on the end of the line. The vision system sorting caps for burrs, short shots and color is doing useful work — it is the same logic as the automated inspection that runs beside our own presses. It is not a leak test. A cap can pass every camera on the line and still fail on a fixture, because a leak path is a gap between two sealing surfaces, and a camera looking at the outside of a cap cannot see it.
Test the Closure Before It Becomes a Pack
Every method above tests a pack. The cheapest defect to catch is the one you find before the product goes in, and for a spouted pouch that means testing the closure on its own.
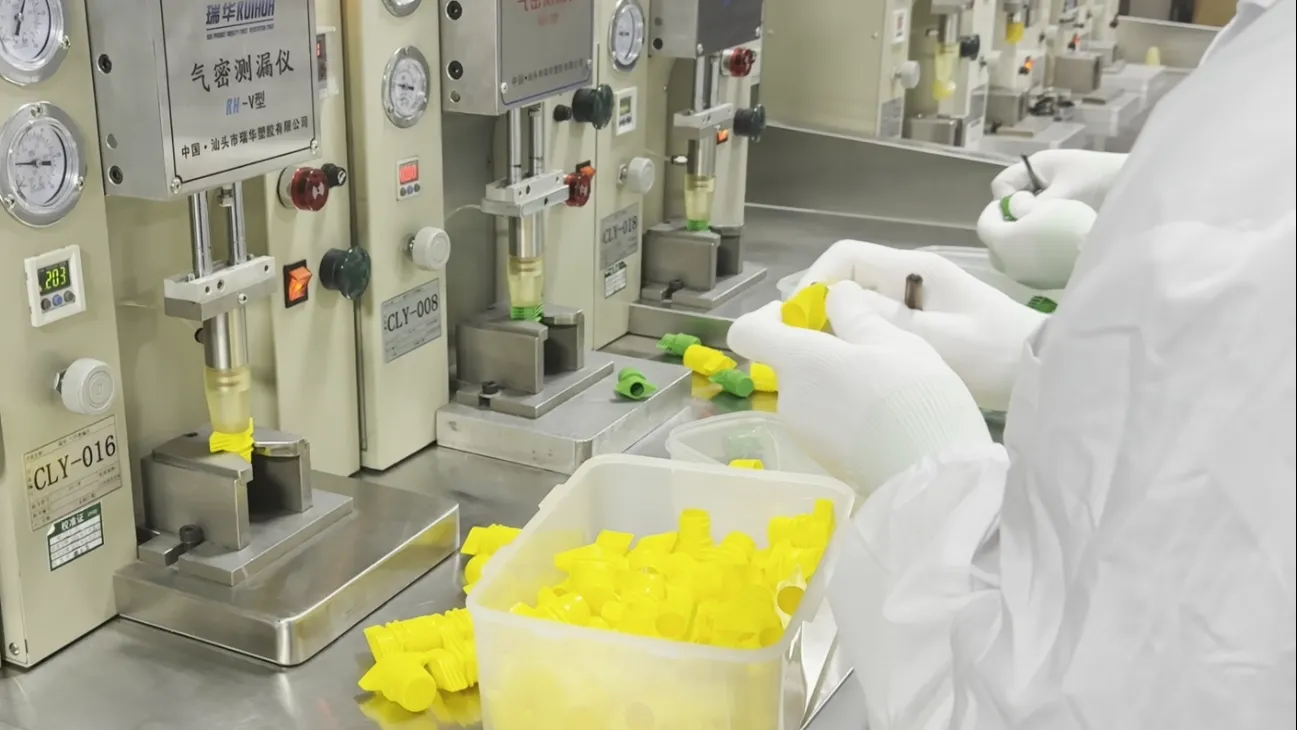
Two checks cover most of it. The first is an air-tightness test on the cap-and-spout assembly, clamped in a fixture with air applied and the pressure held — a dry test, seconds per part, no water and no product. The second is torque: application torque on the line, and removal torque on the finished pack, measured across a shift rather than on one pack. Together they separate a closure problem from a film or weld problem before either one reaches a filler.
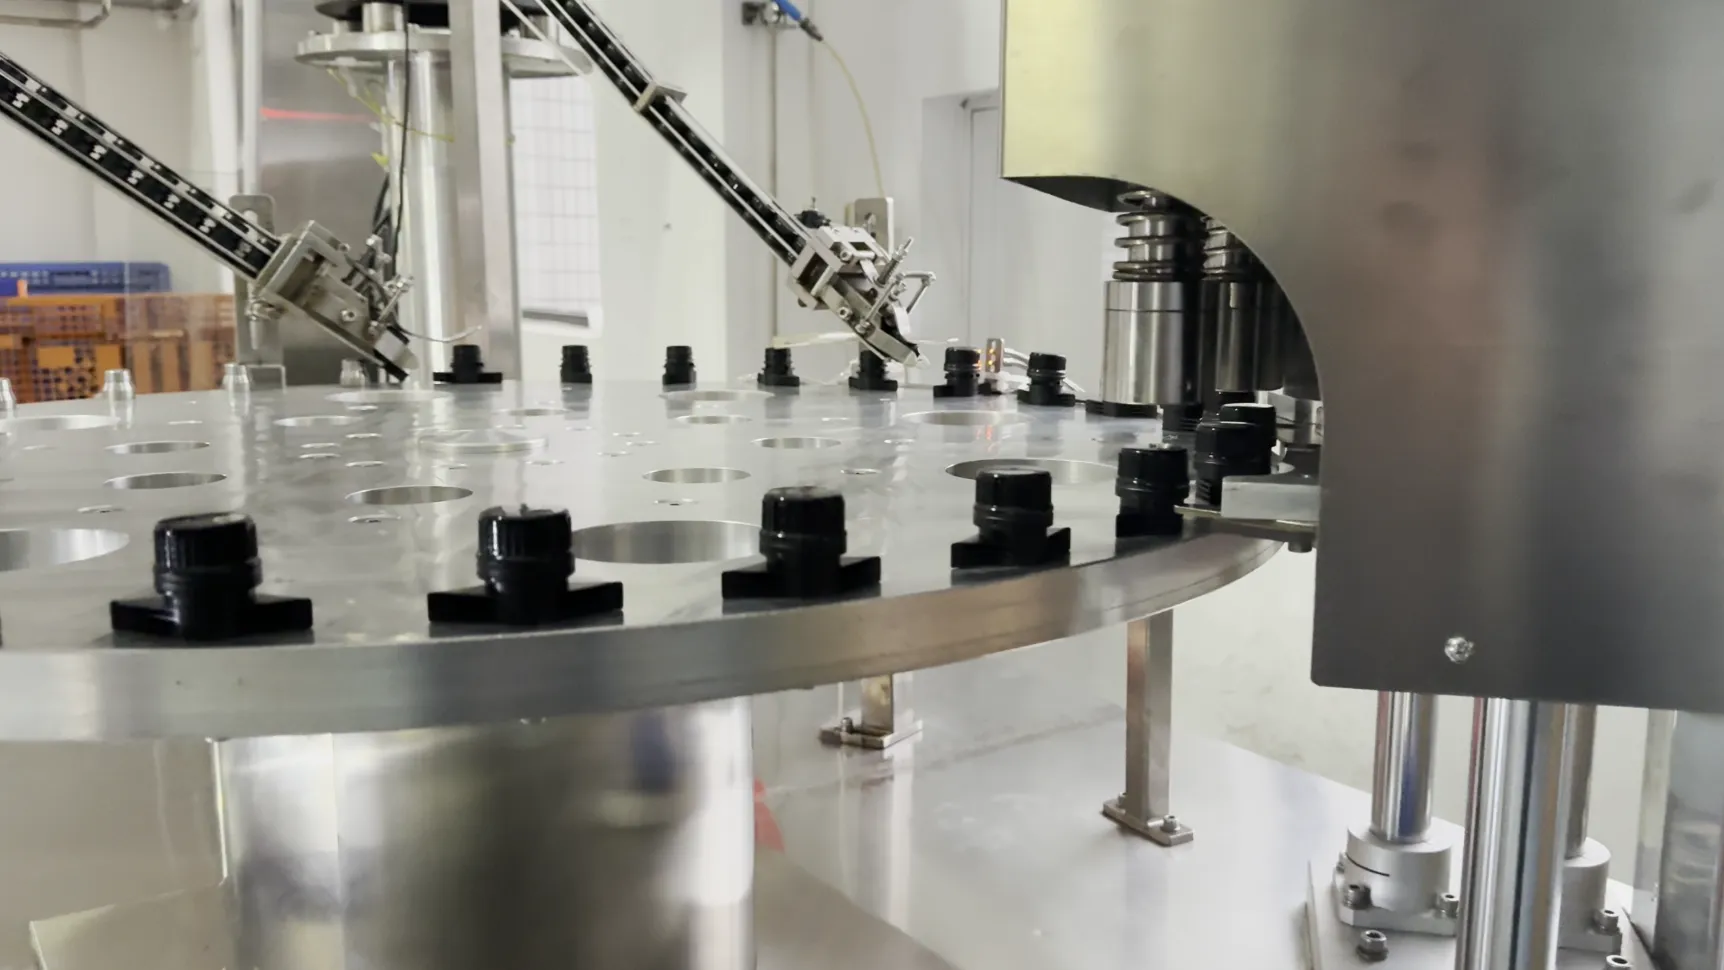
This is routine on the molding side, and it is the reason a component test is worth asking for. Suppliers who mold the closure run batch-sampling air-tightness and torque checks so that a thread or valve fault is caught at the source; Ruihua runs that sampling in house, an air-tightness test and a torque test on the caps from each production batch, which is how a marginal thread shows up as a number instead of a customer complaint. What it cannot do is predict how your capper applies the cap. Torque applied on the line is your variable, and a capper chuck that is out of alignment will start a good cap crooked and produce a leak the component test never saw.
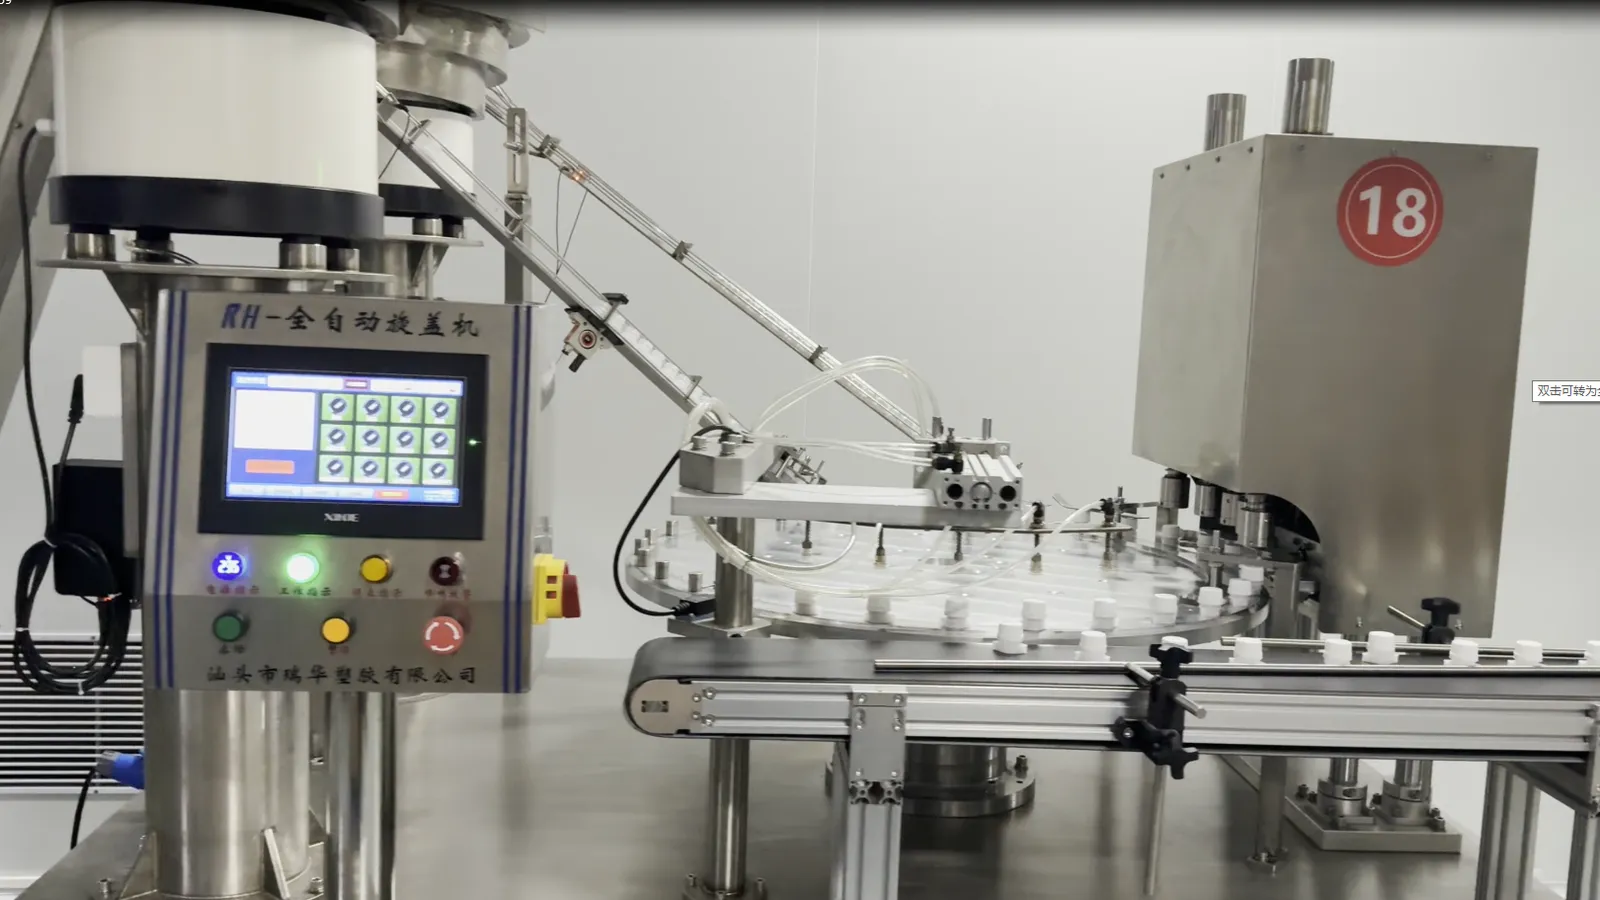
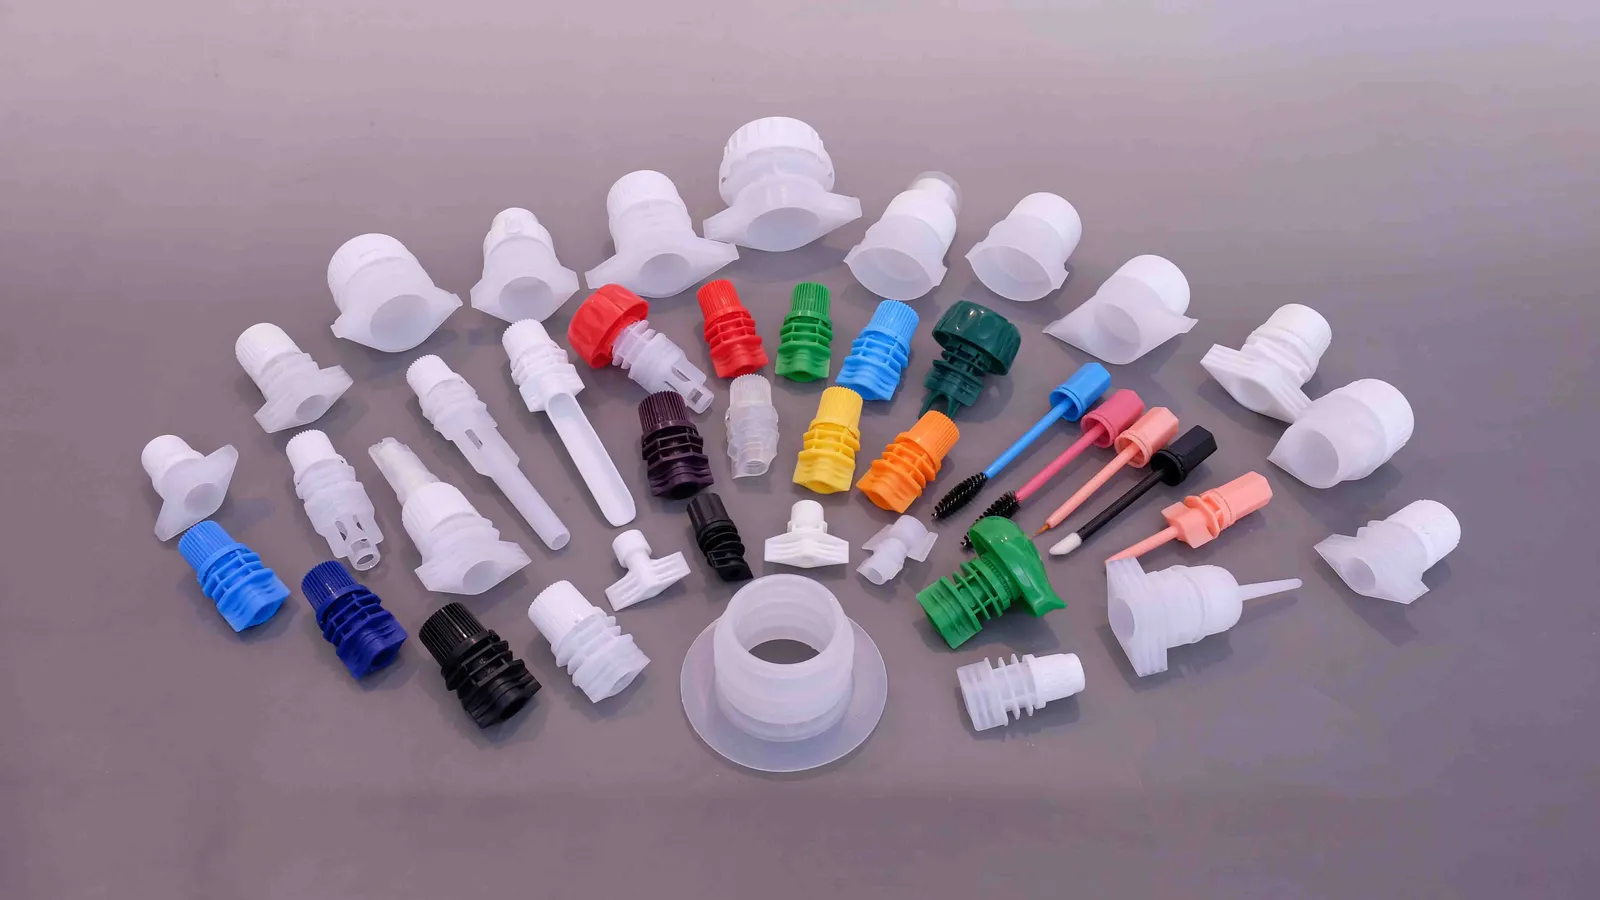
The fix for that class of fault is specification, not inspection. The cap and the spout should be a matched pair, with thread pitch, engagement and sealing-land dimensions written down in a specification sheet that states the thread and the land, and the capper set to the torque window that pair was designed for. When cap and spout come from two suppliers who never exchanged drawings, no amount of end-of-line testing will close the gap, because the fault is in the tolerance stack rather than in either part.
Sampling, Acceptance Criteria and the Records an Audit Reads
Choosing a pouch leak test method is half the work. The other half is the plan around it, and this is the part auditors actually read.
Where to sample. Start, middle and end of shift — not the first pack after a break. Add a sample after every change that can move the seal: a new film roll, a new cap lot, a capper setup change, a fill-weight adjustment, a restart after a stoppage.
How many. If your customer or retailer specifies an AQL and sample size, use theirs; that is the number you will be judged against. If nobody has specified one, set a sample size you can actually sustain and an acceptance number of zero for leaks — a leaking pack is a critical defect, not a minor one, and "one out of ten is acceptable" is a sentence no auditor wants to read.
What counts as a pass. Write the conditions, not the adjective. No continuous bubble stream from any point in [your hold time] at [your vacuum level] is testable; "no leaks" is an argument. The number belongs in the specification, and so does the reason it was chosen.
What happens on a failure. Quarantine the lot, locate the path on the failed pack, correct the cause, re-test, and record all four steps. A failure that ends with "re-ran, passed" and no cause is a finding waiting to happen.
What you keep. Method and standard, test conditions, sample size, result, operator, date and lot. Retention follows your customer's requirement, and it should be long enough to cover a complaint that arrives after the season ends.
Before it ships. A pack that passes at the filler can still arrive leaking, because a shipment stresses the closure and the seal in ways a line test does not: drop, stacking compression, and hours of vibration. Two steps cover it — retain a set of samples from each lot, and run one distribution simulation per format change on a shipper of finished packs, using ASTM D4169 for a full distribution cycle or ISTA 3A at parcel level, which adds a leak test for liquid products. Then re-test the packs inside with the method you already run on the line. A failure at that stage is a packaging or closure decision, not a line adjustment.
The Six Lines to Put in Your Specification
Most of the value of this article fits in a block you can paste into a supplier, converter or co-packer agreement and adapt. Keep it to six lines and make every line measurable.
Line | What to write | Example |
|---|---|---|
| The method, the standard number, and the test object | Bubble emission per ASTM D3078 on filled packs; air-tightness and torque checks on the closure at incoming |
| When it runs, and what triggers an extra run | Component test at incoming and at each cap lot change; filled-pack test at start, middle and end of shift |
| n per lot, and the acceptance number | 10 packs per sampling point, acceptance number zero for leaks |
| Every setting needed to reproduce the result | Vacuum level and hold time; dye and read time; applied pressure and dwell; torque window with units |
| What happens to the lot and to the cause | Quarantine, locate the path, correct, re-test, release only with a recorded cause |
| What is written down, by whom, kept how long | Method, conditions, sample size, result, operator, date and lot; retention per the customer requirement |
Line 1 is the one that gets argued about, so make it specific enough to be reproducible by someone who was not in the meeting. If your pack has a weld that keeps showing channels, add dye penetration per F3039 to the qualification step; if the closure is the recurring suspect, put the component test first, because it is faster and cheaper than any filled-pack method. And when you change machines or formats, check whether the sealing machine still matches the pack before you blame the test.
If you would rather not build the six lines from scratch, ask for the clause we use when a cap and a spout ship as a pair — the same six lines, with the format, the torque window and the acceptance number already filled in for the pack you are running.
Start with twenty returned packs and one honest question about where they leaked. That tells you which of the five leak tests you need first, and which two — dye penetration and decay testing — can wait until the complaint data justifies them. When the closure turns out to be the recurring path, a matched spout cap range from one supplier, molded and tested as a pair, removes the fault class rather than measuring it.