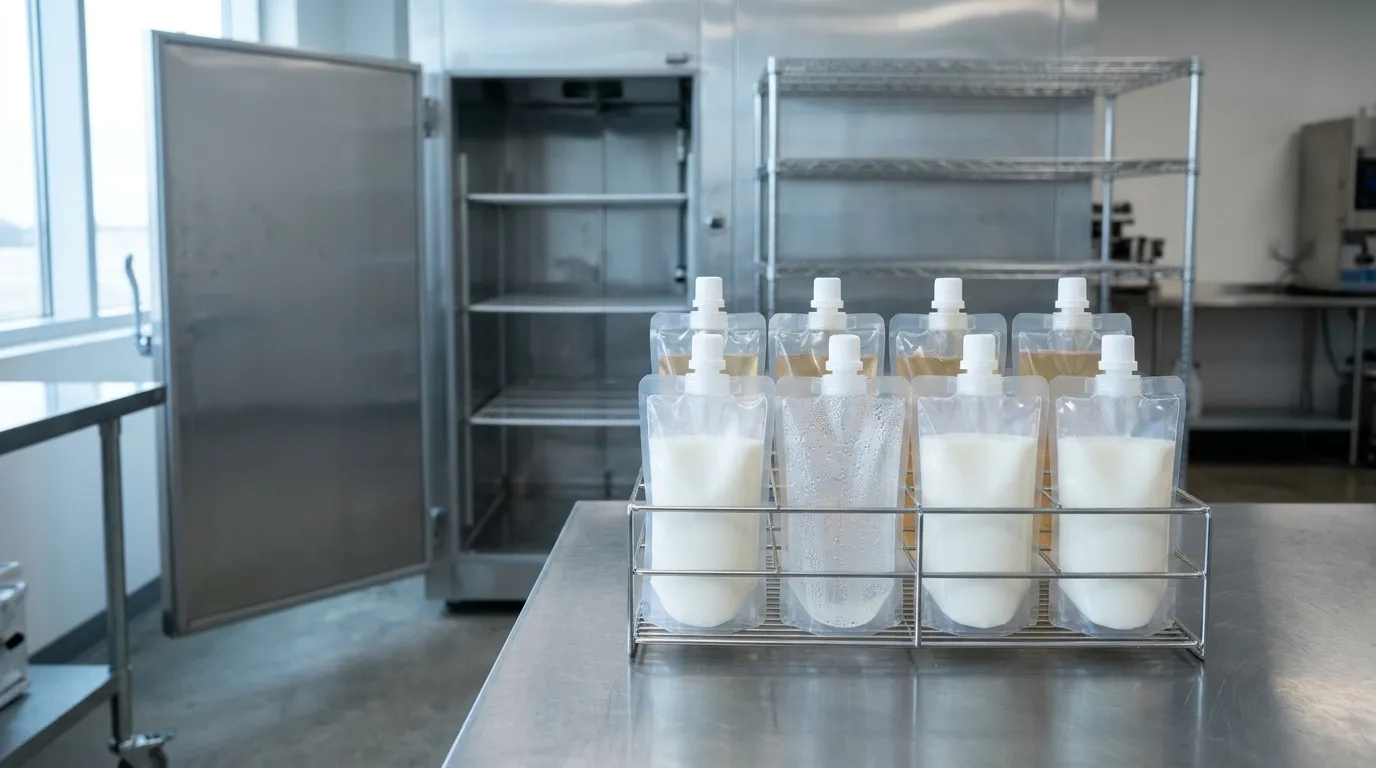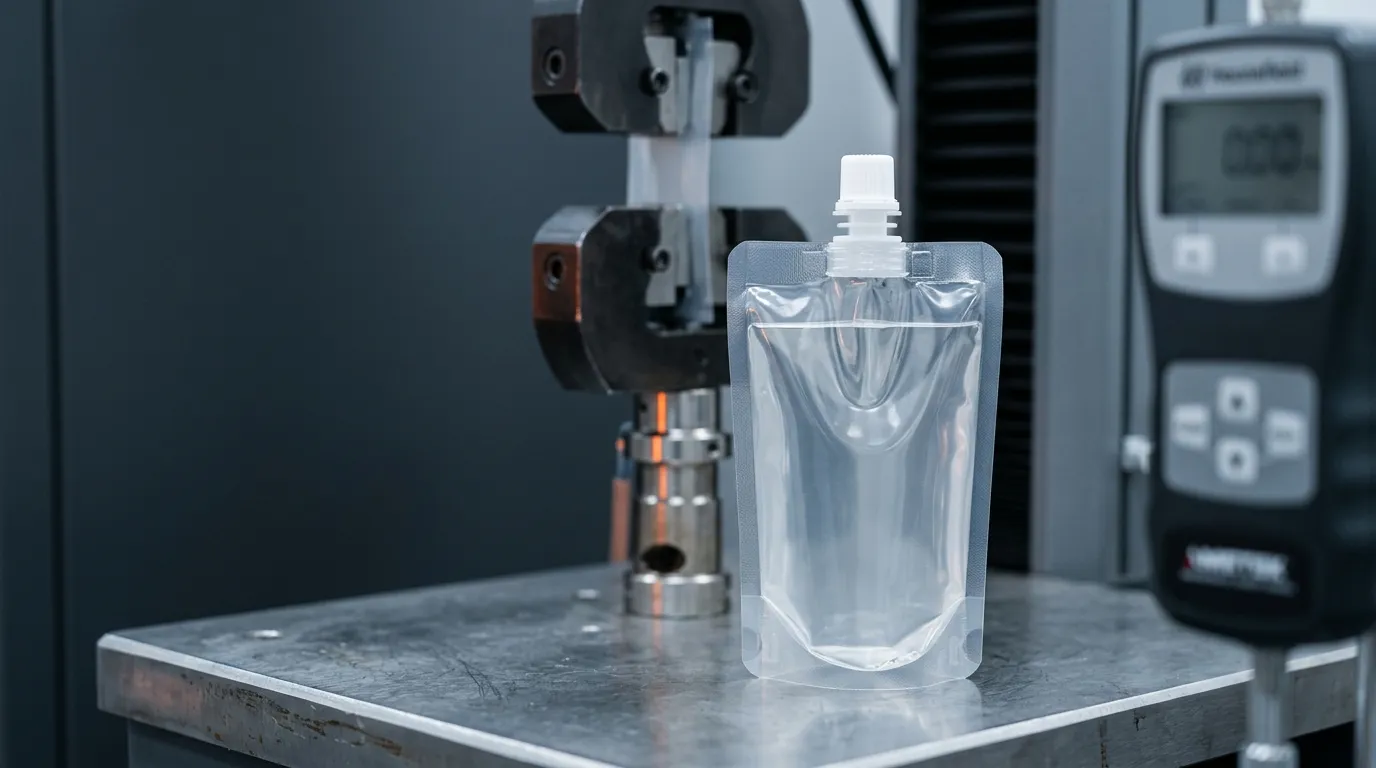

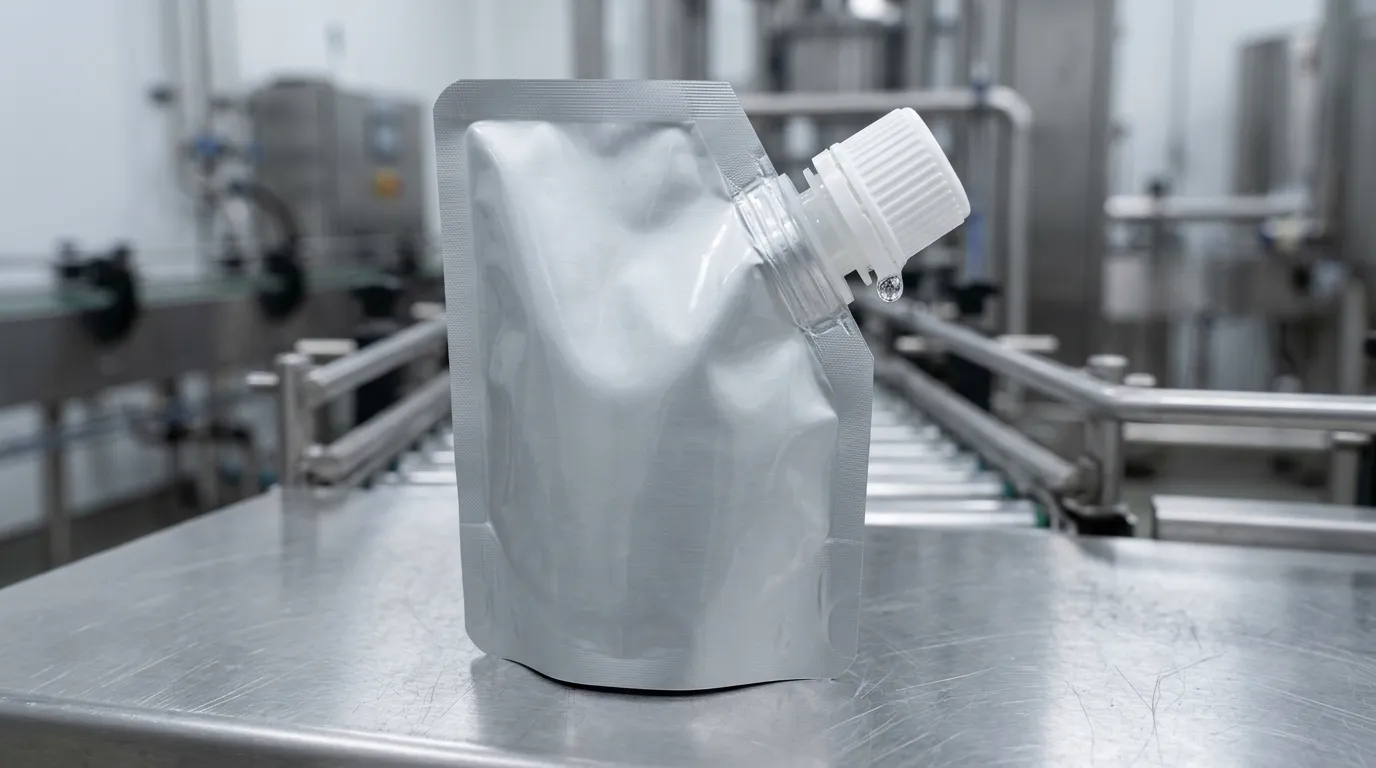
A stand-up pouch or doypack that weeps at the spout after filling is one of the most expensive faults a packaging line can hide: it passes visual inspection, ships, and then shows up as a sticky carton in a warehouse or a complaint from a distributor. When you search for why the pouch spout leaking started, most answers describe pouch manufacturing in general. In practice, the fault is almost always in the closure system — the screw cap, the spout neck, or the weld that holds the fitment in the film — and it happened at one of the four stations this article covers — when the fitment was welded, when the pouch was filled, when the cap was applied, or when the filled pack was handled.
This article walks through the five faults we see most often in returned and line-rejected packs, in the order a QA bench should check them. The order matters because a spouted pouch passes four separate stations — fitment welding, filling, capping and handling — and each fails in its own way; a leak is a symptom to assign to one of them, not a single "spout problem". Each fault below has a quick confirmation test and a concrete fix, so you can stop guessing and start correcting. It sits alongside our other guides under Choosing & Running Spout Caps, where "spout cap" always means the screw cap of a pouch fitment — never a gas-can spout cap. A leak and a misalignment are different diagnoses: a pack can be welded soundly and still be placed crooked, so if your fault is position rather than integrity, start with spout alignment on the filling line.
Diagnosing Pouch Spout Leaking After Filling: Five Faults, One Fix Path
Before touching the line, find out where the pack leaks. Dry the pouch, fill it to your normal level, cap it, and squeeze it over a paper towel while holding it in different orientations. Watch where the first droplet beads:
- At the cap or thread — the closure did not seat: faults 1 or 2.
- At the base of the spout where it meets the film — the weld is the suspect: faults 3 or 4.
- On the film body or a seal away from the spout — contamination, damage, or a film problem: fault 5.
One location test removes half the possibilities before you touch a single machine setting. The five faults below are the checklist you work through from there. Each is described as confirm-it, then fix-it.
Cause 1 — Cap and Spout Threads That Were Never a Matched Pair
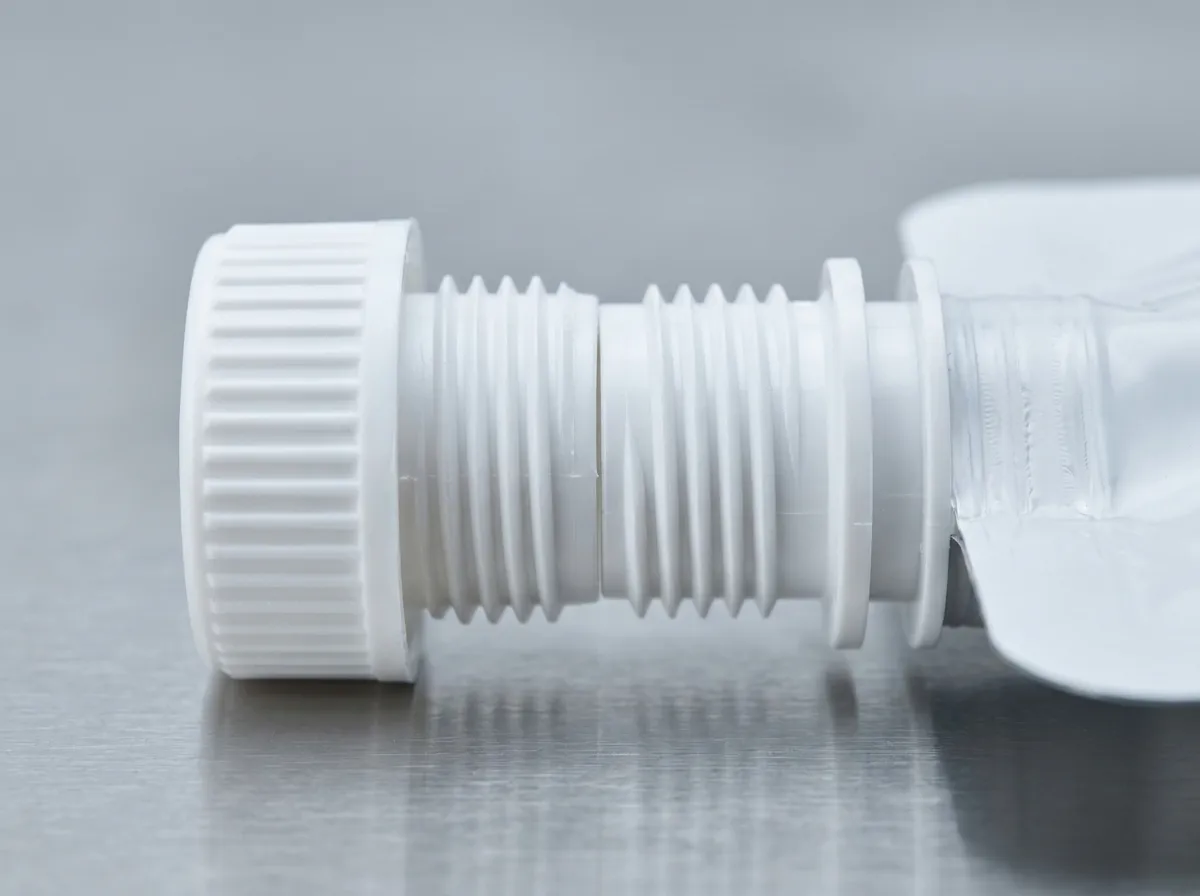
The most common cap-side cause of spout cap leaking in returned pouches is not a bad cap. It is a cap and a spout that were never designed to seal together. Thread pitch, engagement depth, and the compression land under the cap all have tolerances; when the cap comes from one molder and the spout from another, those tolerances stack. The cap screws down fully and looks closed, but the sealing surface never gets the compression it needs. The pack leaks slowly under squeeze — often only after filling, when the product weight and headspace pressure find the gap.
Cross-threading produces the same symptom from a different direction: a capper chuck that is slightly out of alignment starts the cap crooked, the threads chew, and the closure seats at an angle.
Confirm it. Dry the threads, then re-torque a leaking pack by hand to the cap's spec and squeeze again. If it stops leaking, the thread fit or the capper alignment is the problem, not the cap itself. A torque gauge across a sample of packs from one shift will also separate the two: consistent low seating torque points at thread geometry; inconsistent torque points at the capper.
Fix it. Source the cap and spout as a matched pair — ideally from one supplier who mates them and can give you a spout cap specification sheet with thread pitch, engagement, and sealing-surface dimensions for that exact combination. If you must mix sources, exchange dimensional reports at qualification, not after a complaint. On the line, verify the capper chuck and centering are aligned for the cap diameter you are running. Suppliers who mold both halves of the pair, like the matched spout cap range from 1.2 to 40 mm bore, can take most of this fault class out at the drawing stage.
Cause 2 — Capping Torque Outside the Closure's Window
Every screw-cap closure has a torque window: low enough that the cap is not damaged or over-rotated, high enough that the sealing surface compresses. Leaks from torque show up as slow weeps rather than sprays, and they are the fault most often misread as "bad cap." Under-torqued caps leak when the pouch is squeezed or when internal pressure builds in warm storage. Over-torqued caps are worse in a subtler way — the cap can jump a thread and cock, or the extra force can distort the sealing land, creating a leak path that actually gets worse the tighter you go.
Confirm it. Measure removal torque on filled packs sampled from the start, middle and end of a shift — as many as your own QC plan calls for, since what you are reading is the spread rather than any single value. A spread across those samples tells you the capper is drifting; values below the window the cap supplier specified tell you the setting is wrong. A pack that weeps when squeezed but holds when you hand-tighten it firmly points the same way.
Fix it. Set the capper to the torque window your cap supplier specifies — not to "as tight as possible." Re-check the setting whenever you change cap size or format. The tamper-evident band is a useful witness: it should break cleanly when the cap is first opened, which only happens if the cap was applied straight and within its window. If the band splits during capping itself, you are over-torquing.
Cause 3 — A Spout-to-Film Weld Outside Its Sealing Window
Leaks at the base of the spout, where the fitment flange meets the film, are the second most common complaint after filling — and the one most often misdiagnosed as a film problem. A spout weld is made by pressing the heated flange of the fitment into the inner sealant layer of the film at the right temperature, pressure, and dwell time. Miss any of the three and you get a weld that looks fused but has a fraction of the intended peel strength. It survives the pouch maker's line, then fails under the first real load: the weight of a filled pouch, the warmth of a hot-fill, or the vibration of transit.
Filling can trigger a marginal weld in two ways. A hot-fill product reheats the weld zone at the moment of maximum stress. And a pouch that was welded for one film structure runs on a different film without re-qualifying the window — a common event when a brand switches to a lighter or recyclable structure and keeps the old spout.
Confirm it. Peel the spout out of a leaking pack. A good weld tears the film; a cold or marginal weld releases cleanly, often with a slick surface where the sealant never fused. Also check for channels in the weld zone — lines where contamination or uneven pressure blocked fusion.
Fix it. Qualify the seal window on a spout sealing machine using the actual film and the actual spout resin together, and record the temperature, pressure, and dwell settings that pass a peel test. If you run recyclable mono-material PE pouches, the weld temperature is the whole game: PE sealant layers are damaged by the higher windows used for conventional laminates, which is why spouts engineered to weld in the roughly 110–130 °C band exist — see our spout cap sealing temperature guide for how that window is set and verified. When a pouch maker supplies the pouches, ask for the weld parameters they ran and keep them with the spec.

Cause 4 — Cap or Spout Resin Incompatible With Your Film or Your Product
Two compatibility failures produce leaks that appear days after filling, and neither looks like anything at the leak point.
Resin versus film. A spout weld is only as strong as the fusion between the spout's resin and the film's inner sealant layer. If the two are not compatible — for example, a sealant that wants to fuse with a PE-grade spout while the fitment is a PP grade with different melt behavior — the bond can be visually complete and molecularly weak. Vibration during transport and repeated squeeze by the end user grow micro-cracks at that interface until product finds a path. This is the "leaks weeks later" failure that drives brand owners to blame the film when the film was never the problem.
Resin versus product. Aggressive fills can attack the closure itself. Detergent, oil-based sauces, and some cosmetic formulations can stress-crack PP or HDPE over shelf time, especially at the stressed corners of a cap. The leak then starts as a hairline on the cap — invisible at fill, obvious on a shelf.
Confirm it. Run a known-good pouch from a different film supplier on the same spout: if the leak follows the film, the weld compatibility is the issue; if it follows the product, chemistry is. Look for micro-cracks under magnification at stressed cap corners, and note whether field leaks grow with time in storage — compatibility failures get worse, handling damage does not.
Fix it. Specify the spout grade against your film's sealant layer and the cap grade against your product chemistry, not against price lists. Where the pack touches food, this is also a compliance question: food-contact polyolefins are covered under FDA 21 CFR 177.1520 in the United States and under the EU framework regulation (EC) 1935/2004 in Europe, and a supplier's "food grade" claim should come with the paperwork, not just the word. Our PP versus PE spout cap materials comparison and the FDA, EU 1935/2004 and GB 4806 compliance guide cover how to read that evidence.
Cause 5 — Contamination or Damage Between Weld and Cap
The last fault class is dirt, splash, and physical abuse — the unglamorous causes that produce some of the highest complaint counts because they are intermittent.
At the filler, product splash on the sealing jaws contaminates the next pouch's seals; at the pouch maker, dust or oil in the weld zone blocks fusion and leaves a channel. On the cap side, a speck of dried product or a damaged sealing surface on the cap or its liner turns a good closure into a leaker. And after filling, rough handling does the rest: pouches over about one liter carry real hydraulic force, so stacking them, dropping a case, or filling with too little headspace can flex-crack the weld area or split a seal at the gusset corners.
Confirm it. Timing splits the causes. A leak that shows on the line or within hours is contamination or a bad weld; a leak that shows after transit is more likely impact or headspace pressure. Inspect the leak site: contamination leaves a witness line or channel in the seal; impact damage is localized, often at a corner; a burst or split seal under pressure points at overfill or a weak perimeter seal.
Fix it. Add a jaw wipe-down to the filler's changeover routine and check the cap sealing surface on a sample of every incoming lot. Keep headspace discipline — a headspace buffer lets the film flex instead of transmitting hydraulic shock to the weld. Drop-test a filled case before you trust a new carton or pallet pattern. If the cracks are consistently in the film rather than at the spout, escalate to the pouch film supplier; that is their seal and their gauge, not the cap supplier's.
Test the Filled Pack — Not the Empty Pouch
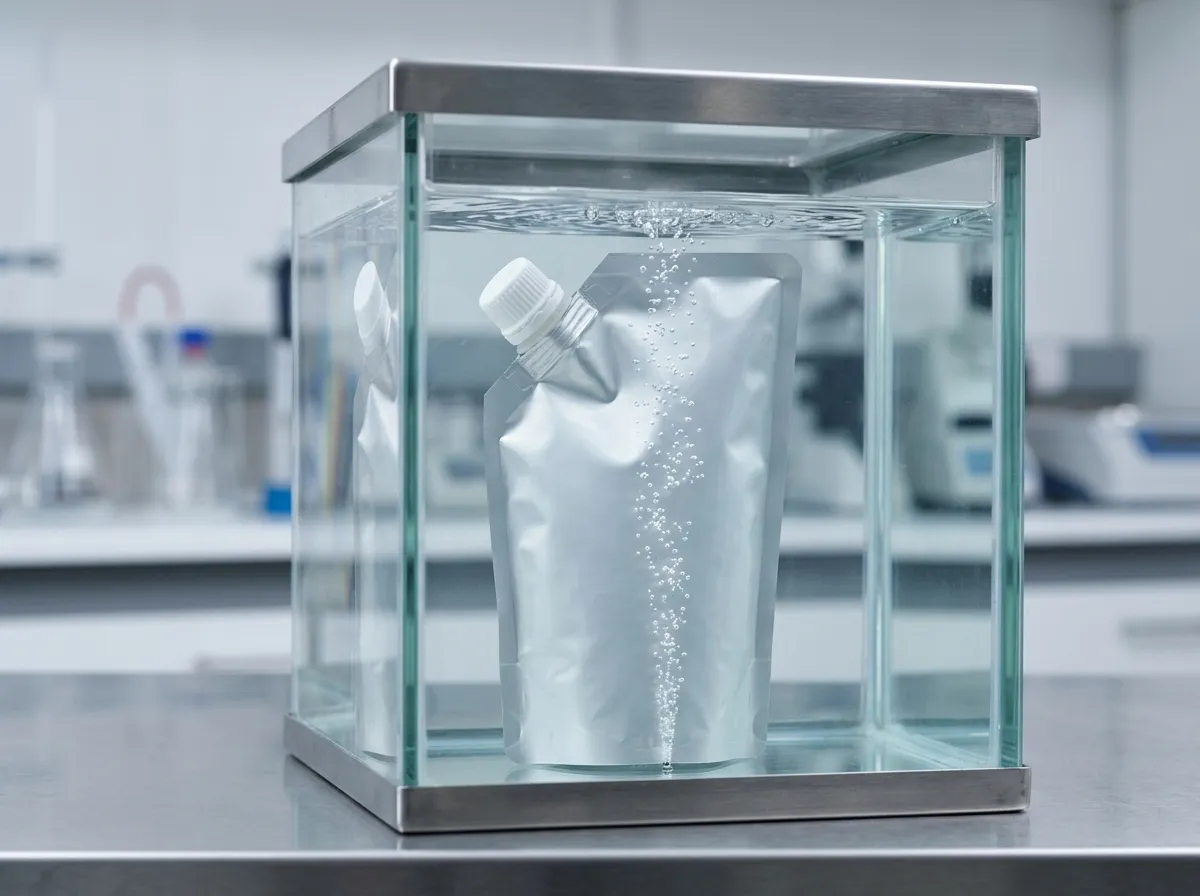
Every fault above shares one thing: it can be caught in minutes on a filled, capped pack, and missed entirely on an empty pouch. Add one routine to your QC and most of this article stops being relevant. It is the ASTM D3078 bubble-emission leak test: submerge a filled, capped pouch in a water-bath vacuum chamber, draw a vacuum, and watch for a steady stream of bubbles. The bubbles mark the leak point, which tells you the fault class — bubbles at the thread mean cap or torque; bubbles at the flange mean the weld; bubbles on the body mean film. ASTM D3078 detects gross leaks, which is exactly the class that reaches customers; it is a location tool, not a micro-leak measurement, so pair it with a torque spot-check and a squeeze test.
Take samples from the start, middle, and end of the run, and test in the orientation the pouch will actually ship in. A pouch that passes upright but leaks on its side is still a leak.
When the Fix Belongs to Your Spout Cap Supplier
If you have worked through the checklist and the fault sits in the closure system, stop adjusting the line and start asking for evidence. Send your spout cap supplier three leaking packs plus three good ones, along with four facts: fill temperature, the capping torque you run, the cap and spout model codes, and the film structure if you know it. Ask for the matched-pair confirmation — a dimensional report for that exact cap-on-spout combination — and, if you run recyclable PE pouches, for the low-temperature-welding variant of the spout.
At Ruihua, spouts and caps are molded in one plant, so a matched pair can be quoted as a single item rather than two parts bought from two sources: food-grade PP/PE closures from 1.2 to 40 mm bore, with the dimensional report for the cap-on-spout combination available on request. Send us your leaking pack and we will run it against our samples and give you the test result — that is the fastest way to find out whether the fault was the closure or something upstream of it.