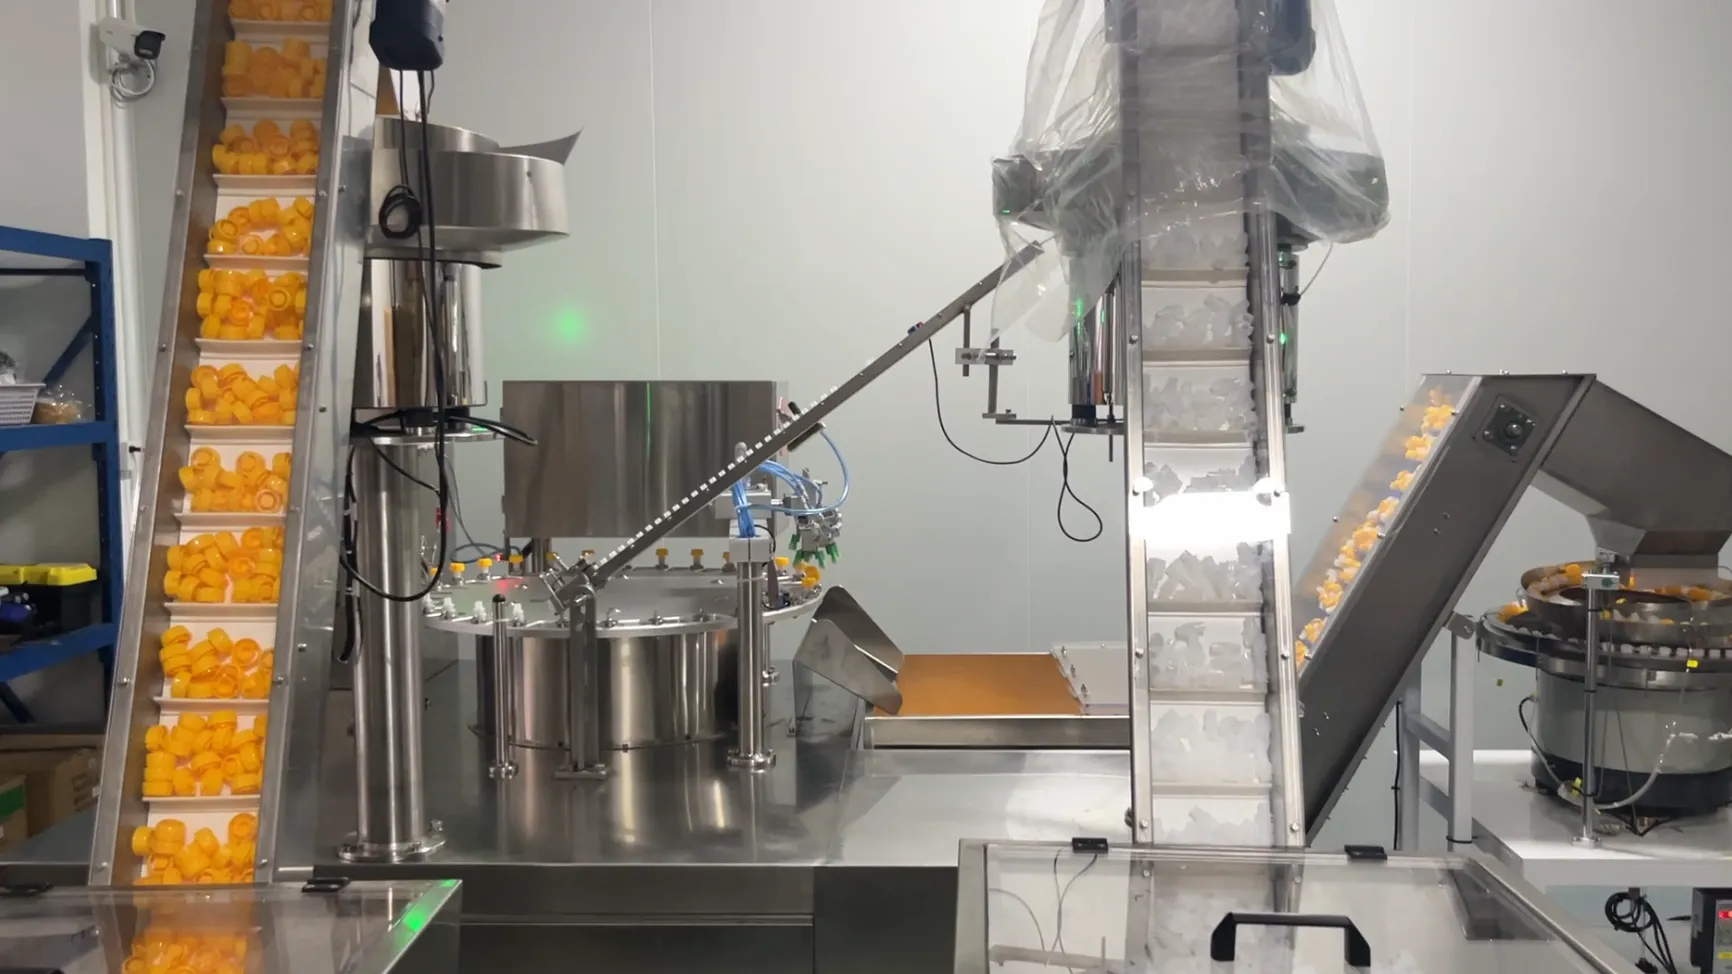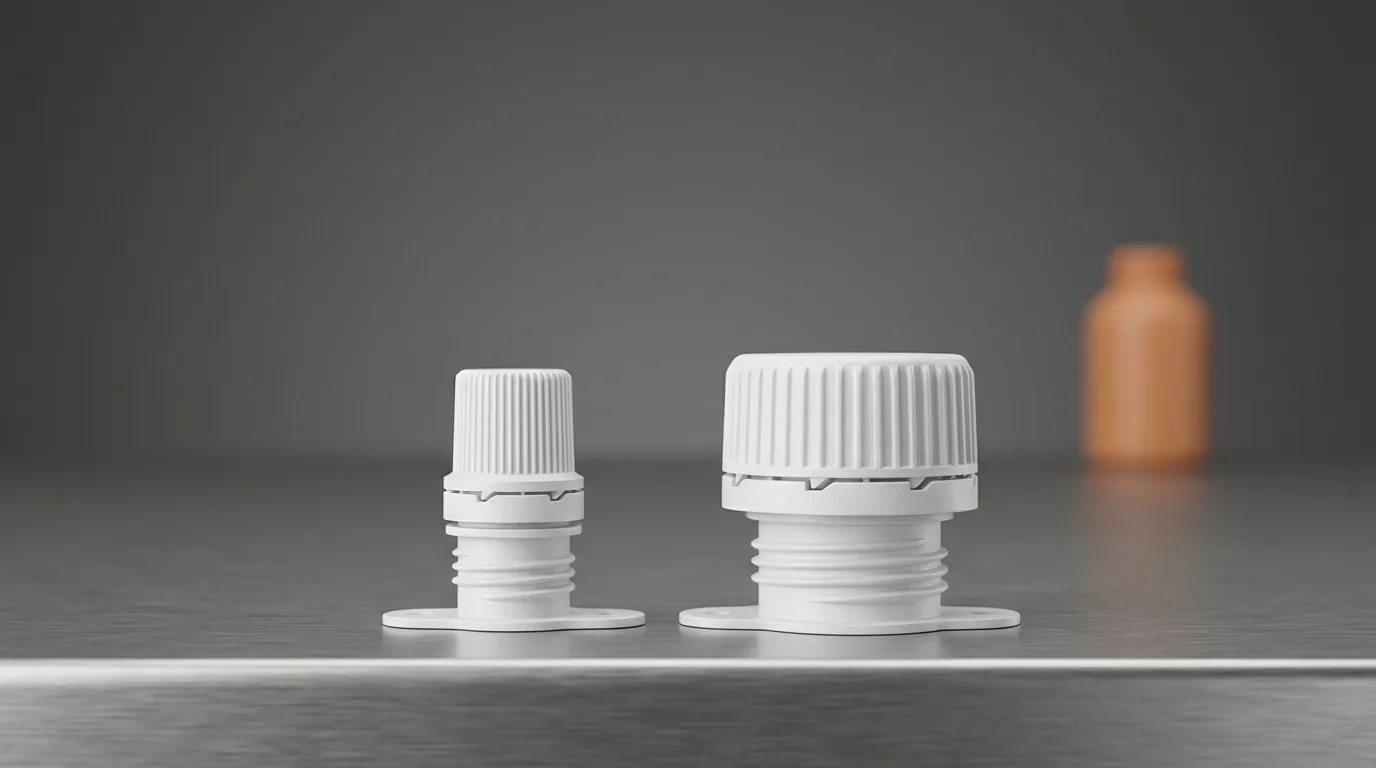

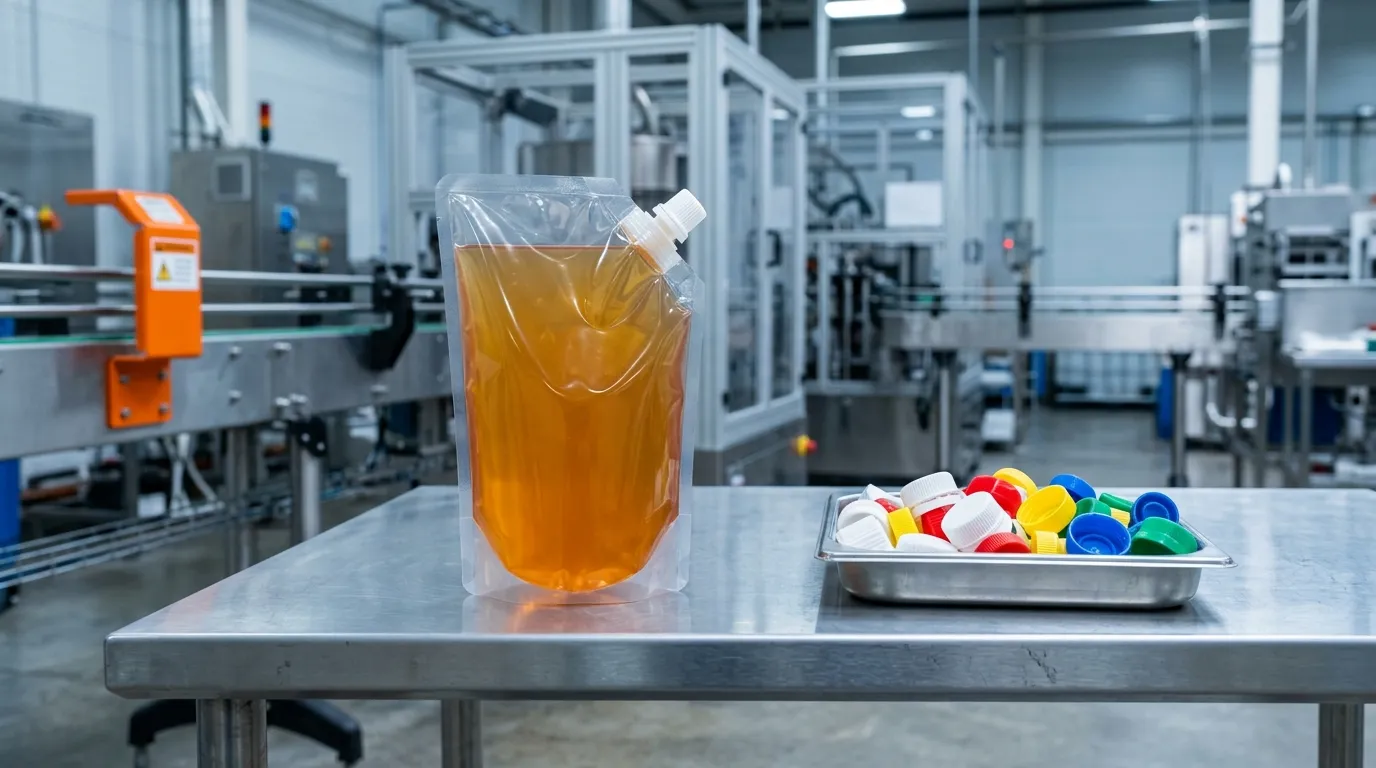
A spout cap is a flexible-packaging component, not an accessory you pick off a list: it is the resealable plastic fitment — flange, spout body and cap — heat-sealed into a stand-up pouch or doypack so a liquid, sauce, powder or granule fill can be poured and resealed. The inner diameter is one input to it — not the specification. Whether a spout cap works for your pouch is decided by four things together: the contents you fill, the film you seal into, the closure style, and the sealing window that joins spout to pouch. Pick by bore alone and you can end up with a cap that pours perfectly and leaks on the line. This guide works the five decisions in the order they should be fixed — contents, desired flow and bore, material and closure, pouch sealing, and filled-sample validation — and each step lists only the inputs you have to bring.
If you are learning how to choose a spout cap for a stand-up pouch or doypack, catalog pages will happily sell you diameters and materials. What they do not give you is a decision order: which specification to fix first, which numbers actually matter, and which ones you can safely leave to the supplier. This guide is that order — five steps that decide whether your pouch works on the line and on the shelf, ending with an RFQ checklist you can send to a supplier.
The frame matters before the details. Everything below is about spout caps for flexible packaging — the resealable plastic fitments heat-sealed into stand-up pouches and doypacks for beverage, sauce, powder and liquid-food fills, and supplied as a component to pouch converters, co-packers and brand owners. If you are looking for a gas-can spout or a kitchen faucet spout, this is not the guide you want.
Three selection entries: size, material, structure
Three inputs close most of the range, and each is worked in depth elsewhere in this series. Read the one that is still open for you, then come back here for the order to fix them in:
- Size — the bore. The hole the product passes through, and the first number to fix once you know the fill. Every band is walked bore by bore in the spout cap diameter guide, and the whole range is browsable by opening size.
- Material — the resin. PE or PP, and what the choice does to sealing temperature, retort capability and recyclability. Compared side by side in PP vs PE spout caps.
- Structure — the closure and cap family. Screw, flip-top, anti-choking, tamper-evident or tethered, and how each behaves on the fill and on your capping line. Mapped in spout caps by fill type.
The five steps below are the order those three inputs should be fixed in. Where an entry overlaps a step, the step points back to it.
How to choose a spout cap for a stand-up pouch, in five steps
The five steps are not independent, and that is the point of doing them in order. Step 1 fixes what you fill. Step 2 turns that into a bore. Step 3 pairs a resin and a closure with the product. Step 4 proves the fitment will survive being welded into your film. Step 5 validates the finished pack on your line. Skip a step and the part number you order will look right and fail somewhere you did not look.
Most buying mistakes start the same way: with the catalog. "What sizes do you have?" is the wrong first question, because a spout cap only works as part of a system — the product inside, the film around it, and the line that fills and seals it. Industry bodies such as the Flexible Packaging Association stress the same point about flexible packaging generally: components have to be engineered together, not picked separately.
Each step below is deliberately short. It lists the inputs you bring and the numbers you ask for — nothing more — because a supplier's sample recommendation is only as good as the inputs you give it. This article is part of our choosing and running spout caps series for buyers and pouch converters.
Step 1: Contents — what you are filling comes first
The first step is not about the cap at all. Before any diameter or resin conversation, fix the inputs your product brings to the pack; everything downstream hangs off them:
- Viscosity — thin liquid, sauce, or paste? This drives the bore band in Step 2.
- Particles — chunks, flakes, fibres or granules above roughly 2 mm? These act as a particle-size filter on the bore.
- Corrosiveness — acidic, oily, solvent-based or otherwise aggressive contents narrow the resin and closure choices in Step 3.
- Fill temperature — ambient, hot-fill, or retort? This sets the process-resistance bar in Step 4.
- Dose per use — how much the end user should get per squeeze or pour. The flow target in Step 2 is read from this number.
Each input lands on a different later step: viscosity and particles on the bore (Step 2), corrosiveness on the resin and closure (Step 3), fill temperature on the sealing and process window (Step 4). If you can only answer one thing about your product, make it viscosity — it is the input with the most leverage over the final specification.
These are inputs a supplier cannot know for you, so bring them to the enquiry. How each filling type maps onto spout features — dip tubes, wide-bore families, specific resins — is covered in detail in our guide to how the fill type affects spout cap selection. This page only collects the inputs.
Step 2: Desired flow and bore — turning contents into a diameter
The bore — the hole the product passes through — is a flow decision before it is a dimensional one. A bore too generous makes a thin liquid glug out faster than the user expects. A bore too narrow turns a thick purée into a pouch the customer reads as defective. Start with the viscosity and particle inputs from Step 1, then pick the band that matches.
| Bore range | What it handles well | Typical pouches |
| 1.2–6 mm | Controlled dosing of thin, low-particulate liquids | Cosmetics, essential oils, pharma samples |
| 7–13 mm | Everyday liquid foods at a comfortable pour | Juice, yogurt drinks, sauces, baby food |
| 14–22 mm | High-flow viscous and oil-based products | Ketchup, cooking oil, detergent, sports drinks |
| 26–40 mm | Bulk pouring and granular contents | Pet food, rice, grains, large refill pouches |
Within those bands, three sizes dominate the food and beverage market because filling lines are already tooled for them: 8.6 mm, 10 mm and 22 mm. Choosing one of the band sizes is the cheapest decision you can make — it rarely requires anything new on your side. Each opening has its own page in the range — start from 8.6 mm or 22 mm if you already know the number — or see the whole spout cap catalogue. If your product needs something between bands, that is where custom tooling starts, and it deserves a separate budget discussion.
Check the band against the dose target from Step 1 before you lock it in. If the end user should get 10 ml per squeeze, the bore that delivers that in one comfortable press is the right one; a band that needs three presses is wrong no matter what the catalog says.
One measurement trap: the "diameter" on a datasheet can mean the bore, the outer thread diameter, or the flange width, and they are three different numbers. For flow, ask for the bore or inner diameter. For sealing, you care about the flange, which is wider than both. When you ask a supplier for a dimension, name the feature you mean — bore, thread, or flange — or you will compare apples with pears across quotes. Our full diameter guide walks each band bore by bore with model examples.

The bore is the flow dimension; the flange is the sealing dimension. Ask for both.
If your product contains particles larger than about 2 mm — chilli flakes, fruit pieces, granular seasonings — treat the bore as a particle-size filter first. A fitment that pours liquid beautifully will clog on the first use, which reads as a product defect, not a packaging one. And if the product settles or needs to be drained to the last dose — cosmetics, essential oils, thick sauces — ask whether the spout family offers a dip tube with adjustable length, so the end user reaches the bottom of the pouch instead of tipping it.
Run the inputs from Steps 1 and 2 through our spout cap selector to shortlist models by bore, resin and closure before you talk to suppliers — it turns the same inputs into a starting list of candidates.
Step 3: Material and closure — resin, food contact and the cap design
With the bore fixed, two decisions remain before sealing: what the spout is made of, and what kind of cap sits on it. The material choice settles most of your compliance paperwork; the closure settles the end-user experience and the line compatibility.
Resin: PE or PP. The two workhorse resins for pouch spouts differ exactly where your contents and your film do:
| Property | PE (polyethylene) | PP (polypropylene) |
| Sealing temperature | Lower — suits low-temperature and mono-material lines | Higher |
| Stiffness and thread integrity | Softer, more flexible | Stiffer — better torque retention |
| Chemical resistance | Good | Better for oils and aggressive fillings |
| Retort capability | Limited | Up to 121 °C retort |
| Recyclability context | Fits mono-material PE pouches | Mixed-stream recycling |
If you are weighing the two resins for a specific fill, the PP vs PE comparison goes further into where each one wins. For food, beverage, cosmetic and pharmaceutical pouches, the resin must be food-grade virgin material — no recycled content, no brighteners or fluorescers that can migrate into the product. A supplier should be able to name the resin brand and grade, not just say "food-grade".
The compliance path is where most supplier claims get vague, and it has a fixed structure you can check yourself:
- US market: food-contact polymers are regulated by FDA's olefin polymer rule, 21 CFR 177.1520, with the general framework explained in FDA's food ingredients and packaging resources.
- EU market: the framework is Regulation (EC) 1935/2004 on food-contact materials, and for plastic parts specifically, Regulation (EU) 10/2011 on migration from plastic food-contact materials.
- China: GB 4806.7 covers food-contact plastic materials and articles, and is commonly cited on product specs alongside the EU and US references.
Ask for three documents, in this order: the certificate (FDA registration or EU 1935/2004 declaration), the migration test report covering your filling type, and the resin grade certificate. A supplier who hesitates on any of the three is telling you something. What food-grade certification actually covers is worth a read before you compare certificates, because the wording on them varies.
For reference, Ruihua molds its food-contact spout caps from virgin PP and PE without brighteners or fluorescers, and carries an EU 1935/2004 certificate issued under TÜV SÜD verification plus FDA food-contact compliance per 21 CFR 177.1520, with GB 4806.7 cited on food-contact models — the same three documents we recommend you request from any supplier.
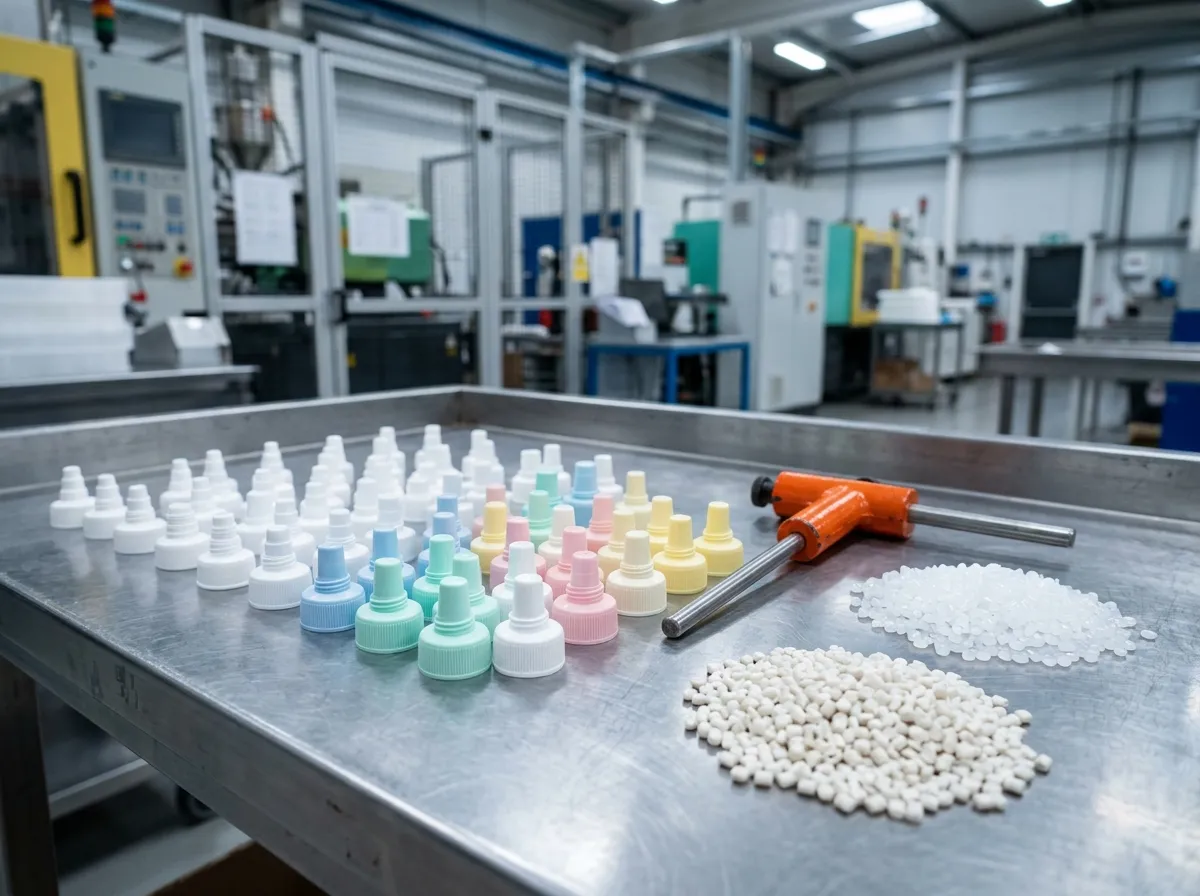
Food-contact compliance starts with the resin: virgin grade, no brighteners, and certificates you can verify.
Closure: match the cap to the use case. The closure is the part the end user touches, so its design follows the use case more than the chemistry:
- Screw caps — the standard for resealable food pouches; best torque control and leak performance.
- Flip-top and push-pull closures — one-hand dispensing for sports drinks, sauces and household chemicals.
- Child-resistant and anti-choking designs — for household chemicals and pharma-adjacent products where regulation or safety practice demands them.
- Long-nozzle spouts — for precise, narrow pours into small openings.
Two specifications matter on every closure. Torque: the cap–neck interface is designed around a torque range — too low leaks in transit, too high is hard for the user. Ask for the recommended torque and the leak-test method behind it. Tamper evidence: a pilfer-proof ring is expected in most food and beverage markets, and in the EU, cap design may additionally be constrained by tethered-cap requirements under the Single-Use Plastics Directive — whether your pouch is in scope depends on its product definition and the implementation in your target member states, so check the scope against our tethered-cap explainer before locking a design.
Finally, the closure has to run on your line: capping heads and spindle sizes differ between suppliers, and a cap that is perfect on paper but needs a new capper is a budget surprise. Mention your filling and capping equipment in the enquiry. You can browse the spout cap range to see how closure types map to diameters in practice.
Step 4: Pouch sealing — the temperature window spout and film share
Sealing is where most spout caps actually fail, and it is the step every catalog skips. A spout has to survive two different thermal events, and they pull in opposite directions:
- Sealing temperature — the moment the flange is welded into the pouch film. It happens once, hot, for a fraction of a second.
- Process resistance — retort, hot-fill or pasteurisation, where the finished pack sits at temperature for minutes.
Those are two different numbers. Ask for both, because a spout can seal beautifully and still creep out of round in a retort.
The numbers that matter in practice: 110–130 °C is the low-temperature sealing window that lets a spout weld into recyclable mono-material PE pouches without distorting, and 121 °C is the retort rating that sterilisation cycles run at. Too cold and you get an incomplete weld — the classic leak that appears after filling, not during. Too hot and the neck or thread deforms just enough that the cap no longer torques down evenly.
The seal itself is a shared window between two materials: your film's sealant layer and the spout's flange resin. The film supplier can tell you the sealant's activation temperature; the spout supplier must confirm their flange fuses inside that window. If the two numbers do not overlap, no amount of line tweaking fully fixes it. Ask also which sealing head and parameters the flange was validated with — temperature, dwell and pressure — and whether a spout sealing machine is part of the recommended setup. Heatsealability is testable in a standardised way, for example under ASTM F2029, so you can ask for test data instead of assurances.
If you are moving to recyclable mono-material PE film — and many brands are — low-temperature sealing is not optional. Standard PP spouts need a hotter window than the film can take. Our guide to spout cap sealing temperature covers the film side of this trade-off in depth.

The flange weld is the single most common failure point — the window has to fit your film's sealant layer.
Step 5: Filled-sample validation — prove it on your line before you commit
Every step so far produced numbers on paper. This step produces evidence. Filled-sample validation means taking the shortlisted spout, sealing it into your actual film, filling it with your actual product, and running the pack through the tests that matter for your distribution. It is the step that separates a specification from a gamble.
What to validate, in the order it usually bites:
- Seal integrity — fill and seal samples on your line with your film and your sealer settings. The weld that fails shows up here, not on the datasheet.
- Leak testing — run the leak-test method behind the supplier's torque claim on your own samples, and check the closed pack holds the pressures your filling and transport will see.
- Drop testing — filled packs through the handling your distribution actually does; leaks at the spout–film interface are a common drop-test finding.
- ESCR — environmental stress cracking matters when the contents are aggressive. Detergents, oils and solvents stress the flange area over weeks, so ask how the resin grade was ESCR-tested before you sign off.
- Fill-line trial — run the capped pouches through your filling line at production speed: sealing head fit, capper compatibility, line speed. A cap that needs a new capper is a budget surprise you want now, not at launch.
For each shortlisted model, ask for the spout cap specification sheet — it should state the bore, thread and flange dimensions, resin grade, sealing window, torque range and the test standards behind them. That is the document that makes quotes comparable, and it is the last thing to check before samples ship.
Plan the sample round like a real project. Samples take weeks to arrive, so ask for the validation quantities in the first enquiry — a seal-and-leak batch, a drop-test batch and line-trial quantities — and confirm the lead time before you commit to a launch date.

Filled-sample validation answers one question: does this cap work in your pack, on your line.
When NOT to order straight from the catalog >A datasheet is a starting point, not a purchase order. If any of these apply to you, run a compatibility check with filled samples before committing to production volumes: >- Your pouch film is not final — you do not yet know the film structure or its sealant layer.- The pack sees hot-fill or retort processing.- The contents carry particles or are strongly corrosive.- The bore, thread or closure you need does not exist in the standard range, so the part would require custom tooling. >In these cases, order samples first and validate on your line. Our Sample & Validation Planner walks you through what to test and how to read the results.
Turn the five steps into an RFQ checklist
Send this with your next enquiry, and you will get comparable quotes instead of marketing:
- Product and flow — viscosity, particle size, fill temperature, target dose per use (Steps 1–2).
- Diameter — bore, thread and flange dimensions you need, or the band from Step 2 if you want the supplier to propose.
- Material and compliance — resin grade required, target markets (US/EU/China), and the three documents from Step 3.
- Sealing and process — your film structure (including mono-material PE), sealant activation temperature, sealer settings, and whether retort or hot-fill applies (Step 4).
- Closure and validation — cap style, torque range, tamper evidence, capping equipment, plus the sample and validation plan from Step 5, MOQ and lead time.
A supplier that answers all five points in one reply, with numbers and documents, is a shortlist candidate. One that answers with "we have many options" is not. Ruihua's range covers 117 spout-cap SKUs from 1.2 to 40 mm including low-temperature-sealing and retort-rated series, so the checklist above is the exact format our engineers work from.
FAQ
What is the difference between a spout cap and a fitment?
In flexible packaging the words are often used interchangeably. Strictly, the fitment is the whole plastic assembly heat-sealed into the pouch — flange, spout body and closure together — while "spout cap" usually means the visible spout with its cap. When you order, use "pouch fitment" or "spout cap for stand-up pouch" and specify which parts you need, because some suppliers sell the spout and cap separately.
How do I know which diameter I need?
Measure the flow, not the shelf. For thin liquids with no particles, an 8.6 mm or 10 mm bore covers most food and beverage pouches. For viscous products like ketchup or oil, go to 14–22 mm. For bulk or granular contents, 26–40 mm. If the pouch is already tooled for a filling line, ask the line builder which bore it was set up for — that is usually the cheapest answer.
Are spout caps recyclable?
It depends on the resin and the pouch. The trend that matters is mono-material PE pouches: if your film is all-PE, the spout should be a low-temperature-sealing PE-compatible part that welds into it and is designed for PE recycling streams. A PP spout on a PE pouch does not automatically disqualify the pack — but it can affect the system's recyclability assessment, and the outcome depends on the whole-pack material composition and on the recycling scheme you are targeting (for example CEFLEX guidance or RecyClass grading in Europe). Verify the full structure against the relevant scheme before claiming recyclability, and ask your supplier for their low-temperature sealing range before committing to an all-PE structure.
How do I verify food-grade claims?
Ask for the certificate, the migration test report and the resin grade — in that order — and check the certificate against the issuing body. FDA food-contact compliance for olefin polymers follows 21 CFR 177.1520; EU compliance follows Regulation (EC) 1935/2004 with migration testing under Regulation (EU) 10/2011. A supplier that cannot produce the resin grade or the migration report is not food-grade certified in any practical sense.
How many samples should I ask for?
Enough to run the validation list from Step 5: a seal-and-leak batch, a drop-test batch, and a fill-line trial run. Ask the supplier what their standard sample pack covers and whether the exact bore, resin and closure combination you shortlisted is included — a sample of a similar size is not a sample of your part. Confirm too that the sample round ships with the torque and leak-test data sheets for that exact combination, not for a generic reference model.
If this is the first time you are specifying a spout cap for a pouch, the order above — contents, flow and bore, material and closure, sealing, then filled-sample validation — will get you a specification a supplier can actually build to. Send the checklist to our technical team for a free review, and request samples of the diameter and material you shortlist; sample testing on your own line beats any datasheet.